


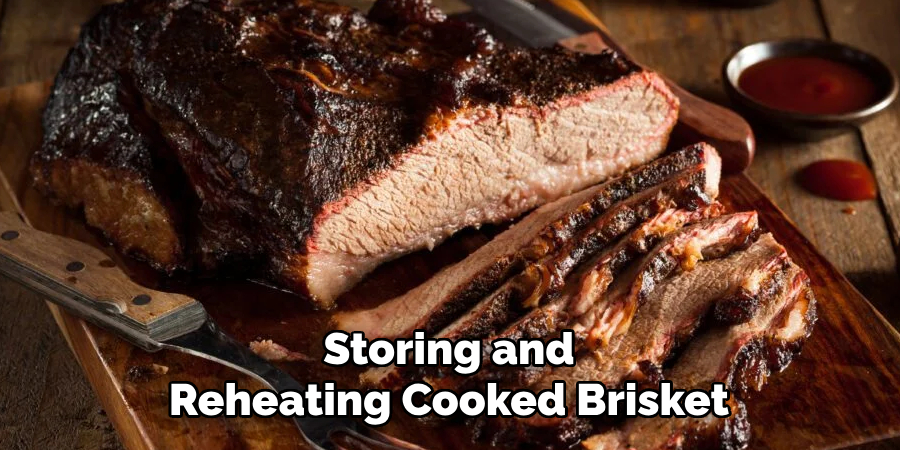
Properly storing cooked brisket is essential to maintain its flavor, texture, and safety for later consumption. Whether you have leftovers from a barbecue or meal-prepped brisket for future use, knowing the right techniques can help preserve its quality.
This guide on how to store cooked brisket will provide you with tips and methods to ensure your brisket stays delicious and fresh.
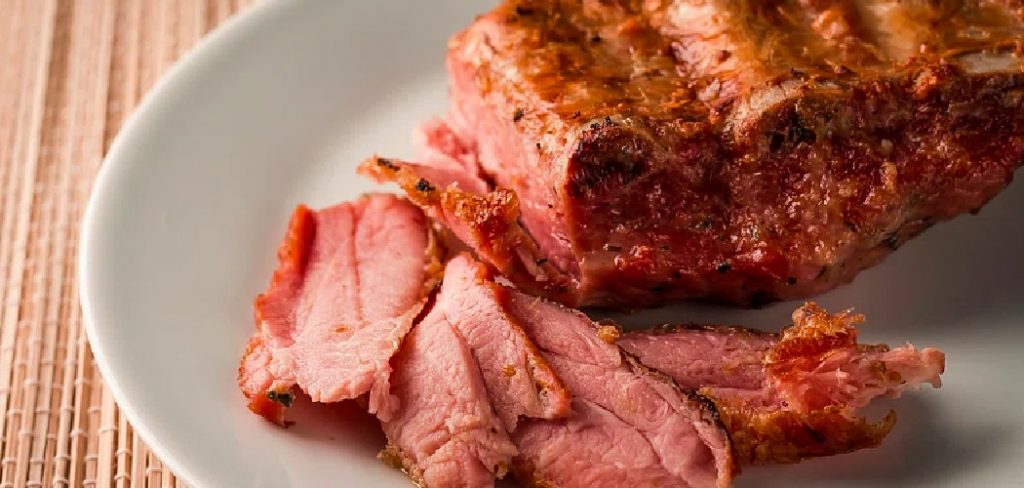
What is Cooked Brisket?
Cooked brisket is a flavorful cut of beef that comes from the lower chest or breast of the cow. Known for its rich, tender texture when prepared correctly, brisket is a tough cut of meat that benefits greatly from slow cooking methods such as smoking, braising, or roasting. This cooking process breaks down the connective tissue, turning the meat into a mouthwatering dish.
Brisket is a staple in many culinary traditions, including barbecue, where it is often seasoned with a dry rub or marinated before being cooked to perfection. Once cooked, brisket can be enjoyed on its own or as part of hearty sandwiches, soups, or stews.
Importance of Properly Storing Cooked Brisket
Since brisket is a large cut of meat and often takes several hours to cook, it’s not always possible to finish the entire piece in one sitting. In such cases, proper storage becomes crucial to maintain its taste and texture.
Improperly storing cooked brisket can lead to spoilage, bacterial growth, and potential foodborne illnesses. Additionally, if the brisket is not stored correctly, it may lose its tenderness and become tough and dry when reheated.
8 Step-by-step Guidelines on How to Store Cooked Brisket
Step 1: Let the Brisket Cool Down
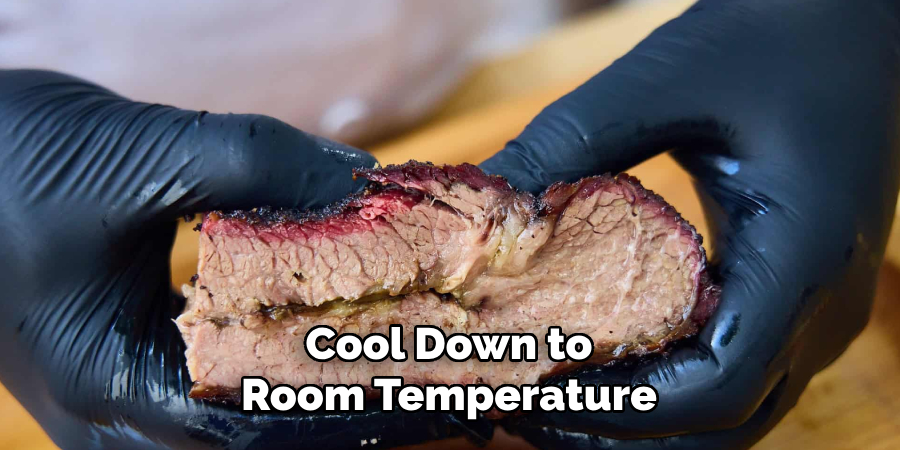
Before storing your cooked brisket, it’s important to allow it to cool down to room temperature. Placing hot meat directly into the refrigerator can cause condensation, which may lead to excess moisture and affect the quality of the brisket.
However, avoid leaving the brisket out for more than two hours, as this increases the risk of bacterial growth. Allow it to cool just enough to safely proceed with storage.
Step 2: Portion the Brisket
If you have a large piece of brisket, it’s best to divide it into smaller portions before storing it. This makes reheating easier and helps prevent unnecessary exposure to air and moisture when accessing the leftovers.
Cut the brisket into slices or chunks, depending on your preference.
Step 3: Wrap Tightly in Foil or Plastic Wrap
Once the brisket has cooled down and has been portioned, wrap each piece tightly in foil or plastic wrap. Make sure there are no gaps for air to enter, as this can cause freezer burn.
Alternatively, you can use airtight containers specifically designed for storing cooked meats. These containers provide an extra layer of protection and can be reused multiple times.
Step 4: Place in the Refrigerator or Freezer
If you plan to consume the brisket within a few days, store it in the refrigerator. Brisket can stay fresh for up to four days when refrigerated at temperatures below 40°F (4°C).
For longer storage, place the wrapped brisket in a freezer-safe bag and store it in the freezer. Properly stored, cooked brisket can last up to three months in the freezer.
Step 5: Label and Date
To avoid any confusion about when the brisket was stored, always label and date the packaging. Use a waterproof marker to write directly on foil, plastic wrap, or freezer bags, or place a label on the airtight container. Including the storage date ensures you can keep track of the brisket’s freshness and consume it within the recommended timeframe.
This step is especially helpful when storing multiple batches of cooked brisket or other leftovers in your refrigerator or freezer.
Step 6: Thaw Properly
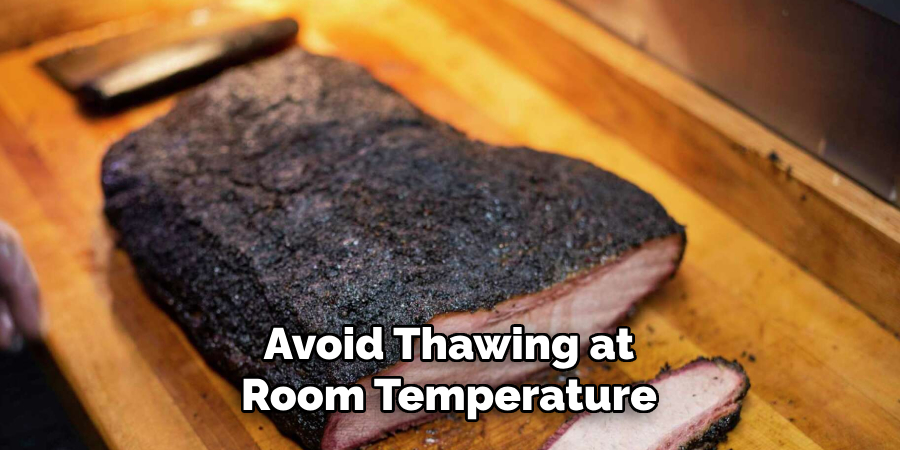
If frozen, thaw the brisket in the refrigerator overnight before reheating. This allows the meat to thaw gradually and evenly, ensuring it stays safe to consume and maintains its texture.
Avoid thawing at room temperature, as this can lead to bacterial growth on the outer layer of the brisket while the inside is still frozen.
Step 7: Reheat Safely
To retain the juicy tenderness of cooked brisket, it’s best to reheat it slowly over low heat. Whether you’re using an oven, stovetop, or microwave, make sure that the internal temperature reaches at least 165°F (74°C) to ensure it is safe to eat.
The reheating process may take longer for larger portions of brisket, so be patient and make sure it’s heated evenly.
Step 8: Enjoy!
Once reheated, your brisket is ready to enjoy. Serve it as a main dish or incorporate it into other recipes for added flavor and protein.
Following these simple steps on how to store cooked brisket will ensure your cooked brisket stays delicious and safe to consume for future meals. With proper storage techniques, you can enjoy the rich flavors of brisket even days after it was first cooked. Experiment with different seasonings and cooking methods to create an array of mouthwatering dishes using this versatile cut of beef. Happy cooking!
Do You Need to Get Help From Professionals?
While storing and reheating cooked brisket can be managed at home with proper techniques, there are situations where seeking help from professionals might be beneficial. For instance, if you have a particularly large quantity of brisket or need guidance on advanced storage methods, a food preservation expert or a professional chef could provide valuable insights. Additionally, catering services or professional smokehouses often have the resources and expertise to help you properly store or even reheat brisket for optimal flavor and texture.
For those who enjoy smoked brisket but find the process of cooking, storing, or handling leftovers overwhelming, some specialty businesses offer pre-prepared and professionally packaged brisket. These options come perfectly stored and preserved, taking the guesswork out of long-term storage. Whether you’re tackling brisket for the first time or managing leftovers from an event, consulting with professionals can ensure you maximize the quality and safety of your dish.
How Much Could It Cost?
The cost of managing cooked brisket, whether you do it yourself or seek professional assistance, can vary significantly based on your approach. If you choose to store and reheat the brisket at home, the expenses are relatively low and mostly involve purchasing storage materials such as aluminum foil, plastic wrap, airtight containers, or freezer-safe bags. These items typically cost between $5 and $20, depending on the quantity and quality. Additionally, energy costs for refrigerating or freezing the brisket and reheating it later are minimal.
On the other hand, if you opt for professional help, the costs can be higher but may save time and effort. Consulting with a food preservation expert or utilizing catering services could range from $50 to $150, depending on the extent of service and the amount of brisket involved. Pre-prepared, professionally packaged brisket from specialty businesses might cost anywhere from $20 to $50 per pound, depending on the brand and quality.
Ultimately, the cost of storing and preserving brisket will depend on the method you choose, the resources you already have, and the convenience you’re seeking. With careful planning, it’s possible to maintain both the quality and value of your brisket while staying within your budget.
Tips for Storing Cooked Brisket
Here are some tips to help you properly store your cooked brisket:
Allow the Brisket to Cool
Before storing your cooked brisket, make sure it has cooled down completely. Putting hot or warm meat in the fridge can create condensation and affect the quality of the brisket.
Use Airtight Containers
Invest in airtight containers specifically designed for storing cooked meats. These provide an extra layer of protection and can be reused multiple times, reducing waste.
Label and Date
Always label and date your stored brisket to keep track of its freshness and consumption timeframe. This is especially helpful when storing multiple batches or other leftovers in the fridge or freezer.
Reheat Slowly
To maintain the tenderness of cooked brisket, reheat it slowly over low heat. This may take longer but will result in a tastier meal.
Practice Safe Thawing
Avoid thawing at room temperature as this can promote bacterial growth. It’s best to thaw brisket in the refrigerator overnight.
Store in Freezer-Safe Bags
If storing brisket in the freezer, use a freezer-safe bag to prevent freezer burn. This will help preserve the quality of the meat for longer periods.
Frequently Asked Questions
Q: Can I Freeze Cooked Brisket?
A: Yes, you can freeze cooked brisket for up to three months. The key is to store it properly in an airtight container or freezer-safe bag.
Q: How Do I Know if the Cooked Brisket Has Gone Bad?
A: Look for signs of spoilage, such as a sour smell, slimy texture, or discoloration. If you notice any of these, discard the brisket immediately.
Q: Can I Reheat Frozen Brisket Without Thawing?
A: Yes, you can reheat frozen brisket without thawing by using the oven or stovetop on low heat. Make sure the internal temperature reaches at least 165°F (74°C) before consuming.
Q: Can I Refreeze Cooked Brisket?
A: While refreezing cooked brisket is not recommended, if necessary, you can do so within 24 hours of thawing. Keep in mind that the quality and texture may be affected.
Conclusion
Properly storing cooked brisket is essential for maintaining its taste and texture, preventing foodborne illnesses, and reducing food waste. By following these step-by-step guidelines and tips on how to store cooked brisket, you can safely store your cooked brisket for future meals and enjoy its delicious flavors even days after it was first cooked.
With a little planning and preparation, you can make the most out of this flavorful and versatile cut of beef. So go ahead, cook that brisket and store it with confidence, knowing you have all the tools to keep it safe and tasty for future enjoyment. Happy cooking!
Professional Focus
Angela Ervin, a former interior designer turned blogger, specializes in kitchen design and renovations. Through her website, she blends her passion for cooking with design expertise, sharing practical and creative ideas. Known for balancing functionality and beauty, Angela’s insightful content has made her a trusted voice in home design and lifestyle.
About the Author
Angela Ervin, an experienced interior designer and blogger, combines her passion for kitchen renovations with storytelling. Living in Petersburg with her family, she enjoys cooking and testing her projects firsthand. Known for her humor and relatable style, Angela shares creative, functional design insights through her content, making her a trusted voice in home design.
Education History
University: Virginia Commonwealth University
Degree: Bachelor of Fine Arts (BFA) in Interior Design
- Angela’s education at VCU focused on mastering core interior design principles, including spatial planning, color theory, materials selection, and sustainable design practices.
- She gained hands-on experience through studio projects and collaborative design exercises, which honed her ability to create functional and aesthetically pleasing environments.
- Her coursework also emphasized problem-solving and practical applications of design, preparing her for real-world projects like her self-directed kitchen renovations.
- The program’s strong foundation in both technical skills and creative expression shaped Angela’s ability to seamlessly integrate form and function in her work.