Freezing squash is a simple and effective way to preserve its freshness and enjoy it year-round. Whether you have an abundance from your garden or want to save store-bought squash for future recipes, proper storage techniques can ensure the best quality and flavor.
This guide on how to store squash in the freezer will walk you through the steps to prepare, freeze, and store squash to maximize its shelf life while maintaining its texture and taste.

Why Freeze Squash?
Squash, like many other vegetables, has a limited shelf life and can spoil quickly if not stored properly. Freezing is a great preservation method as it halts the growth of bacteria and prevents food from spoiling. Additionally, frozen squash retains its nutritional value, making it a healthy option for meals even after being stored for an extended period of time.
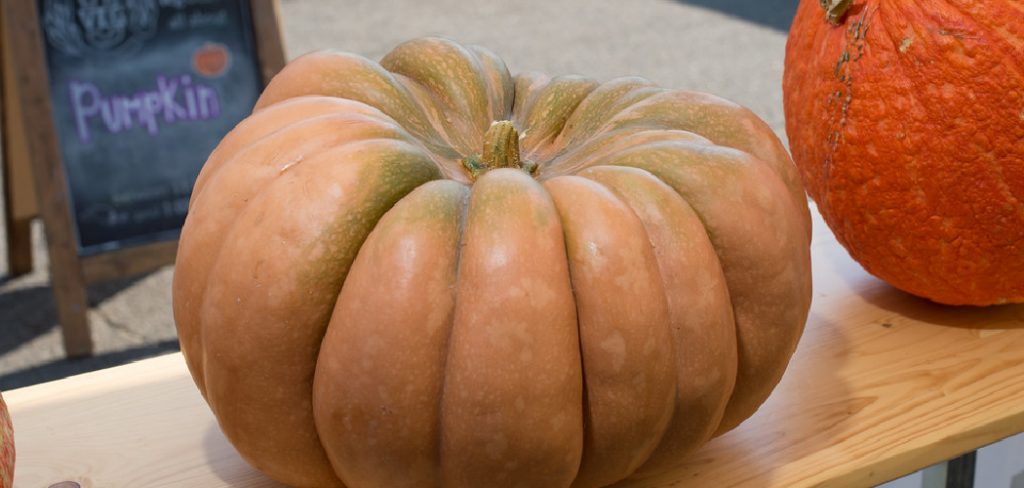
It is important to note that not all types of squash freeze well. Varieties with high water content, such as zucchini and summer squash, tend to become mushy after being frozen. On the other hand, butternut squash and pumpkin freeze exceptionally well due to their denser texture.
Needed Materials
A Sharp Knife:
Having a sharp knife on hand is crucial for cutting the squash into even pieces, which ensures proper freezing and thawing.
Cutting Board:
A sturdy cutting board provides a stable surface for chopping squash without damaging your countertops or floors.
Baking Sheet:
A baking sheet will come in handy for flash-freezing individual pieces of squash before transferring them to storage containers.
Freezer Bags or Containers:
Choose airtight freezer bags or containers to prevent any air from entering and causing freezer burn. Make sure they are labeled with the date and type of squash for easy organization in your freezer.
8 Step-by-step Guidelines on How to Store Squash in the Freezer
Step 1: Choose the Right Squash
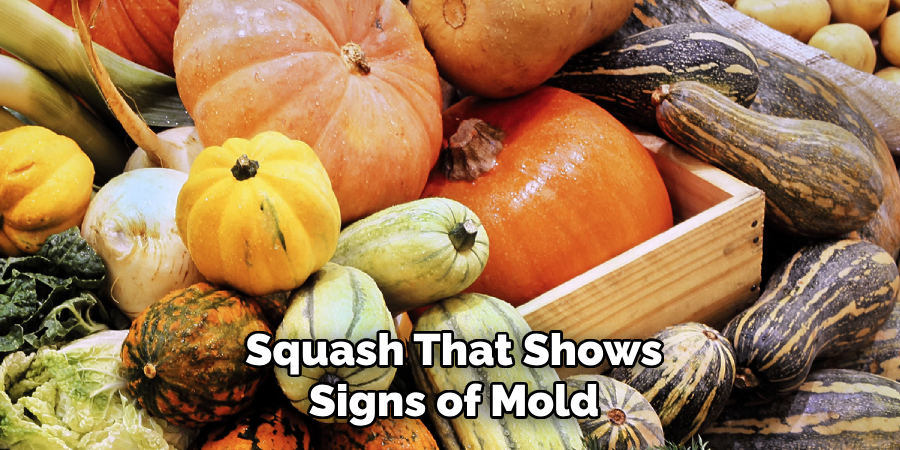
Begin by selecting fresh, high-quality squash for freezing. Look for squash that is firm to the touch, free of blemishes, and has a vibrant color. Avoid any squash that shows signs of mold, bruises, or soft spots, as these may indicate spoilage.

If you’re freezing homegrown squash, try to harvest it at its peak ripeness for the best flavor and texture. Selecting the right squash ensures the end product remains delicious and nutritious after freezing.
Step 2: Wash and Dry
Before preparing your squash for freezing, it’s essential to wash it thoroughly to remove any dirt, pesticides, or bacteria. Rinse the squash under cold running water, scrubbing gently with your hands or a vegetable brush if necessary. Once cleaned, use a clean kitchen towel or paper towels to pat the squash dry.
Ensuring the squash is completely dry will help prevent ice crystals from forming during the freezing process, which can impact the quality and texture of the squash.
Step 3: Cut the Squash
Once your squash is clean and dry, it’s time to cut it into manageable pieces. Start by using a sharp knife to remove the ends of the squash. For larger varieties, like butternut squash, you may also want to peel the skin using a vegetable peeler. After peeling (if necessary), cut the squash in half to remove any seeds and stringy flesh in the center. A spoon can be helpful for scraping out the seeds.
Next, chop the squash into uniform pieces or slices depending on your preference and intended use. Keeping the pieces similar in size ensures that they freeze and defrost evenly. For recipes requiring diced squash, aim for cube-shaped pieces approximately 1 to 2 inches in size, making them easy to portion for future meals.
Step 4: Flash Freeze
Flash freezing is a technique that quickly freezes individual pieces of food to prevent them from sticking together. To flash-freeze squash, spread the cut pieces in a single layer on a baking sheet lined with parchment paper or a silicone mat.
Ensure there is enough space between each piece to allow for proper airflow and avoid clumping. Place the baking sheet in the freezer for 1-2 hours or until the squash is frozen solid.

Step 5: Transfer to Freezer Bags/Containers
Once the squash pieces are completely frozen from the fflash-freezingprocess, carefully remove the baking sheet from the freezer. Using a spatula or your hands, transfer the frozen pieces of squash into airtight freezer bags or containers. Be sure to pack them in portion sizes suitable for your future cooking needs to make it easier to grab the amount you need without thawing the entire batch.
Expel as much air as possible from the freezer bags before sealing them to minimize the risk of freezer burn. If you’re using containers, fill them close to the top but leave a small amount of space to allow for slight expansion as the squash freezes further.
Step 6: Label and Date
It’s essential to label your freezer bags or containers with the type of squash, the date it was frozen, and the portion size. This information will help you identify the contents quickly and keep track of when they were frozen. Frozen squash can last up to 12 months in a standard freezer, so make sure to rotate them regularly and use the oldest ones first.
You can also use freezer-safe stickers or write directly on the bag/containers with a permanent marker to label them.
Step 7: Store in the Freezer
Place the labeled and sealed bags/containers of squash in your freezer, ensuring they are placed in a single layer for maximum airflow. Avoid stacking or overcrowding them, which can lead to uneven freezing and impact the quality of your frozen squash.
It’s also important to maintain a consistent freezer temperature of 0°F or below for optimal storage.
Step 8: Thaw and Use
When you’re ready to use the frozen squash, remove as much as needed from the freezer bag/container and thaw it in the refrigerator overnight. Avoid defrosting at room temperature, which can cause bacteria to grow.

Once thawed, use the squash within 3-4 days in your favorite recipes, such as soups, stews, casseroles, or roasted vegetable dishes. The texture may be slightly softer compared to fresh squash, but it will still retain its flavor and nutritional value.
Following these simple steps on how to store squash in the freezer will help you properly store squash in the freezer, making it convenient to enjoy this versatile vegetable year-round. Experiment with different types of squash and recipes to find your favorites and always have them on hand in your freezer. Happy freezing!
Additional Tips for Freezing Squash
Blanching:
If you prefer a crispier texture, consider blanching the cut squash before flash freezing. This process involves boiling the squash for a brief period, followed by an ice bath to stop the cooking process. Blanching helps preserve color, texture, and flavor while also destroying enzymes that can cause food deterioration. After blanching, pat the squash dry before flash freezing.
Vacuum Sealing:
For longer storage periods or to prevent freezer burn, consider vacuum sealing your frozen squash in airtight bags or containers. This method removes excess air and creates a tighter seal, preserving the quality of your frozen squash for up to two years.
Freeze in Recipe Form:
Another option is to freeze prepared recipes that use squash as an ingredient, such as butternut squash soup or zucchini bread. Portion the recipe into individual servings and freeze them in airtight containers for easy grab-and-go meals. Just make sure to leave some room at the top of the container for expansion during freezing.
Frequently Asked Questions
Q1: Can I Freeze Cooked Squash?
A1: Yes, you can freeze cooked squash in airtight containers or freezer bags for up to 3 months. However, the texture may be softer after thawing. The best method is to freeze uncooked squash for optimal results.
Q2: Can I Freeze Squash Seeds?
A2: Yes, squash seeds can also be frozen and used later for roasting or snacking. Spread them out on a baking sheet and flash freeze before transferring them to an airtight container or freezer bag.
Q3: Can I Freeze Whole Squash?
A3: It is not recommended to freeze whole squash as it will be much harder to defrost and use later. It’s best to cut the squash into smaller pieces or slices before freezing.

Conclusion
Freezing squash is an excellent way to extend its shelf life and ensure you have this nutritious and versatile vegetable readily available for a variety of recipes throughout the year. By following the step-by-step process on how to store squash in the freezer outlined above, including proper preparation, flash freezing, and labeling, you can maintain the quality and taste of your squash.
For those looking to preserve texture and flavor even further, blanching or vacuum sealing can be valuable additions to your freezing routine. Whether using frozen squash in soups, casseroles, or as a roasted side dish, you’ll appreciate the convenience of having pre-prepped squash ready to go. With these tips and techniques, you can reduce food waste, save time in the kitchen, and make the most out of every harvest. Happy cooking and freezing!
Professional Focus
Angela Ervin, a former interior designer turned blogger, specializes in kitchen design and renovations. Through her website, she blends her passion for cooking with design expertise, sharing practical and creative ideas. Known for balancing functionality and beauty, Angela’s insightful content has made her a trusted voice in home design and lifestyle.
About the Author
Angela Ervin, an experienced interior designer and blogger, combines her passion for kitchen renovations with storytelling. Living in Petersburg with her family, she enjoys cooking and testing her projects firsthand. Known for her humor and relatable style, Angela shares creative, functional design insights through her content, making her a trusted voice in home design.
Education History
University: Virginia Commonwealth University
Degree: Bachelor of Fine Arts (BFA) in Interior Design
- Angela’s education at VCU focused on mastering core interior design principles, including spatial planning, color theory, materials selection, and sustainable design practices.
- She gained hands-on experience through studio projects and collaborative design exercises, which honed her ability to create functional and aesthetically pleasing environments.
- Her coursework also emphasized problem-solving and practical applications of design, preparing her for real-world projects like her self-directed kitchen renovations.
- The program’s strong foundation in both technical skills and creative expression shaped Angela’s ability to seamlessly integrate form and function in her work.


