Celeriac, also known as celery root, is a versatile and nutritious vegetable prized for its earthy flavor and firm texture. Proper storage is essential to maintain its freshness and extend its shelf life.
Whether you’ve purchased it from the grocery store or harvested it from your garden, knowing how to store celeriac correctly ensures that you can enjoy its unique taste and versatility in your cooking for weeks to come.

Understanding Celeriac
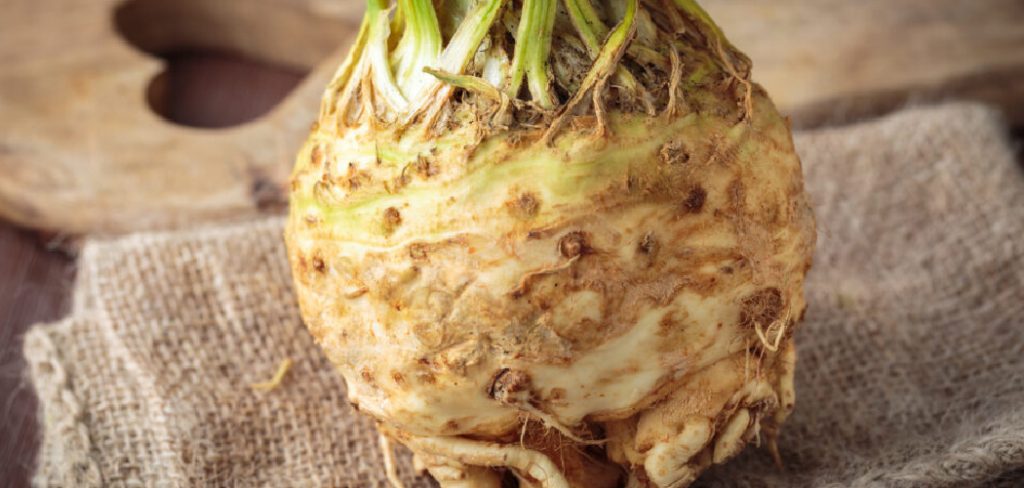
Before we dive into storage methods, it’s essential to understand celeriac a bit. This root vegetable is part of the celery family, but unlike traditional celery with its long stalks and leaves, celeriac has a bulbous root that grows underground. It has a pale beige exterior with rough-looking skin and white flesh inside.
Celeriac is an excellent source of vitamins and minerals such as vitamin K, potassium, and phosphorus. It also contains antioxidants that can help boost your immune system. Its unique flavor profile makes it a popular ingredient in soups and stews, as well as a substitute for potatoes in dishes like mash or gratin.
Needed Materials
To properly store celeriac, you will need the following materials:
- A cool and dark storage area such as a root cellar, basement, or refrigerator
- Airtight containers or plastic bags
- Paper towels for wrapping
- Optional: peeler or vegetable brush for cleaning the celeriac before storage
8 Step-by-step Guidelines on How to Store Celeriac
Step 1: Harvest or Purchase Fresh Celeriac
The first step to ensuring long-lasting and fresh celeriac is selecting quality produce. If harvesting from your garden, choose celeriac that is firm, blemish-free, and has a uniform shape. Avoid roots that feel soft, are shriveled, or show signs of rot.
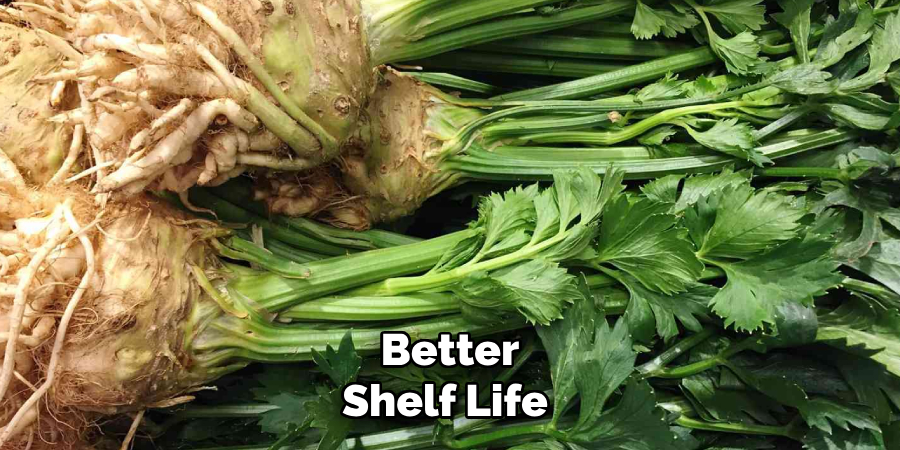
When purchasing from the store, look for celeriac with its stems and leaves still attached, as this can indicate freshness. Freshly harvested or purchased celeriac will have a better shelf life and retain its flavor and nutritional value.

Step 2: Trim the Tops and Roots
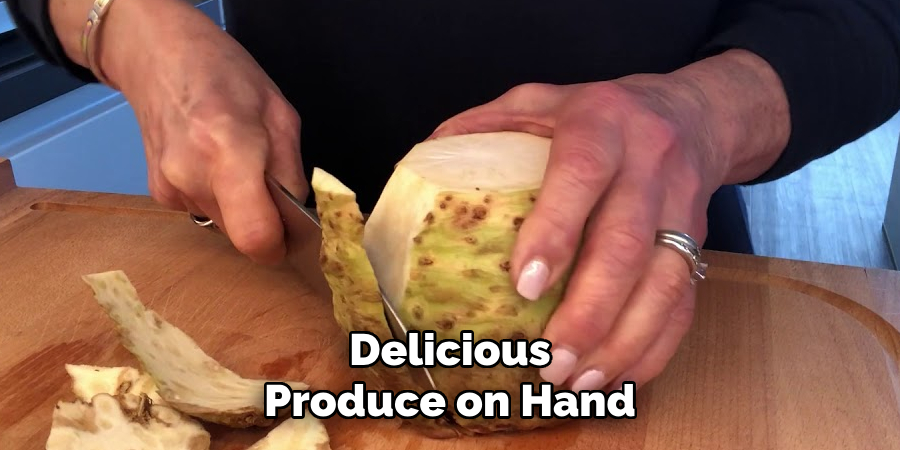
Once you have fresh celeriac, the next step is to trim the tops and roots to prepare it for storage. Using a sharp knife, cut off the green stems and leaves close to the base of the root. While the stems can be composted, consider saving the leaves, as they are edible and can be used to add flavor to soups or stocks.
Next, trim any small roots or fibrous parts sticking out from the bulb. Be careful not to cut too deeply into the flesh to avoid exposing the inner white part of the root, which could cause it to dry out more quickly. This trimming process helps reduce moisture loss and keeps the celeriac fresh for a longer time.
Step 3: Clean the Celeriac (Optional)
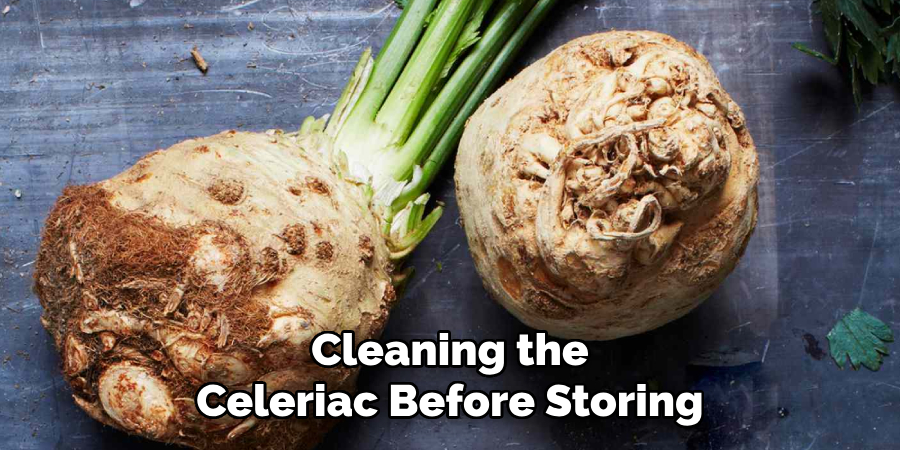
Cleaning the celeriac before storing it is optional and depends on your preference. If you choose to clean it, gently scrub the exterior using a vegetable brush to remove dirt and debris.

Alternatively, you can rinse the celeriac under cool running water, ensuring you dry it thoroughly with paper towels afterward to prevent excess moisture, which can cause rotting.
Some prefer cleaning the vegetable just before use to preserve its natural protective outer layer during storage. If you decide not to clean it prior to storage, simply brush off any loose dirt and keep the exterior dry.
Step 4: Wrap in Paper Towels
Once your celeriac is trimmed and optionally cleaned, the next step in proper storage is to wrap it in paper towels. Paper towels help to absorb any excess moisture, which can lead to rotting or mold growth during storage. Simply take a few sheets of paper towel and wrap them securely around the celeriac bulb.
Ensure that the entire surface is covered, but avoid wrapping it too tightly to allow for some airflow. This layer of paper towel acts as a protective barrier, maintaining the celeriac’s freshness while keeping it dry.
Step 5: Choose the Right Storage Location
Finding the perfect storage spot for your celeriac is crucial. Ideally, you want a dark and cool location with good air circulation to keep it fresh. A root cellar or basement that maintains a temperature between 32-40°F (0-4°C) is an ideal environment for storing celeriac.
If you don’t have access to these spaces, the refrigerator can also work well as long as you store the celeriac in a specific way. Keep reading to find out more about refrigeration storage methods.

Step 6: Store in Airtight Containers
To maximize the shelf life of your celeriac, consider using airtight containers or plastic bags for storage. After wrapping the bulb in paper towels, place it inside a container or bag that can be sealed tightly. Airtight storage helps prevent the celeriac from losing moisture and protects it from absorbing other odors from the refrigerator.
When using plastic bags, make sure to remove as much air as possible before sealing to create a snug environment for the celeriac. If using a container, ensure it is clean and dry to avoid introducing extra moisture. Proper airtight storage will help maintain the celeriac’s firmness and flavor, keeping it ready for use in your favorite recipes.
Step 7: Check Regularly for Spoilage
Even with proper storage, it’s essential to regularly check on your celeriac to ensure there is no spoilage. If you notice any soft or discolored spots, remove them immediately and use the remaining healthy parts as soon as possible. This step is crucial in preventing mold from spreading and ruining your entire batch of celeriac.
You can also lightly dampen the paper towels if they become dry during storage to maintain moisture levels.
Step 8: Store in the Refrigerator (Optional)
If a root cellar or basement is not available, storing celeriac in the refrigerator can also work well.
However, you must store it correctly to prevent moisture loss and maintain freshness. After trimming and wrapping the bulb in paper towels, place it inside a plastic bag or container. For added protection, you can also wrap the container with aluminum foil before placing it in the refrigerator crisper drawer.
The key to proper refrigeration storage is to keep the celeriac away from direct exposure to cold air and moisture while maintaining good airflow. Regularly check on the vegetables and use them within two weeks for optimal freshness.
Following these simple guidelines on how to store celeriac will help you store celeriac properly and extend its shelf life, ensuring you always have fresh and delicious produce on hand. With proper storage, you can enjoy the unique nutty and celery-like flavor of celeriac in soups, stews, salads, or as a tasty side dish for months to come. Keep experimenting with this versatile root vegetable and discover new ways to incorporate it into your meals. Happy storing!

Additional Tips for Using Celeriac
- Celeriac can be used as a low-carb substitute for potatoes in mashed dishes or roasted vegetable medleys.
- Add peeled and grated celeriac to coleslaw for a flavorful twist on this classic dish.
- Purely cooked celeriac with cream and garlic for a creamy and delicious soup.
- Use celeriac to make a tasty gratin by layering thinly sliced pieces with cheese and cream before baking in the oven.
- Don’t discard any leftover peels or trimmings! You can use them to make flavorful vegetable stock or compost them for your garden.
- Celeriac can also be eaten raw, either grated into salads or chopped into sticks for a healthy snack.
- For a unique twist on mashed potatoes, combine mashed celeriac with mashed sweet potatoes for a colorful and nutritious side dish.
- When preparing celeriac, keep in mind that it is slightly more delicate than other root vegetables, so handle it gently to avoid bruising.
- To preserve the delicate flavor of celeriac, avoid overcooking it. It is best when cooked until just tender.
- Don’t be afraid to experiment with different spices and herbs when cooking with celeriac. Its subtle flavor pairs well with a variety of seasonings.
- If you have a surplus of celeriac, consider freezing it for later use. Simply blanch sliced or chopped pieces in boiling water for 2 minutes before draining and freezing in an airtight container. Frozen celeriac will keep for up to 12 months.
- Remember to always wash and scrub your celeriac thoroughly before using it, even if the outer skin is not consumed. This helps to remove any dirt or bacteria that may be present on the surface. Keeping these tips in mind will help you make the most out of your celeriac and add a unique and delicious element to your meals. Enjoy!
Conclusion
Celeriac is a versatile and nutritious root vegetable that can be a delightful addition to both simple and elaborate meals.
With proper handling and storage techniques, you can extend its shelf life and enjoy its unique flavor for weeks or even months. Whether mashed, roasted, pureed, or used raw, celeriac offers endless culinary possibilities, making it a worthwhile ingredient to have in your kitchen.
By following the tips and methods on how to store celeriac outlined above, you’ll ensure that your celeriac remains fresh and flavorful while reducing food waste. Explore new recipes and savor the many ways this humble root vegetable can elevate your dishes. Happy cooking!
Professional Focus
Angela Ervin, a former interior designer turned blogger, specializes in kitchen design and renovations. Through her website, she blends her passion for cooking with design expertise, sharing practical and creative ideas. Known for balancing functionality and beauty, Angela’s insightful content has made her a trusted voice in home design and lifestyle.
About the Author
Angela Ervin, an experienced interior designer and blogger, combines her passion for kitchen renovations with storytelling. Living in Petersburg with her family, she enjoys cooking and testing her projects firsthand. Known for her humor and relatable style, Angela shares creative, functional design insights through her content, making her a trusted voice in home design.
Education History
University: Virginia Commonwealth University
Degree: Bachelor of Fine Arts (BFA) in Interior Design
- Angela’s education at VCU focused on mastering core interior design principles, including spatial planning, color theory, materials selection, and sustainable design practices.
- She gained hands-on experience through studio projects and collaborative design exercises, which honed her ability to create functional and aesthetically pleasing environments.
- Her coursework also emphasized problem-solving and practical applications of design, preparing her for real-world projects like her self-directed kitchen renovations.
- The program’s strong foundation in both technical skills and creative expression shaped Angela’s ability to seamlessly integrate form and function in her work.


