


When it comes to kitchen safety, silicone oven mitts are indispensable tools that protect your hands from burns and heat. However, after washing them or accidental spills, drying the inside can be a bit tricky due to the material’s non-absorbent properties. Ensuring that your silicone oven mitts are thoroughly dry is crucial to prevent mold and bacteria growth, which can compromise their integrity and hygiene.
In this guide, we will explore how do you dry the inside of silicone oven mitts, so they remain in top condition for your next culinary adventure.
The Importance of Keeping Silicone Oven Mitts Dry
Keeping your silicone oven mitts dry is essential for maintaining their durability and ensuring the safety of your cooking environment. Moisture trapped inside the mitts can become a breeding ground for bacteria and mold, which not only poses potential health hazards but can also leave unpleasant odors.
Additionally, damp mitts might not provide the same insulation required to protect your hands from hot surfaces, increasing the risk of burns. By ensuring your mitts are completely dry after each wash, you preserve their effectiveness and extend their lifespan, making them reliable kitchen companions.
Why Properly Drying Silicone Oven Mitts Is Essential
Properly drying silicone oven mitts is critical for several reasons. Firstly, it ensures that the mitts maintain their protective capabilities. If moisture remains trapped inside, it can compromise the material’s structure, reducing its ability to insulate against heat effectively. Secondly, the presence of moisture fosters an ideal environment for bacteria and mold to grow, presenting potential health risks and contributing to unpleasant odors.
This not only affects the mitts but can also potentially contaminate the food you handle. Finally, by keeping your mitts dry, you prevent them from becoming a source of unwanted mess or damage to other kitchen items. Proper drying practices extend the longevity of your mitts, ensuring they remain as a safe and reliable part of your cooking arsenal.
10 Methods How Do You Dry the inside of Silicone Oven Mitts
1. Air-Drying with Open Ends
The simplest method to dry the inside of silicone oven mitts is to allow them to air-dry with their open ends facing upward. After cleaning, turn the mitts upside down so that any residual water can drip out. This method works best if you place the mitts in a well-ventilated area where air can circulate freely.
Prop the mitts open by folding back the cuff slightly to allow the inside to be fully exposed to air. This natural method may take several hours, but it is a low-maintenance and effective way to remove moisture without the need for additional equipment.
2. Use a Hair Dryer
A hair dryer can significantly speed up the drying process. After washing the mitts, use the dryer on a low to medium heat setting to blow air inside the mitt. Hold the opening wide so that the warm air can circulate throughout the interior, evaporating any trapped moisture. Move the dryer around to target all areas, focusing especially on any pockets or creases where water might accumulate. This method is quick and ensures thorough drying, especially if you need to use the mitts again soon.
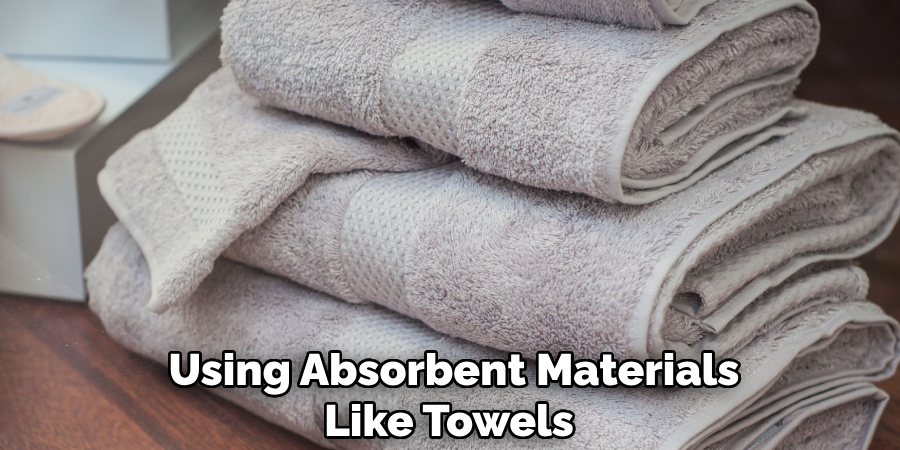
3. Stuff the Mitts with Absorbent Towels
Another effective way to dry the inside of silicone oven mitts is by using absorbent towels. After washing the mitts, roll up a few small, dry kitchen towels and stuff them inside the mitts. The towels will help soak up any excess water from the inside of the mitts. Make sure to change the towels if they become saturated, repeating the process until the mitts are completely dry. This method is particularly useful when combined with air drying, as the towels can speed up moisture removal.
4. Use a Fan
Positioning the mitts in front of a fan can significantly enhance air circulation inside the silicone material, speeding up the drying process. Place the mitts with the openings facing the fan and ensure they are slightly open to allow airflow. The fan’s constant breeze will encourage evaporation from the inside, leaving the mitts dry and ready for use. This method is simple yet efficient and is ideal for when you need to dry multiple pairs of mitts or other kitchen tools at once.

5. Turn the Mitts Inside Out
If possible, turning the silicone mitts inside out can expose the wet interior directly to the air, making it much easier to dry. Silicone is flexible, so carefully reverse the mitt to reveal the inner layer. Once inside out, let the mitts air dry or use a towel to dab up any remaining moisture. This method works well because it exposes the hard-to-reach inside of the mitts, ensuring that every part is dried evenly. Just make sure to avoid overstretching or damaging the silicone in the process.
6. Use a Dehumidifier
If you live in a particularly humid environment, air drying might not be as effective on its own. In this case, placing the silicone oven mitts near a dehumidifier can help extract moisture from the air around them. This accelerates the drying process, especially in areas where natural evaporation is slower due to high humidity levels. A dehumidifier will pull excess moisture from the surrounding air and prevent the mitts from becoming damp again while they dry.
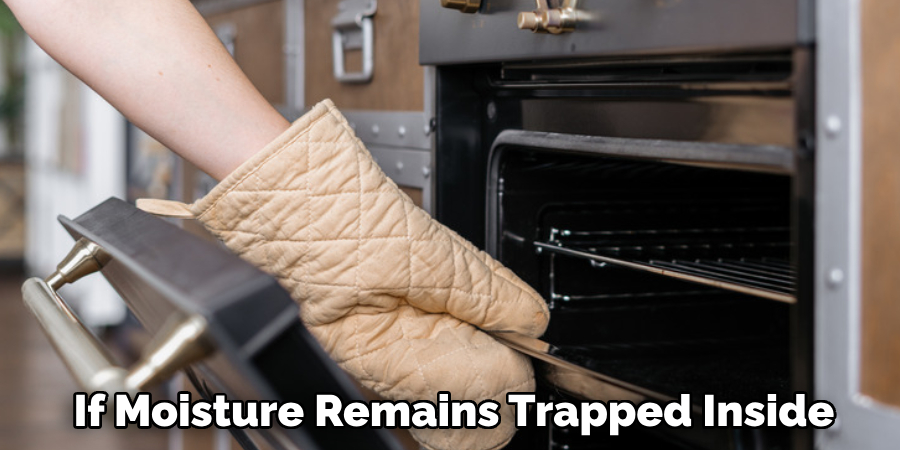
7. Place Mitts in a Warm Oven (Low Heat)
A warm oven can help dry silicone oven mitts, but it’s crucial to use the lowest temperature setting to avoid damaging the silicone. Set the oven to about 150°F (65°C) and place the mitts inside for a short period (10 to 15 minutes). Ensure the mitts are upright and open, allowing the warm air to circulate inside.
This controlled heat can help evaporate any water trapped in the mitts, but remember to monitor the process carefully. Silicone is heat-resistant, but exposure to extreme heat over a long period could compromise the mitts’ flexibility and performance.
8. Hang Mitts Upside Down
Hanging your mitts upside down on a clothesline or rack can allow gravity to assist in the drying process. Water will naturally drip out of the mitts when they are hung upside down. Choose a spot with good airflow or place them near a window to benefit from the natural breeze. If needed, use clips or hooks to secure the mitts in place. Hanging allows moisture to escape freely and can be especially effective when paired with another method like air drying or towel stuffing.

9. Use Silica Gel Packs
Silica gel packs, often found in shoe boxes or packaging, can help absorb moisture from the air and surfaces. After cleaning the silicone mitts, place a few silica gel packs inside the mitts and close the opening loosely. The silica will attract and absorb any residual moisture trapped inside the mitts. This method is useful when you need to dry the mitts slowly but thoroughly, and it works especially well in enclosed spaces where air circulation may be limited.
10. Place in Front of a Heater or Radiator
Another option is to place the mitts in front of a heater or radiator. Ensure the mitts are positioned at a safe distance to prevent any risk of damage from direct heat. The warm, dry air from the heater will help evaporate moisture from the inside of the mitts. Similar to the fan method, this approach can speed up drying while preventing the mitts from being exposed to too much heat, which could affect their integrity. Make sure to check the mitts periodically to avoid over-drying or warping.
Things to Consider When Drying Silicone Oven Mitts
When drying silicone oven mitts, it’s essential to ensure that the methods you choose do not compromise the material’s integrity. Always start with a thorough wash to remove any residual food particles or oils, as this will make the drying process more effective. Check the manufacturer’s instructions before exposing the mitts to any direct heat sources.
While silicone is heat-resistant, misuse can still lead to warping or melting if not monitored carefully. Additionally, when using absorbent materials like towels or silica gel packs, ensure they are clean and dry to prevent any mildew growth. Consider your drying environment’s humidity levels, as this can significantly impact the duration and effectiveness of the drying process. Always allow for adequate ventilation around the mitts to facilitate thorough drying, and when trying a new method, test the results with a small section first to avoid potential damage.
Conclusion
Properly drying the inside of silicone oven mitts is essential to maintain their performance, durability, and hygiene. Silicone, while resistant to water and heat, can trap moisture inside, leading to discomfort or even mold growth if not dried thoroughly.
By using one or more of the methods outlined—such as air drying, using a hair dryer, or even employing silica gel—you can ensure that your mitts stay dry, clean, and ready for their next use. Thanks for reading our blog post on how do you dry the inside of silicone oven mitts! We hope you found it helpful and informative.
Professional Focus
Angela Ervin, a former interior designer turned blogger, specializes in kitchen design and renovations. Through her website, she blends her passion for cooking with design expertise, sharing practical and creative ideas. Known for balancing functionality and beauty, Angela’s insightful content has made her a trusted voice in home design and lifestyle.
About the Author
Angela Ervin, an experienced interior designer and blogger, combines her passion for kitchen renovations with storytelling. Living in Petersburg with her family, she enjoys cooking and testing her projects firsthand. Known for her humor and relatable style, Angela shares creative, functional design insights through her content, making her a trusted voice in home design.
Education History
University: Virginia Commonwealth University
Degree: Bachelor of Fine Arts (BFA) in Interior Design
- Angela’s education at VCU focused on mastering core interior design principles, including spatial planning, color theory, materials selection, and sustainable design practices.
- She gained hands-on experience through studio projects and collaborative design exercises, which honed her ability to create functional and aesthetically pleasing environments.
- Her coursework also emphasized problem-solving and practical applications of design, preparing her for real-world projects like her self-directed kitchen renovations.
- The program’s strong foundation in both technical skills and creative expression shaped Angela’s ability to seamlessly integrate form and function in her work.