


Removing an infrared electric oven door is a necessary task when cleaning or performing maintenance on your oven. The process is relatively simple but requires careful handling to avoid damage to the door or hinges. This guide will walk you through how do you remove a Infrared electric oven door, detailing each step and providing tips for smooth removal and reinstallation. Before beginning, it’s crucial to follow safety procedures, especially if the oven was recently in use.
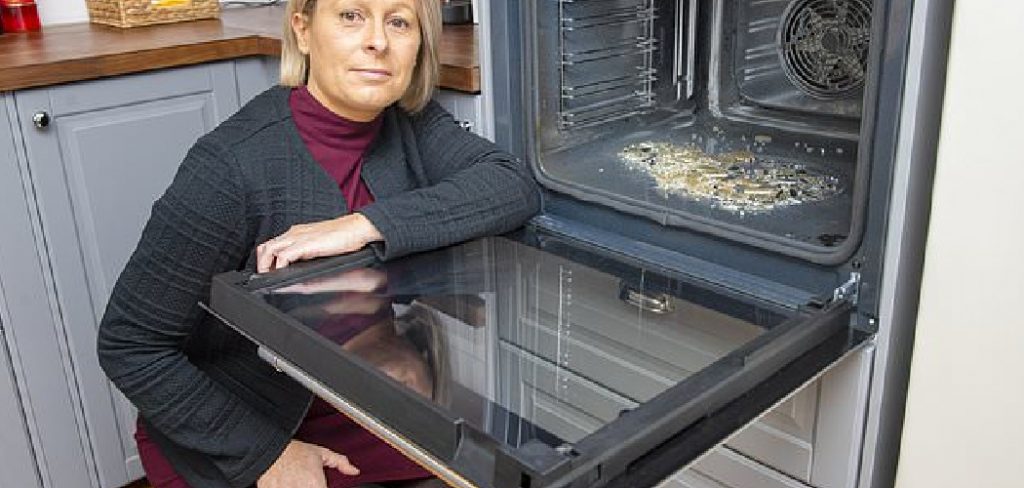
Allow the oven to cool completely to avoid burns. Proper preparation and attention to detail will ensure the task is performed correctly without causing any harm. Understanding how to remove an infrared electric oven door can also aid in troubleshooting potential issues and make general maintenance more manageable.
Tools and Materials Needed
When preparing to remove the door from your infrared electric oven, you’ll need a few essential tools and materials to ensure a smooth and safe process.
- Protective Gloves: It’s important to wear gloves throughout the operation to protect your hands from sharp edges or residual heat. Choose gloves that offer durability and flexibility for optimal safety.
- Towel or Drop Cloth: Place a towel or drop cloth on the floor where the oven door will rest, protecting both the door and your flooring surface from potential scratches or damage.
- Screwdriver (If Necessary): Some infrared electric oven doors are secured to the hinges with screws. Having a screwdriver handy will ensure you can easily remove any necessary screws during the process.
- Preparation: Confirm the oven is completely off and thoroughly cool before starting. Double-check your oven’s manual for any specific instructions the manufacturer may provide, as some models may have unique features or door removal methods.
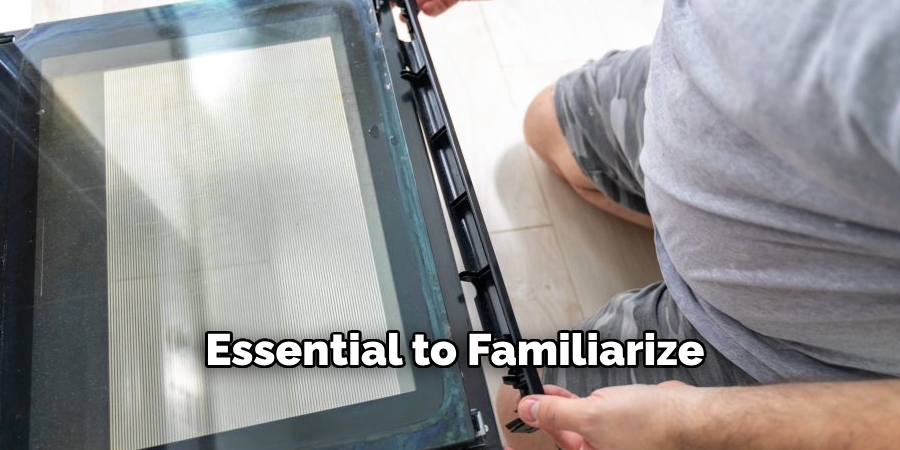
Familiarizing Yourself with the Door Hinges
Before removing the door of your infrared electric oven, it’s essential to familiarize yourself with the door hinges, as they play a crucial role in the removal process. Infrared electric ovens typically feature hinges located at the bottom on both sides of the door. These hinges are designed to facilitate smooth opening and closing while securely holding the door during operation.
One important feature to be aware of is the hinge locks. Most oven models are equipped with these locks to ensure the door remains stable. To remove the door, these hinge locks must be disengaged first. Open the oven door fully to expose the hinges, and you should notice metal latches or locks near the lower section of the hinge arms. Carefully investigate these latches, as they might need to be lifted or rotated to unlock them.
If you encounter uncertainty regarding the hinge mechanism of your particular oven model, it’s advisable to consult the oven’s manual. The manual will provide you with detailed, model-specific information about the hinge locks, screws, or any additional components involved in the door removal process. Following the directions outlined in your oven’s manual will help you carry out the task efficiently and prevent any potential issues.
Disengaging the Hinge Locks
Step 1: Open the Door Fully
Start by fully opening the oven door until it is horizontal (parallel to the floor). This position exposes the hinges and provides clear access to the locking mechanism, making it essential for the subsequent steps.
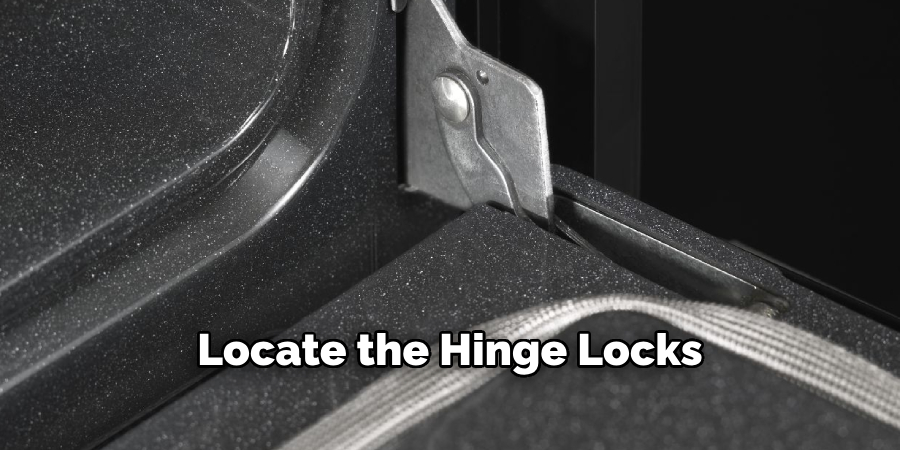
Step 2: Locate the Hinge Locks
Carefully inspect the hinges at the bottom of the door. Each hinge should have metal latches or clips, known as the hinge locks. These components are crucial as they secure the door in place and must be addressed correctly to avoid mishaps during removal.
Step 3: Unlock the Hinges
Depending on your oven model, use a screwdriver or your fingers to gently flip or pull the hinge locks toward you. This action disengages the locking mechanism, freeing the door from its secure hold. Exercise caution during this step, as the hinges may still be under tension. Avoid using excessive force to prevent damage or injury.
Step 4: Partially Close the Door
After successfully unlocking the hinges, carefully close the door until it reaches a halfway closed position, approximately a 30-degree angle from horizontal. This stage, known as the removal position, should make the door feel noticeably loose, signifying it is ready for removal. From this position, the door can be lifted off with minimal effort. Ensure you support the door during this process to prevent accidental dropping or damage.

How Do You Remove a Infrared Electric Oven Door: Removing the Oven Door
Step 1: Grasp the Door Firmly
With the door in the removal position, grasp both sides of the oven door securely. Use both hands to ensure a firm grip, as oven doors can be heavy and bulky. Maintaining a steady hold will help you handle the door safely and prevent accidental slipping.
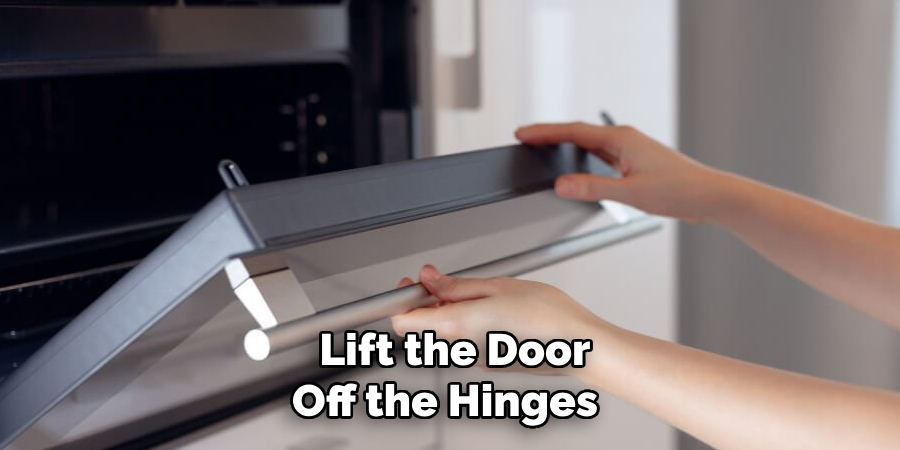
Step 2: Lift the Door Off the Hinges
While holding the sides of the door, carefully lift it upwards. The door should easily slide off the hinges. Keep the door at the same angle (about 30 degrees) as you lift it away from the oven. This alignment ensures that the door disengages smoothly from the hinge slots without binding or catching on other parts.
Step 3: Place the Door on a Protected Surface
After removing the door, place it on a towel or drop cloth to protect it from damage. Make sure the surface is flat and stable to prevent the door from tipping or scratching. This step is crucial to maintaining the door’s aesthetic and functional integrity in preparation for future reinstallation.
Tip for Heavier Doors: If the oven door is particularly heavy, it’s a good idea to have a second person help with this step to ensure safe removal. A second pair of hands can provide the additional support needed to manage the weight of the door, minimizing the risk of injury or damage.
Inspecting and Cleaning the Door and Hinges
Inspecting the Hinges
Once the door is removed, take the time to carefully inspect the oven’s hinges for any signs of wear, rust, or damage. These issues can impact the performance and safety of the oven door. If rust or corrosion is present, gently clean the affected area and consider applying a rust inhibitor. Look for loose screws or components that might need tightening. This inspection is crucial for ensuring that your oven operates safely and efficiently.
Cleaning the Door
With the door removed, it’ll be much easier to clean the inner glass and other tricky areas that typically accumulate grease and grime. Use a soft cloth and a non-abrasive cleaner to gently wipe down the surfaces. Pay close attention to the edges and corners, which often harbor built-up residues. Regular cleaning maintains the door’s appearance and ensures its longevity and optimal functionality.
Hinge Maintenance
Should the hinges feel stiff or difficult to operate, apply a small amount of high-temperature lubricant. A light coating will enhance movement without leaving excessive residue that could attract dirt. This maintenance step is essential to facilitate smooth door opening and closing, augmenting both safety and convenience when using your oven.
Reinstalling the Oven Door
Reinstalling the oven door is a straightforward process that requires attention to detail to ensure it functions correctly and securely. Follow these steps to successfully reinstall your oven door:
Step 1: Align the Hinges
To reinstall the oven door, carefully align the hinges on the door with the slots on the oven. Maintaining the 30-degree angle used during removal is crucial, as this ensures the hinges fit smoothly into their respective slots without any misalignment or strain.
Step 2: Insert the Hinges
Once aligned properly, gently slide the hinges into the slots on the oven frame. Push them in until you feel them fully seated. Ensuring the hinges are correctly inserted is essential for the door to stay secure and avoid any operational issues.
Step 3: Open the Door Fully
Once you have confirmed that the hinges are securely in place, slowly and carefully open the oven door to its full horizontal position. This step is important as it allows you unrestricted access to the hinge locks, which are critical for stabilizing the door.
Step 4: Lock the Hinges
With the door fully opened, flip the hinge locks back into position. Make sure that these locks are fully engaged to secure the door to the oven frame. Proper engagement is crucial to prevent the door from dislodging, ensuring safety and functionality.
Step 5: Test the Door
Finally, gently open and close the door a few times to test its installation. The door should move smoothly, without any signs of looseness or misalignment. If it feels loose or does not close properly, revisit the hinge locks and make sure the hinges are fully and correctly seated. This final check ensures the door is firmly attached and provides the confidence that your oven is operating safely.
Conclusion
Removing an infrared electric oven door is a simple task when done carefully. Following these steps, you can safely remove the door for cleaning or maintenance and easily reinstall it afterward. Ensure you disengage the hinge locks and handle the door with caution, remembering that oven doors can be heavy. Proper cleaning and inspecting the door and hinges, while they are removed, can significantly help maintain your oven’s performance.
If any issues arise or if there’s any uncertainty about the removal process, your first step should be to consult your oven’s user manual or reach out to a professional for assistance. “how do you remove a Infrared electric oven door” is a common query, and following the proper guidelines ensures a successful and safe procedure. Always prioritize safety and accuracy to keep your kitchen appliance in optimal working condition.
Professional Focus
Angela Ervin, a former interior designer turned blogger, specializes in kitchen design and renovations. Through her website, she blends her passion for cooking with design expertise, sharing practical and creative ideas. Known for balancing functionality and beauty, Angela’s insightful content has made her a trusted voice in home design and lifestyle.
About the Author
Angela Ervin, an experienced interior designer and blogger, combines her passion for kitchen renovations with storytelling. Living in Petersburg with her family, she enjoys cooking and testing her projects firsthand. Known for her humor and relatable style, Angela shares creative, functional design insights through her content, making her a trusted voice in home design.
Education History
University: Virginia Commonwealth University
Degree: Bachelor of Fine Arts (BFA) in Interior Design
- Angela’s education at VCU focused on mastering core interior design principles, including spatial planning, color theory, materials selection, and sustainable design practices.
- She gained hands-on experience through studio projects and collaborative design exercises, which honed her ability to create functional and aesthetically pleasing environments.
- Her coursework also emphasized problem-solving and practical applications of design, preparing her for real-world projects like her self-directed kitchen renovations.
- The program’s strong foundation in both technical skills and creative expression shaped Angela’s ability to seamlessly integrate form and function in her work.