


When it comes to baking, silicone molds have become a popular choice for both amateur and professional bakers alike. Known for their flexibility and non-stick properties, these molds can simplify the process of creating intricately shaped baked goods.

However, using silicone molds in the oven requires some understanding of their unique characteristics and best practices. This guide provides introduction for how do you use silicone Mould in the oven, ensuring that your creations come out perfect every time.
Benefits of Using Silicone Molds in the Oven
Silicone molds offer numerous advantages that make them an excellent choice for baking. Firstly, their non-stick surface ensures that baked goods are easily released without the need for additional greasing or oiling, which can help reduce fat content in recipes.
Secondly, silicone molds are highly flexible, allowing for easy removal of delicate treats such as cakes or pastries without damaging their intricate shapes. This flexibility also makes it convenient to store silicone molds in tight spaces, as they can be bent or rolled without losing their shape.
Moreover, silicone is a material known for its even heat distribution, which promotes consistent baking results and reduces the risk of burnt edges or undercooked centers. Additionally, silicone molds are usually safe for use in both the oven and the freezer, making them versatile for a range of recipes from cakes to ice creams. Lastly, their durability and reusable nature contribute to an eco-friendly approach, minimizing waste compared to disposable baking options.
Advantages of Using Silicone Molds in the Oven
Silicone molds offer an impressive array of advantages that cater to a smooth and efficient baking experience. One of the primary benefits is their excellent non-stick surface, which eliminates the need for additional greasing. This feature not only helps in reducing unwanted fat content in your bakes but also ensures that your creations are easily and cleanly released from the mold without sticking or breaking apart.
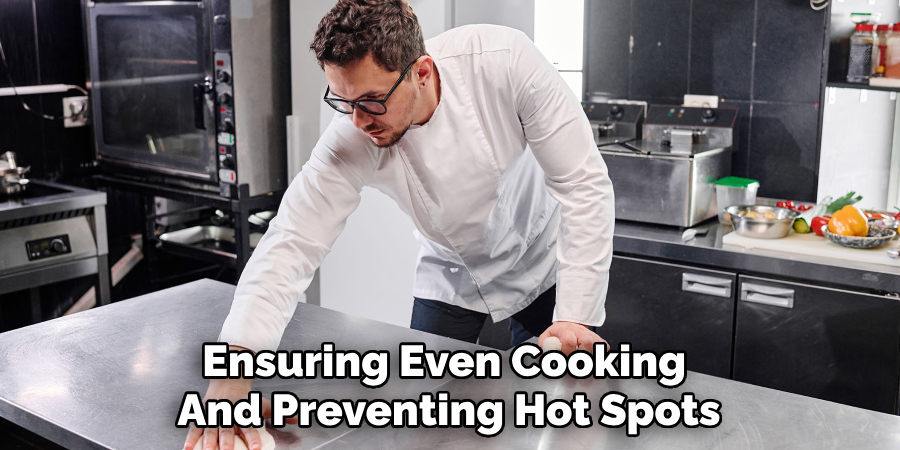
Additionally, the flexibility of silicone molds allows bakers to effortlessly remove desserts, maintaining perfect shapes and designs, which is especially useful for intricate cake decoration or complex pastries. Moreover, these molds provide uniform heat distribution, ensuring even cooking and preventing hot spots that could lead to burnt edges or undercooked centers.
Their versatility extends beyond baking, as they are freezer-safe, making them a practical choice for preparing chilled treats like mousses or ice creams. Furthermore, silicone molds are known for their durability, being able to withstand frequent use without degrading, and their reusability makes them an environmentally friendly alternative to single-use paper or aluminum baking products. Overall, the user-friendly nature and multifunctional use of silicone molds support both novices and seasoned bakers in achieving consistently delightful results.
10 Methods How Do You Use Silicone Mould in the Oven
1. Prepare the Mould by Cleaning and Greasing
Before using a silicone mould for baking, it’s essential to clean it thoroughly. Silicone moulds are usually non-stick, but cleaning them ensures that any residue from manufacturing or previous use is removed. Use warm water and mild dish soap to gently wash the mould.
Even though silicone is non-stick, it’s a good idea to lightly grease the mould with butter or cooking spray, especially if you’re using it for baking cakes or items prone to sticking. This will give your baked goods an extra layer of insurance against sticking and make it easier to pop them out once they’re done.
2. Preheat the Oven Correctly
Silicone moulds are designed to withstand high temperatures, but it’s still crucial to use the correct temperature settings when baking. Preheat your oven as per the recipe’s instructions, ensuring that the temperature doesn’t exceed the mould’s maximum temperature rating (typically around 428°F or 220°C, though you should check your specific mould).
Proper preheating ensures even baking and that your silicone mould performs as expected. Putting the mould into an oven that isn’t fully preheated can lead to uneven cooking.
3. Place the Silicone Mould on a Baking Sheet
One of the key features of silicone moulds is their flexibility. While this is beneficial for unmoulding baked goods, it can pose challenges when placing them into the oven. The flexibility can cause spills, especially if you’re working with a liquid batter.
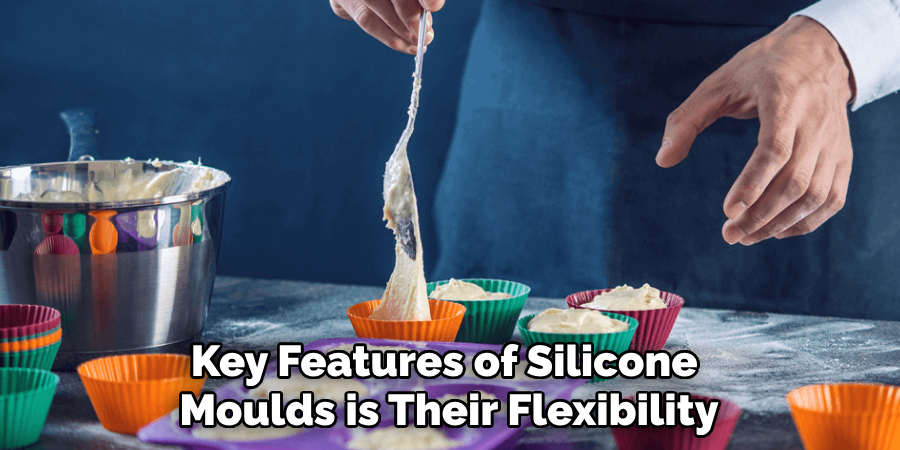
To avoid this, place your silicone mould on a sturdy baking sheet or tray before filling it. The tray will provide support and make it easier to transfer the mould in and out of the oven without any accidents. This also helps promote even heat distribution.
4. Fill the Mould Properly
Once your mould is prepped and placed on a baking tray, it’s time to fill it. Be sure to fill each cavity or section of the mould to the appropriate level. Most recipes will guide you on how full the mould should be, but a good rule of thumb is to fill it about two-thirds to three-quarters full to allow room for expansion. If the mould is overfilled, the batter may overflow, leading to messy results and uneven baking. On the other hand, underfilling may cause your baked goods to come out too small or flat.
5. Monitor Baking Time
When using silicone moulds, the baking time can differ slightly compared to traditional metal or glass pans. Silicone doesn’t conduct heat as efficiently as metal, which can sometimes lead to slightly longer baking times.
Keep an eye on your baked goods and perform the usual tests, such as inserting a toothpick or skewer into the centre of cakes or muffins to check for doneness. If it comes out clean, your items are ready. If the recipe calls for 25 minutes, start checking around the 20-minute mark to ensure you don’t overbake.
6. Allow the Baked Goods to Cool Before Unmoulding
One of the most common mistakes when using silicone moulds is rushing the unmoulding process. Silicone retains heat well, so it’s important to allow your baked goods to cool properly before attempting to remove them. Cooling helps the structure of your baked goods firm up, which reduces the chances of them breaking apart when you unmould them.
For smaller items like cupcakes or muffins, let them cool for 5-10 minutes before gently pressing on the mould to pop them out. For larger cakes, wait until the mould feels cool to the touch.
7. Invert the Mould for Easy Removal
Silicone’s flexibility is an asset when it comes to unmoulding, but you need to use the right technique. Once your baked goods have cooled, gently pull the edges of the silicone mould away from the baked item. For larger cakes or loaves, it might help to completely invert the mould onto a cooling rack. This allows gravity to assist with removal. If the mould is intricately designed, be extra gentle and peel it away slowly to avoid damaging the delicate shapes or patterns.
8. Use the Mould Beyond Baking
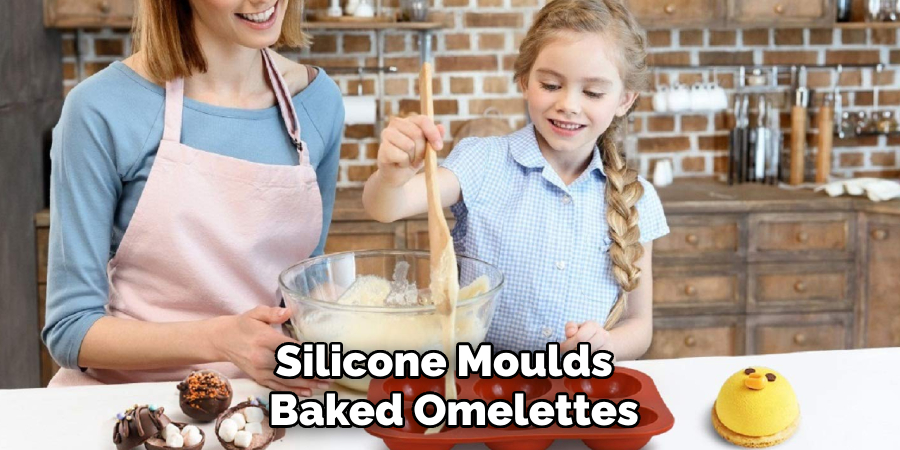
Silicone moulds aren’t just for baking cakes or muffins. They are incredibly versatile and can be used for a variety of other cooking and baking techniques in the oven. For example, silicone moulds are excellent for making baked omelettes, bread rolls, or even homemade granola bars.
They can also be used for savoury dishes such as mini quiches, lasagne cups, or meatloaf portions. Their non-stick surface ensures that food releases easily, and cleanup remains minimal. This versatility allows you to experiment with different types of dishes.
9. Handle the Mould Carefully
Once your items are out of the oven, it’s important to remember that silicone moulds, while heat-resistant, will still be hot and flexible. Always use oven mitts or a heat-resistant surface when handling them.
Take extra care when removing the baking tray from the oven, as the flexibility of the silicone can make it easier to accidentally spill the contents if you’re not cautious. If your moulds are shallow or contain liquids, using a cooling rack can help stabilize the mould as it cools down.
10. Clean the Mould Properly After Use
Silicone moulds are generally dishwasher safe, but it’s still important to clean them properly to maintain their performance. After the mould has cooled, wash it with warm soapy water, paying special attention to any nooks and crannies if the mould has intricate designs.
If any residue or baked-on bits remain, soak the mould in warm water for a few minutes and gently scrub with a soft sponge. Avoid using abrasive materials or scouring pads, as these can damage the surface of the silicone. Proper cleaning will ensure your moulds last longer and continue to release baked goods easily.

Conclusion
Using silicone moulds in the oven is simple once you understand the best practices for preparation, baking, and cleanup. Their flexibility and non-stick properties make them a favourite among both novice and experienced bakers. Whether you’re baking sweet treats or trying out savoury dishes, silicone moulds offer versatility and convenience. Thanks for reading, and we hope this has given you some inspiration on how do you use silicone Mould in the oven!
Professional Focus
Angela Ervin, a former interior designer turned blogger, specializes in kitchen design and renovations. Through her website, she blends her passion for cooking with design expertise, sharing practical and creative ideas. Known for balancing functionality and beauty, Angela’s insightful content has made her a trusted voice in home design and lifestyle.
About the Author
Angela Ervin, an experienced interior designer and blogger, combines her passion for kitchen renovations with storytelling. Living in Petersburg with her family, she enjoys cooking and testing her projects firsthand. Known for her humor and relatable style, Angela shares creative, functional design insights through her content, making her a trusted voice in home design.
Education History
University: Virginia Commonwealth University
Degree: Bachelor of Fine Arts (BFA) in Interior Design
- Angela’s education at VCU focused on mastering core interior design principles, including spatial planning, color theory, materials selection, and sustainable design practices.
- She gained hands-on experience through studio projects and collaborative design exercises, which honed her ability to create functional and aesthetically pleasing environments.
- Her coursework also emphasized problem-solving and practical applications of design, preparing her for real-world projects like her self-directed kitchen renovations.
- The program’s strong foundation in both technical skills and creative expression shaped Angela’s ability to seamlessly integrate form and function in her work.