An outdoor kitchen enhances your outdoor living space, making it ideal for entertaining, barbecuing, and enjoying family meals. Building an outdoor kitchen using metal studs offers durability, resistance to the elements, and lightweight construction.
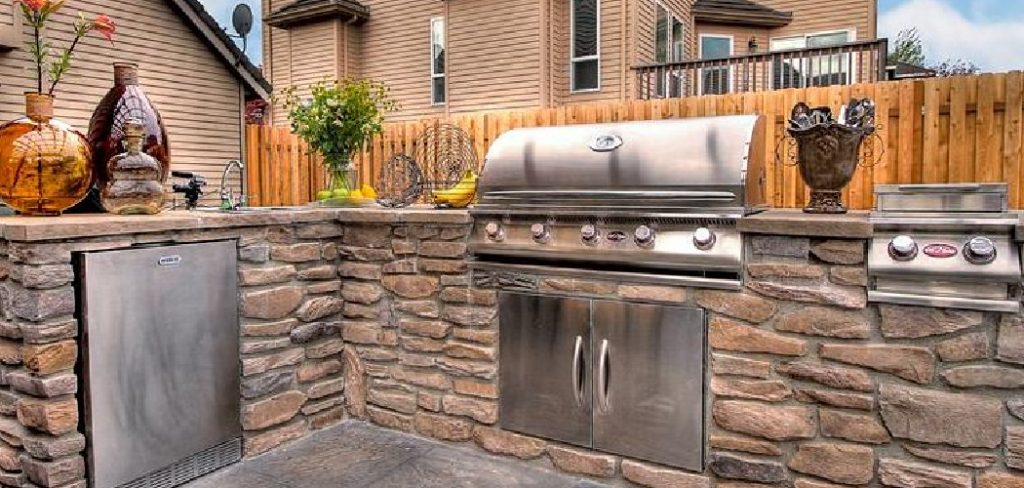
Metal studs are an excellent alternative to traditional wood framing, providing a sturdy structure that withstands diverse weather conditions. This guide will walk you through the essential steps on how to build an outdoor kitchen with metal studs.
From planning your kitchen’s layout and selecting suitable materials to the construction phase and adding the perfect finishing touches, you’ll find comprehensive instructions to create a functional and stylish outdoor kitchen. With careful preparation and attention to detail, you’ll be able to transform your backyard into a welcoming space for culinary creativity and memorable gatherings.
Planning Your Outdoor Kitchen
Assess Your Space
Before starting your outdoor kitchen project, assess the available space in your backyard. Measure the area to understand how much room you must work with and identify potential constraints.
Consider the proximity of your future kitchen to your home for convenience as well as access to utilities like water, gas, and electricity. A nearby water source will ease the installation of a sink, while access to electric and gas lines will facilitate the integration of essential cooking appliances.
Design Layout
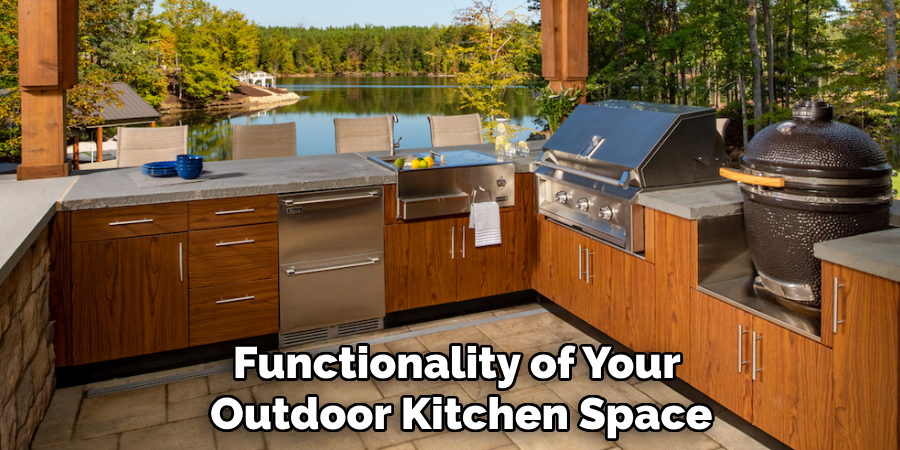
Begin sketching a layout that effectively incorporates the main components of your outdoor kitchen, such as the grill, sink, countertops, storage areas, and seating arrangements.
Prioritize a practical workflow that allows for seamless movement between cooking, prepping, and serving zones. Ensuring an efficient layout not only enhances the cooking experience but also maximizes the functionality of your outdoor kitchen space.
Choose Your Style
Next, decide on the aesthetic theme of your outdoor kitchen. Are you drawn to a sleek modern design, a cozy rustic vibe, or perhaps a classic traditional look? Carefully choose materials, colors, and finishes that will complement and enhance the overall ambiance of your outdoor living area. A cohesive style will create a harmonious extension of your home into the backyard.
Local Regulations and Permits
Finally, research local building codes and regulations. Determine if any permits are required to construct an outdoor kitchen, especially concerning plumbing, electrical installations, and gas line integrations. Abiding by these regulations ensures safety and compliance, preventing potential legal issues later in the process.
Gathering Materials
Metal Studs
The construction of your outdoor kitchen begins with selecting the right metal studs. To ensure durability and longevity, it’s essential to purchase metal studs specifically designed for outdoor use. Look for rust-resistant options rated for frame support, as these will provide a sturdy and lasting foundation that can withstand the elements.
Other Materials
Once you’ve secured your metal studs, gather additional materials to complete the build. Plywood or cement board will be necessary to sheathe the walls and support the countertops. Consider using outdoor-grade insulation if your area experiences extreme temperatures, as this can enhance comfort and efficiency.
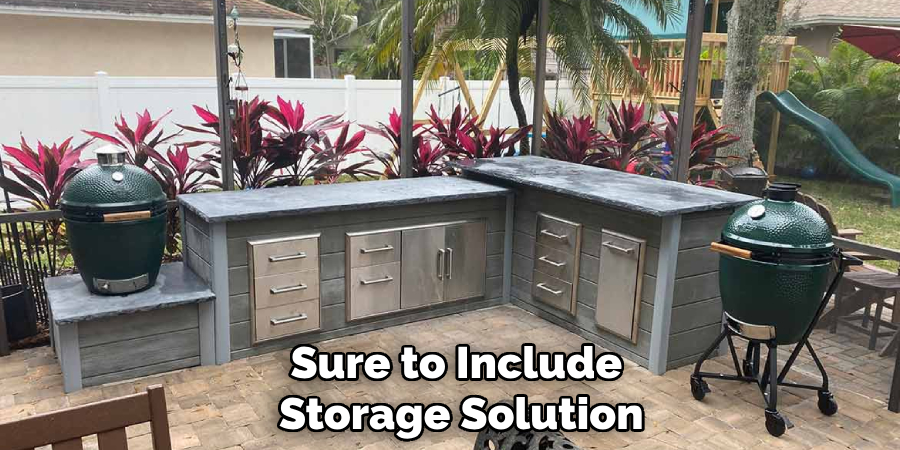
Regarding exterior finishes, stucco, tile, or wood will provide a polished look while protecting the structure. Additionally, you’ll need a grill, sink, and countertop materials, such as stone or tile, to form the functional elements of your kitchen. Be sure to include storage solutions like cabinets or shelves to optimize the space effectively.
Tools Needed
Equip yourself with the necessary tools to streamline the construction process. Basic hand tools, including screwdrivers, hammers, measuring tape, and a level, are crucial for precision and accuracy.
Power tools such as a drill saw and angle grinder will make cutting and assembling more efficient. Finally, prioritize safety by using protective gear, including gloves and goggles, to safeguard against potential hazards during construction.
How to Build an Outdoor Kitchen with Metal Studs: Building the Frame
Constructing the Base
Start by marking the layout of your kitchen on the ground using chalk or string lines. This will help you visualize the area and ensure accurate placement of your structures. A stable foundation is essential, so install a concrete pad or, alternatively, use patio stones. These options provide a reliable base that can support the weight of your outdoor kitchen setup and keep everything level and secure.
Framing with Metal Studs
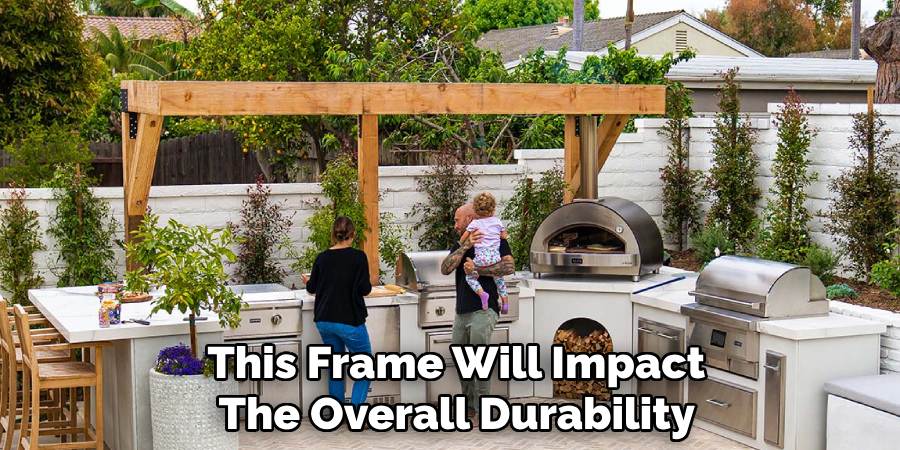
Once your foundation is ready, begin cutting the metal studs to the required lengths using a metal saw or angle grinder. Assemble the frame by attaching vertical studs to horizontal tracks with self-tapping screws. This step is crucial as it creates a grid structure supporting the walls and counters. The alignment and strength of this frame will impact the overall durability and safety of your outdoor kitchen.
Supporting Countertops
For the countertops, it is important to install horizontal supports between the vertical studs. These horizontal metal studs should be placed strategically to ensure a sturdy surface capable of supporting heavy appliances.
Using at least two horizontal supports will enhance stability, particularly when planning to place heavy items like a stone countertop or a grill on top. Confirm that these supports are securely fastened and level to provide a firm base for your countertop materials.
Installing Walls
With the frame in place, proceed to attach metal studs to form the walls of your outdoor kitchen. This process involves ensuring that the frame is both square and level before securing everything.
Use a level to verify each section is plumb and make any necessary adjustments during the installation. A properly squared and level framework not only simplifies finishing tasks but also improves the longevity and performance of your installation.
How to Build an Outdoor Kitchen with Metal Studs: Adding Utilities
Electrical Wiring
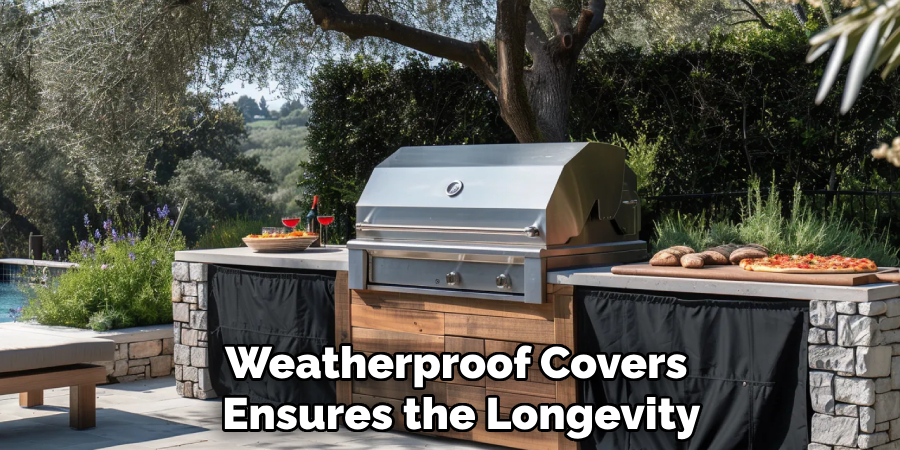
Incorporating electrical outlets into your outdoor kitchen design allows for a variety of conveniences, such as powering appliances, lights, or fans. Begin by mapping out the electrical layout to determine the placement of necessary outlets and switches. Engage a licensed electrician to ensure that all wiring is run safely, particularly if it involves connecting to your home’s existing electrical system. Proper installation is critical to guarantee that the connections are weather-resistant and grounded correctly to prevent electrical hazards. Additionally, installing outdoor-rated fixtures and weatherproof covers ensures the longevity and safety of your electrical outlets.
Plumbing Installation
If your outdoor kitchen plans include a sink or any water features, installing reliable plumbing lines for hot and cold water is essential. Utilize appropriate plumbing materials, such as PVC pipes for drainage, to ensure durability and compliance with local codes.
Accurate planning of your plumbing layout will facilitate ease of access and maintenance. You may also want to consider adding a water filtration system to improve water quality and provide safe water for cooking and cleaning. Make certain that all installation is conducted in accordance with local guidelines to avoid potential issues.
Gas Lines
For those planning to incorporate a gas grill or cooktop into their outdoor kitchen, it is imperative to consult with a professional to install gas lines safely. Expertise is necessary to ensure connections are secure and that proper ventilation is observed to prevent gas buildup.
Compliance with local regulations is paramount when dealing with gas installations, as it pertains to safety and effectiveness. Ensuring that your gas appliances are installed correctly will provide peace of mind and seamless operation during use.
Inspections
Scheduling inspections is a vital step in ensuring your outdoor kitchen meets all building codes and safety standards. Local authorities may require inspections at various stages of installation to certify compliance.
By adhering to required inspections, you can identify and address any issues early, ensuring a safe and operational kitchen while avoiding potential legal problems. Prompt inspections contribute to the overall success of your project, guaranteeing a well-constructed and code-compliant outdoor kitchen.
Adding Sheathing and Finishing Touches
Installing Sheathing
Begin by attaching plywood or cement board to the exterior of the metal frame. This layer serves as a solid surface necessary for applying finishing materials. Ensure that all seams are sealed meticulously, using waterproof materials to guard against moisture intrusion. Paying attention to these details ensures a sturdy and protected base supporting subsequent finishes.
Finishing Materials
Once the sheathing is securely placed, apply the finishing materials you’ve selected for your outdoor kitchen. Options such as stucco, siding, or tiles can provide both aesthetic appeal and protection from the elements.
It is crucial to choose materials that are durable and suitable for outdoor conditions, ensuring they withstand changes in weather and complement the overall design of your home. The right finishes can elevate the look and longevity of your kitchen, making it a harmonious extension of your living space.
Countertops
Finally, the countertop materials are installed, securing them firmly to the supports that were previously put in place. Consider using stone, tile, or concrete, as these materials are ideal for outdoor kitchens due to their durability and ability to handle various cooking activities. Proper installation will provide a functional workspace and contribute to your outdoor kitchen’s visual appeal.
Furnishing and Equipping Your Kitchen
Appliances
Begin by installing essential appliances such as the grill, refrigerator, and sink, making sure all utilities are properly connected. Selecting appliances specifically designed for outdoor use is crucial to ensure they can withstand the elements and provide reliable performance. Position these appliances strategically within the layout to maximize functionality and accessibility during use.
Storage Solutions
To organize your outdoor kitchen, incorporate efficient storage options like cabinets, shelves, or drawers. Metal cabinetry is an excellent choice due to its durability and rust-resistant properties, making it suitable for outdoor conditions. Ensure that your storage solutions are both aesthetically pleasing and functional, providing ample space for your kitchen essentials.
Seating Area
Create a welcoming seating area by integrating a bar or designated seating section that complements your kitchen’s overall design and layout.
Choose weather-resistant materials like teak or powder-coated metal for chairs and tables to maintain durability amidst changing conditions. Your seating area should serve as a comfortable space for dining and socializing, enhancing the outdoor dining experience.
Accessories
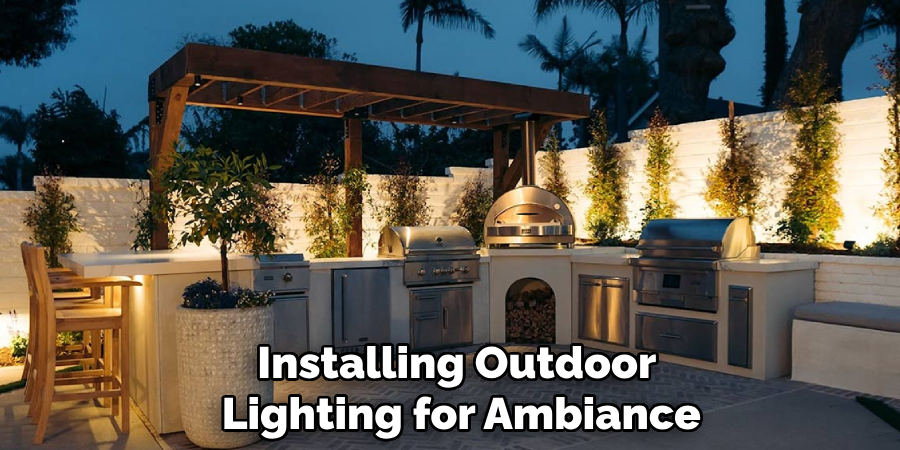
Enhance your outdoor kitchen with accessories that add functionality and style. Consider installing outdoor lighting for ambiance, selecting decorative elements that reflect your personal taste, and incorporating functional items like cutting boards and utensils. Thoughtfully chosen accessories can elevate the appearance of your kitchen, making it a complete and inviting space for cooking and entertaining.
Conclusion
Building an outdoor kitchen with metal studs is a rewarding project that enhances your outdoor living experience. By following a systematic approach and gathering the right materials, you can achieve a durable and functional kitchen space that stands the test of time.
Starting with a solid framework and including essential utilities like electrical, plumbing, and gas lines ensures seamless integration of function and safety. Installing reliable sheathing and applying weather-resistant finishes help simplify maintenance while adding beauty to the design.
As you incorporate appliances and furnishings, this outdoor kitchen transforms into a favorite gathering place, creating opportunities for memorable meals with family and friends. Whether hosting a summer barbecue or enjoying a quiet dinner al fresco, knowing how to build an outdoor kitchen with metal studs allows you to personalize your outdoor space, elevating your dining experience to new heights.
Professional Focus
Angela Ervin, a former interior designer turned blogger, specializes in kitchen design and renovations. Through her website, she blends her passion for cooking with design expertise, sharing practical and creative ideas. Known for balancing functionality and beauty, Angela’s insightful content has made her a trusted voice in home design and lifestyle.
About the Author
Angela Ervin, an experienced interior designer and blogger, combines her passion for kitchen renovations with storytelling. Living in Petersburg with her family, she enjoys cooking and testing her projects firsthand. Known for her humor and relatable style, Angela shares creative, functional design insights through her content, making her a trusted voice in home design.
Education History
University: Virginia Commonwealth University
Degree: Bachelor of Fine Arts (BFA) in Interior Design
- Angela’s education at VCU focused on mastering core interior design principles, including spatial planning, color theory, materials selection, and sustainable design practices.
- She gained hands-on experience through studio projects and collaborative design exercises, which honed her ability to create functional and aesthetically pleasing environments.
- Her coursework also emphasized problem-solving and practical applications of design, preparing her for real-world projects like her self-directed kitchen renovations.
- The program’s strong foundation in both technical skills and creative expression shaped Angela’s ability to seamlessly integrate form and function in her work.


