Keeping a commercial kitchen floor clean is critical for maintaining hygiene, preventing accidents, and complying with health regulations. Commercial kitchens are high-traffic areas where spills, grease, and food particles can quickly accumulate, leading to safety hazards such as slips and falls.

Moreover, unclean floors can foster bacteria growth, jeopardizing food safety. This guide will provide a comprehensive, step-by-step process for how to clean a commercial kitchen floor effectively. Whether you run a restaurant, a catering business, or any other commercial kitchen, following these guidelines will help ensure that your kitchen remains clean, safe, and in compliance with health and safety standards.
The cleaning process should be done regularly and may require specialized cleaning products and techniques to tackle grease, heavy grime, and high foot traffic. We’ll cover everything from preparation to deep cleaning and offer tips for maintaining cleanliness in the long run.
Gather Necessary Supplies and Equipment
Cleaning a commercial kitchen floor thoroughly requires the right supplies and equipment to ensure both effectiveness and safety. Here’s a detailed list of what you’ll need:
Floor Scrubber or Mop System:
Based on your kitchen’s size, decide between a heavy-duty floor scrubber and an industrial-grade mop system. Floor scrubbers offer an efficient deep clean, making them ideal for larger kitchen areas. They can remove embedded dirt and grease more thoroughly than manual mopping.
Degreaser:
Kitchens, especially around stoves and fryers, are prone to collecting grease. A strong, food-safe degreaser is crucial for breaking down these greasy spots, which can lead to slips and falls if left untreated. Ensure the degreaser is compatible with your floor type and is effective in a commercial kitchen setting.
Broom and Dustpan:
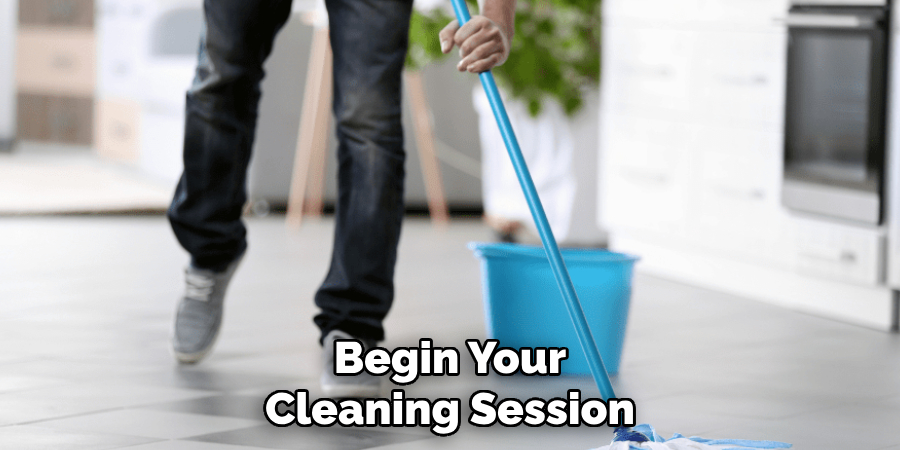
Begin your cleaning session by sweeping. Use a wide, heavy-duty broom with stiff bristles to gather larger debris, such as food scraps, dirt, and dust that have accumulated on the floor. This initial step helps prepare the surface for more intensive cleaning.
Floor Squeegee:
After mopping or scrubbing, a floor squeegee is essential for removing excess water and cleaning solutions. This tool aids in speeding up the drying process, significantly reducing the risk of slipping on wet surfaces.
Hot Water:
Hot water is more effective than cold water at cutting through stubborn grease and grime. Use it to dilute your cleaning solutions and in combination with degreasers to increase their efficacy.
Bucket and Mop:
For those opting not to use a floor scrubber, ensure you have a sturdy mop and a compatible bucket with a wringer. Microfiber mops are particularly advantageous as they offer superior absorption and dirt-trapping abilities, which are crucial in a kitchen environment.
Personal Protective Equipment (PPE):
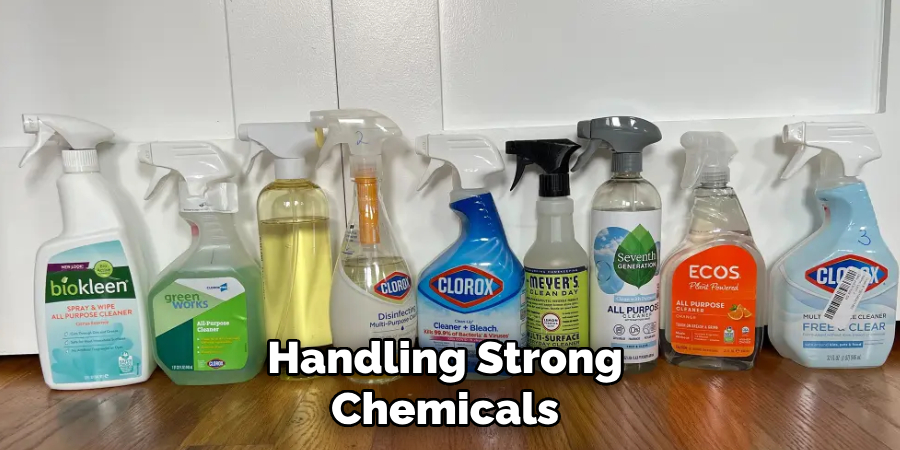
Safety cannot be overstated during the cleaning process. When handling strong chemicals like degreasers, wear non-slip shoes, gloves, and possibly eye protection. This protective gear helps prevent accidents and exposure to harmful substances.
Gathering the right supplies before beginning the cleaning process will streamline the effort, ensuring that the kitchen floor is clean and safe for daily operations.
Sweep and Remove Debris
Step 1: Sweep the Entire Kitchen Floor
Begin by thoroughly sweeping the entire kitchen floor with a heavy-duty broom. Focus on removing visible debris such as food particles, dirt, and small objects on the floor.
Make sure to sweep underneath kitchen equipment, shelving, and counters where food and dirt can accumulate. Pay close attention to corners and less accessible areas, as these spots are prone to collecting dust and debris over time.
Step 2: Dispose of Debris
After sweeping, use a dustpan to collect and dispose of the debris in the appropriate trash receptacle. It’s important to ensure that no large debris is left behind, as this can interfere with the cleaning process. Verify that food waste and other trash are properly sorted according to your kitchen’s waste management policy, which helps maintain hygiene and sustainability.
Step 3: Inspect the Floor
After sweeping, inspect the floor for any stubborn spots or stains that may need special attention during the cleaning process. Areas with heavy grease buildup, especially near fryers or stovetops, will likely need extra degreasing before mopping or scrubbing. Identifying these areas early ensures that they receive adequate treatment, guaranteeing thorough clean and reducing slip hazards.
How to Clean a Commercial Kitchen Floor: Apply a Degreaser
Step 1: Choose a Food-Safe Degreaser
Ensure that the degreaser you select is food-safe and specifically formulated for use in commercial kitchen environments. This is vital to maintain safety standards while effectively removing grease. Before applying, carefully read the label for the appropriate dilution instructions. Some degreasers require mixing with water to achieve optimal performance and safety.

Step 2: Apply Degreaser to High-Grease Areas
Identify and concentrate on areas prone to heavy grease accumulation, such as the cooking line, near the deep fryer, and beneath counters where food tends to splatter. Use a spray bottle for even application, or pour the degreaser directly onto the targeted zones. Make sure to cover these areas comprehensively to ensure maximum removal of grease.
Step 3: Allow the Degreaser to Sit
Let the degreaser remain on the floor for several minutes, typically between 5 and 10 minutes, as recommended by the product instructions. This time allows the chemical agents to penetrate and break down stubborn grease and grime effectively. Refrain from scrubbing immediately after application, as premature agitation may spread the grease rather than remove it.
Step 4: Scrub the Floor
Once the degreaser has been allowed ample time to work, proceed with scrubbing the affected areas. Utilize a scrub brush or a floor scrubber to thoroughly agitate the surface, focusing intensely on the greasiest patches. For manual cleaning, a stiff-bristled brush is recommended, applying consistent pressure to ensure the complete breakdown of grease deposits.
Step 5: Rinse with Hot Water
Conclude the degreasing process by rinsing the floor with hot water to eliminate any residual degreaser and loosened grease particles. A mop and bucket may be adequate for smaller sections, but for larger kitchen spaces, consider using a hose or a floor scrubber equipped with a rinse function. This ensures the floor is left clean and free of slippery residues, enhancing kitchen safety.

How to Clean a Commercial Kitchen Floor: Scrub and Mop the Floor
Step 1: Prepare the Cleaning Solution
If you’re not employing an automatic floor scrubber, begin by mixing a floor cleaner in a bucket of hot water. Ensure the cleaner is specifically suitable for commercial kitchen floors—able to combat grime effectively while preserving the integrity of the floor’s surface.
The choice of cleaner is pivotal, as it needs to be powerful yet gentle, avoiding damage to tiles, vinyl, or other floor materials commonly used in kitchens.
Step 2: Scrub the Entire Floor
Proceed by scrubbing the kitchen floor. If using a floor scrubber, carefully guide the machine over the floor, ensuring even coverage across all areas. The floor scrubber allows for an efficient and thorough cleaning, which is especially beneficial for extensive kitchen spaces.
For manual scrubbing, utilize a mop or a sturdy brush, concentrating on zones with noticeable grime and grease buildup. Areas around cookers, under preparation counters, and near exits typically require attention, as these spots see the most activity and grime accumulation.
Step 3: Pay Attention to Grout Lines and Corners
Tiles often come with grout lines that are notorious for trapping dirt and bacteria. The importance of cleaning these cannot be overstated, especially in environments like commercial kitchens where sanitation is paramount.
Use a small scrub brush to meticulously clean these lines, dissolving any embedded grime. Similarly, focus on corners and edges, particularly those adjacent to walls or under stationary equipment, as these areas can be overlooked. A detailed cleaning here contributes significantly to overall kitchen hygiene.
Step 4: Mop the Floor
Once scrubbing is complete, it’s time to mop. Use a clean mop and a fresh bucket of water to wipe away any residual cleaning solutions. Tackle this task in sections, ensuring thorough rinsing and frequent wringing of the mop to avoid redistributing dirt across the floor.
A strategic approach to mopping, moving from the back area of the kitchen toward the entrance, prevents stepping over freshly cleaned spots, maintains cleanliness, and saves time.

Step 5: Rinse and Squeegee
Conclude the process by rinsing the floor with clean water and removing any leftover traces of cleaning products. This step is critical in ensuring no remaining soap or cleaning agent could leave the floor slippery or sticky. Employ a squeegee to expedite drying time by directing water toward drains or other appropriate areas.
This tool is indispensable for safety, preventing water from pooling and mitigating slip hazards. By efficiently channeling moisture away, the floor is left shiny, clean, and safe for kitchen staff to navigate as operations resume. This thorough scrubbing and mopping routine ensures a spotless and hygienic kitchen floor, in line with health standards and conducive to a safe working environment.
Dry the Floor Thoroughly
Allow Time for Air Drying
After the thorough cleaning process, it’s imperative to ensure the floor dries completely before it is walked on. Allowing the floor to air dry is often adequate for most kitchens. However, you may expedite the drying process with limited time by positioning fans to enhance airflow. Opening windows or doors can also improve ventilation, promoting quicker drying times.
Use a Floor Dryer
In larger commercial kitchen environments, leveraging an industrial floor dryer or blower can significantly speed up drying. This is particularly beneficial in humid conditions where natural drying might take longer.
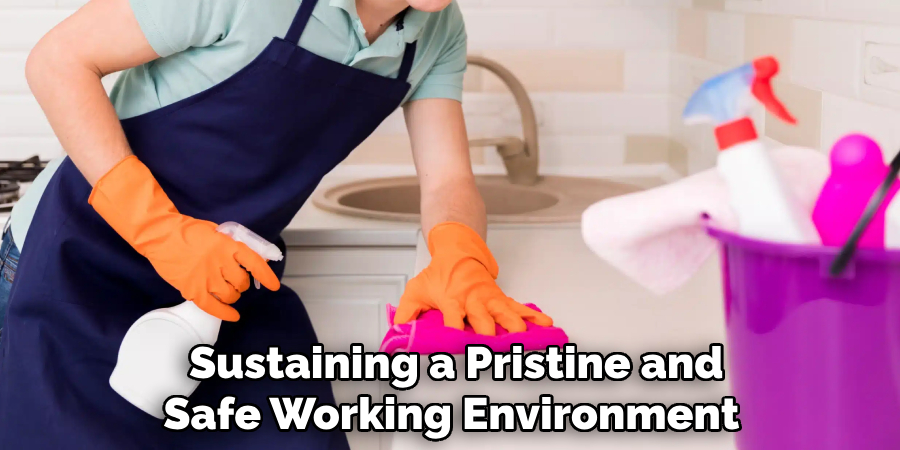
A completely dry floor is essential to prevent slips and ensure that no cleaning residue remains, sustaining a pristine and safe working environment. By prioritizing thorough drying, you contribute to maintaining hygiene standards and promoting safety for kitchen staff.
Conclusion
Keeping a commercial kitchen floor clean is essential for safety, hygiene, and compliance with health standards. A methodical approach consisting of sweeping, degreasing, scrubbing, and thorough drying guarantees that the kitchen floor remains both sanitary and safe for staff and patrons.
Regular maintenance routines, including spot and deep cleaning, are crucial in preventing the buildup of grime and ensuring continued cleanliness. Knowing how to clean a commercial kitchen floor effectively enhances occupational safety and elevates your establishment’s image, showcasing its commitment to professionalism.
A clean floor directly reflects rigorous hygiene practices and can significantly impact customer perception, ultimately contributing to your business’s success. By prioritizing these cleaning processes, you uphold the highest safety and hygiene standards, creating a trustworthy environment for anyone who steps into your kitchen.
Professional Focus
Angela Ervin, a former interior designer turned blogger, specializes in kitchen design and renovations. Through her website, she blends her passion for cooking with design expertise, sharing practical and creative ideas. Known for balancing functionality and beauty, Angela’s insightful content has made her a trusted voice in home design and lifestyle.
About the Author
Angela Ervin, an experienced interior designer and blogger, combines her passion for kitchen renovations with storytelling. Living in Petersburg with her family, she enjoys cooking and testing her projects firsthand. Known for her humor and relatable style, Angela shares creative, functional design insights through her content, making her a trusted voice in home design.
Education History
University: Virginia Commonwealth University
Degree: Bachelor of Fine Arts (BFA) in Interior Design
- Angela’s education at VCU focused on mastering core interior design principles, including spatial planning, color theory, materials selection, and sustainable design practices.
- She gained hands-on experience through studio projects and collaborative design exercises, which honed her ability to create functional and aesthetically pleasing environments.
- Her coursework also emphasized problem-solving and practical applications of design, preparing her for real-world projects like her self-directed kitchen renovations.
- The program’s strong foundation in both technical skills and creative expression shaped Angela’s ability to seamlessly integrate form and function in her work.


