


BlueStar stoves are renowned for their high-performance cooking capabilities and robust design, making them a favorite choice among both professional chefs and home cooks. A BlueStar stove’s exceptional power and precision contribute to superior culinary results, but maintaining its performance and longevity is equally important.
Regular cleaning is crucial, as it prevents grease buildup, which can negatively affect performance and compromise safety. A clean stove operates more efficiently and retains its aesthetic appeal, adding beauty to any kitchen. This guide will serve as a comprehensive resource, offering clear, step-by-step instructions on how to clean bluestar stove top effectively and safely.
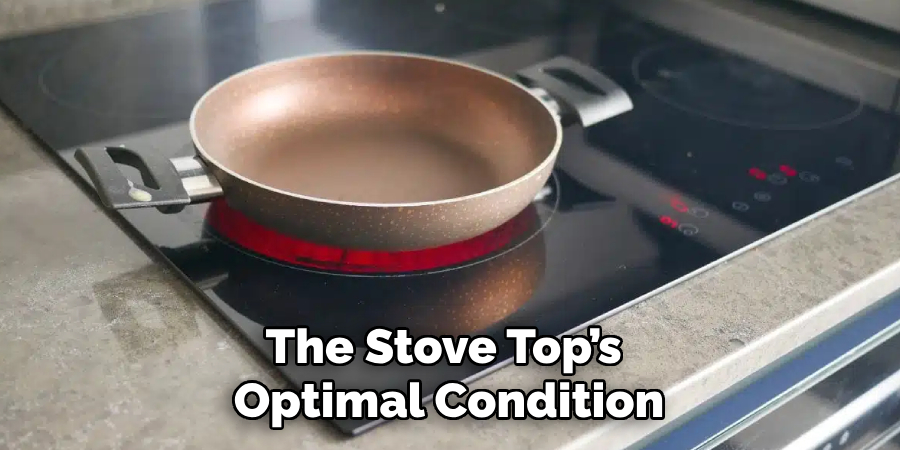
By following these guidelines, users can ensure that their BlueStar stove remains in optimal condition, continually delivering outstanding cooking experiences while sustaining its impressive look.
Preparing for Cleaning
Step 1: Turn Off the Stove and Let It Coo
Before beginning any cleaning process, ensure that the BlueStar stove is completely turned off and all components are cool to the touch. This step is crucial to prevent burns from residual heat and maximize safety during cleaning. Electric stoves or gas burners can retain heat well after switching off, so it’s advisable to wait at least 30 minutes before using them before handling any parts.
Conducting cleaning when the stove is cool protects you from injury and prevents cleaning solutions from evaporating quickly, making the removal of stains and grime less effective. Always prioritize safety when dealing with any home appliance, particularly those involving heat and electricity, to ensure a smooth and risk-free cleaning experience.
Step 2: Gather Cleaning Supplies
To clean your BlueStar stove top efficiently, gather the following supplies: non-abrasive sponges or cloths, mild dish soap, baking soda (for tougher stains), and a soft-bristle brush. Include a stainless steel cleaner in your kit for stainless steel components like grates and burner caps. Additionally, warm water should be on hand to rinse soapy surfaces.
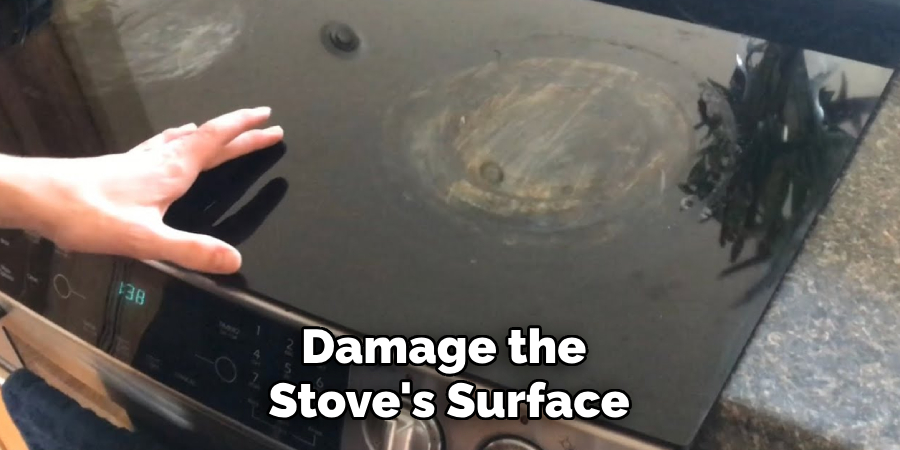
It is important to avoid using harsh chemicals or steel wool, as these can scratch or damage the stove’s surface, diminishing its visual appeal and potentially impairing its functionality. By ensuring you have the right materials, you can perform the cleaning with greater ease and effectiveness, maintaining the integrity and appearance of your appliance. Proper preparation speeds up the process and enhances the outcome, leaving your stove looking pristine and well-cared for.
How to Clean Bluestar Stove Top: Cleaning the Burner Grates and Caps
Step 1: Remove the Grates and Burner Caps
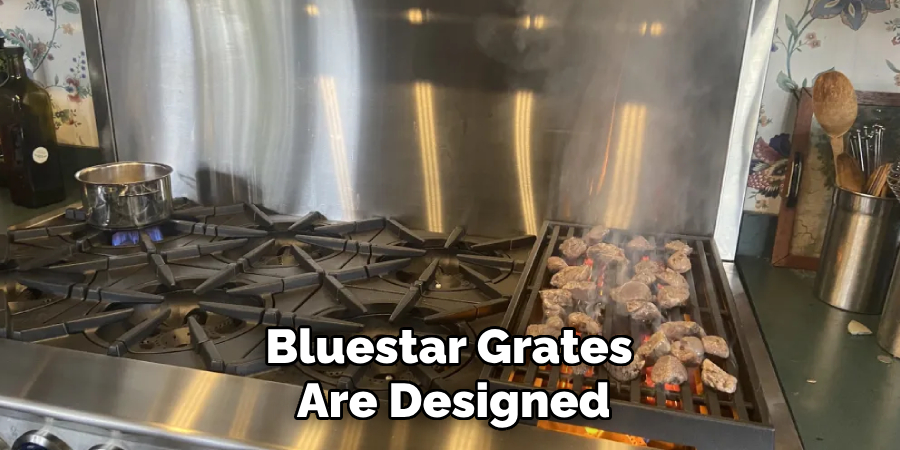
Begin by ensuring your BlueStar stove is completely cool to the touch. Carefully lift the cast iron grates and burner caps off the stove top, taking care not to scratch the surface. BlueStar grates are designed to be heavy-duty, making them robust enough to withstand regular soaking and scrubbing without damage.
Handle each piece with attention, as they can be quite heavy. Taking the grates and burner caps off is crucial for accessing areas below and for thorough cleaning. Once removed, inspect both the grates and burner caps for any signs of damage or excessive buildup that may need special attention during cleaning.
This initial step sets the stage for deep cleaning, ensuring that every component of your stovetop can be restored to its optimal performance and appearance.
Step 2: Soak the Grates and Caps in Soapy Water
Fill a sink or large basin with warm, soapy water, using a mild dish soap to create a sudsy environment. Place the grates and burner caps into the water, ensuring they are fully submerged, and allow them to soak for 20 to 30 minutes. This soaking time is essential for loosening up any embedded grease and grime. For an added boost, consider mixing a small amount of vinegar into soapy water—this natural acid aids in breaking down stubborn residues.
While soaking, the grime softens, making it easier to clean without excessive scrubbing that could scratch the surface. Soaking is a gentle but effective method to prepare the grates and caps for further cleaning, allowing you to maintain their integrity and shine with minimal effort.
Step 3: Scrub and Rinse the Grates and Caps
After soaking, use a soft-bristle brush or sponge to gently scrub away any remaining grease, food particles, and stains from the grates and burner caps. Focus on any areas with visible residue and apply firm, even pressure to lift away buildup. For particularly tough spots, make a paste using baking soda and water. Apply this paste to the stubborn areas, allowing it to sit for 15 minutes before scrubbing. This natural abrasive helps to break down difficult stains effectively.
Once all visible dirt and grime have been removed, rinse the grates and caps thoroughly with warm water to ensure no soapy residue remains. Finally, dry each piece meticulously with a clean cloth to prevent water spots and rust before reassembling them onto the stove. Completing this step ensures the grates and caps regain their pristine condition and are ready for optimal performance.
Cleaning the Stove Top Surface
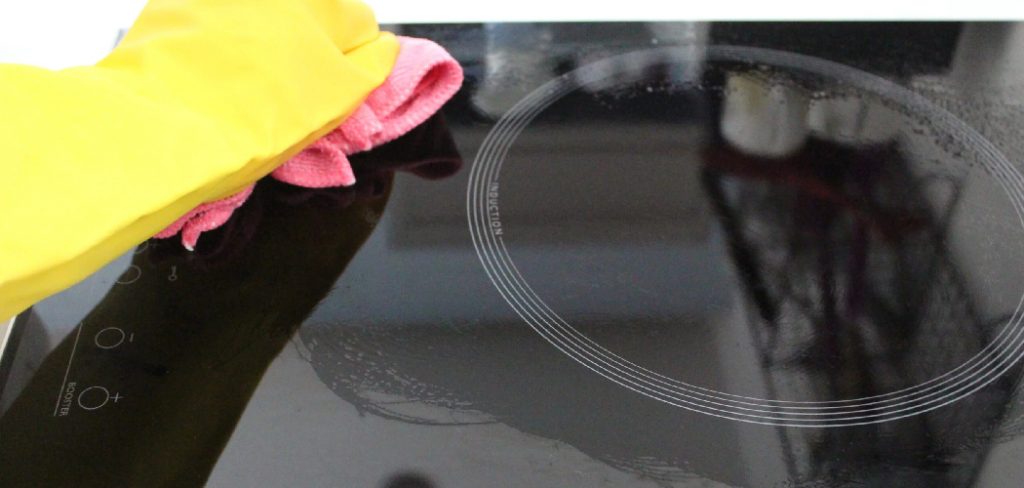
Step 1: Wipe Down Loose Debris
Begin the cleaning process by using a dry cloth or paper towel to remove any loose food particles, crumbs, or grease from the stovetop surface. This initial step is crucial as it clears away surface debris that could obstruct the subsequent cleaning stages. For areas that are difficult to access, such as around the burners, consider using a handheld vacuum with a crevice tool attachment.
This tool can effectively reach tight spaces, ensuring that every part of the stove top is free from buildup and ready for a thorough cleaning. Removing loose debris not only simplifies the following cleaning steps but also helps maintain the overall hygiene of your kitchen by preventing food particles from accumulating and harboring bacteria.
Step 2: Apply a Mild Cleaning Solution
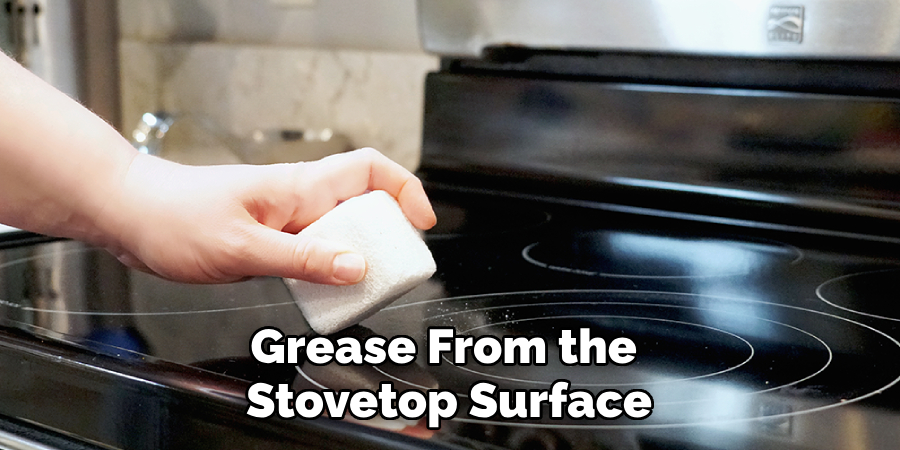
Next, prepare a mild cleaning solution by mixing warm water with mild dish soap. Apply this solution to a non-abrasive sponge or cloth and gently scrub the stove top surface. Focus especially on areas with visible grease splatters or spills, often requiring more attention. It’s important to avoid using excessive water during this step, as it could seep into the burners and cause damage.
For stoves with stainless steel surfaces, be sure to wipe in the direction of the grain to prevent streaking and to preserve the surface’s natural luster. This gentle yet effective method helps to lift away grease and food residues without harming the stove’s appearance, ensuring it remains clean and polished.
Step 3: Tackle Stubborn Stains
If you encounter stubborn stains or burned-on food during your cleaning routine, there are effective strategies to address these challenges. Create a baking soda paste by mixing baking soda with water and applying it to the affected areas. Alternatively, use a dedicated stovetop cleaner designed to break down tougher residues.
Allow the cleaner to sit on the stain for 10–15 minutes, giving it time to penetrate and loosen the buildup. Gently scrub the area until the stain lifts, using a non-abrasive sponge or cloth. For extremely tough spots, a plastic scraper can remove residue without damaging the surface. With patience and the right tools, your stovetop will be free of stubborn stains, ensuring it retains its pristine condition.
Cleaning the Burner Heads and Ports
Step 1: Wipe Down the Burner Heads
To maintain the performance and appearance of your BlueStar stove, begin by wiping down the burner heads using a damp cloth. This step is essential for removing grease and food particles that may have accumulated during cooking. Carefully navigate around the burner heads to avoid damaging the small gas ports, which are crucial for the stove’s functionality.
It’s important to be gentle, ensuring that no additional residue is pushed into the ports. Avoid using excess water when cleaning, as too much moisture can interfere with gas flow and lead to uneven flames. Regularly maintaining the burner heads in this manner can prolong their efficiency and keep them in optimal working condition, ensuring that your culinary endeavors are supported by consistent flame performance.

Step 2: Clear Clogged Ports
Ensuring that the gas ports on your stove’s burner heads are clear is crucial for maintaining consistent and reliable flame performance. The ports may be clogged with food debris or grease if you notice uneven flames or difficulty igniting the burner. To clear these obstructions, gently use a toothpick or needle to clean each port.
It’s important to handle these tools with care, as gouging or enlarging the ports can permanently affect gas distribution. Focus on clearing any visible blockages and ensuring the ports are free from residue. Keeping the ports unclogged allows for even gas distribution, maximizing the efficiency and safety of your cooking experience. Regular maintenance of the burner ports improves performance and contributes to your stove’s longevity, enabling consistent and enjoyable cooking results.
Reassembling the Stove and Final Touches
Step 1: Reassemble the Burners and Grates
Once all components are dry, carefully place the burner caps and grates back onto the stovetop, ensuring they are properly aligned. Proper alignment is crucial for optimal performance and to prevent any wobbling or instability during cooking. Take a moment to double-check that each piece sits securely in its designated spot, as this ensures the burners function correctly and safely.
Step 2: Final Wipe Down and Polish
Use a stainless steel cleaner or polish to give the stove top a final shine, wiping away any streaks or smudges. For the best results, utilize a microfiber cloth to buff the surface, enhancing its gleaming finish. This final touch maintains the stove’s visual appeal and protects it from fingerprints and stains, ensuring your kitchen appliance looks clean and well-maintained.
Tips for Ongoing Maintenance
Daily Maintenance
To ensure your stovetop stays pristine, make it a habit to wipe down the surface after each use. This simple practice prevents grease buildup and reduces the time required for future cleanings. Use a mild cleaner and a soft cloth to quickly and effectively remove any spills or splatters. Consistent daily maintenance keeps your appliance looking fresh and extends its lifespan by limiting wear and tear.
Deep Cleaning Routine
In addition to daily upkeep, perform a more thorough cleaning every few weeks. This deep cleaning regimen, similar to the one outlined earlier, helps maintain the stove top’s optimal condition, especially if you use the stove frequently. Regularly addressing stubborn stains and buildup will preserve the performance and appearance of your stove, ensuring that your cooking surface is always ready for your next culinary creation.
Conclusion
In summary, knowing “how to clean bluestar stove top” involves several key steps. Begin by removing and thoroughly cleaning the grates to eliminate grease and food particles. Wipe down the stove top surface with care, focusing on stubborn areas using a baking soda paste or dedicated cleaner. Maintain the burner heads and clear gas ports for consistent flame performance.
After cleaning, reassemble the parts properly and give the stove a final polish for a spotless shine.
For ongoing care, incorporate daily maintenance into your routine by quickly wiping down the stovetop after each use to prevent buildup. Regularly address deeper cleaning to preserve your appliance’s appearance and function.
By adhering to this regimen, you will extend the lifespan of your BlueStar stove, ensuring it continues to operate efficiently and remains the centerpiece of your kitchen for years to come.
Professional Focus
Angela Ervin, a former interior designer turned blogger, specializes in kitchen design and renovations. Through her website, she blends her passion for cooking with design expertise, sharing practical and creative ideas. Known for balancing functionality and beauty, Angela’s insightful content has made her a trusted voice in home design and lifestyle.
About the Author
Angela Ervin, an experienced interior designer and blogger, combines her passion for kitchen renovations with storytelling. Living in Petersburg with her family, she enjoys cooking and testing her projects firsthand. Known for her humor and relatable style, Angela shares creative, functional design insights through her content, making her a trusted voice in home design.
Education History
University: Virginia Commonwealth University
Degree: Bachelor of Fine Arts (BFA) in Interior Design
- Angela’s education at VCU focused on mastering core interior design principles, including spatial planning, color theory, materials selection, and sustainable design practices.
- She gained hands-on experience through studio projects and collaborative design exercises, which honed her ability to create functional and aesthetically pleasing environments.
- Her coursework also emphasized problem-solving and practical applications of design, preparing her for real-world projects like her self-directed kitchen renovations.
- The program’s strong foundation in both technical skills and creative expression shaped Angela’s ability to seamlessly integrate form and function in her work.