


Cleaning greasy kitchen light fixtures can be a daunting task, but with the right approach, it can be surprisingly manageable. Over time, kitchen fixtures tend to accumulate grease and grime due to cooking vapors and airborne particles, leading to diminished brightness and an unsightly appearance. Regular maintenance not only helps improve the aesthetic appeal of your kitchen but also ensures that your fixtures function effectively.
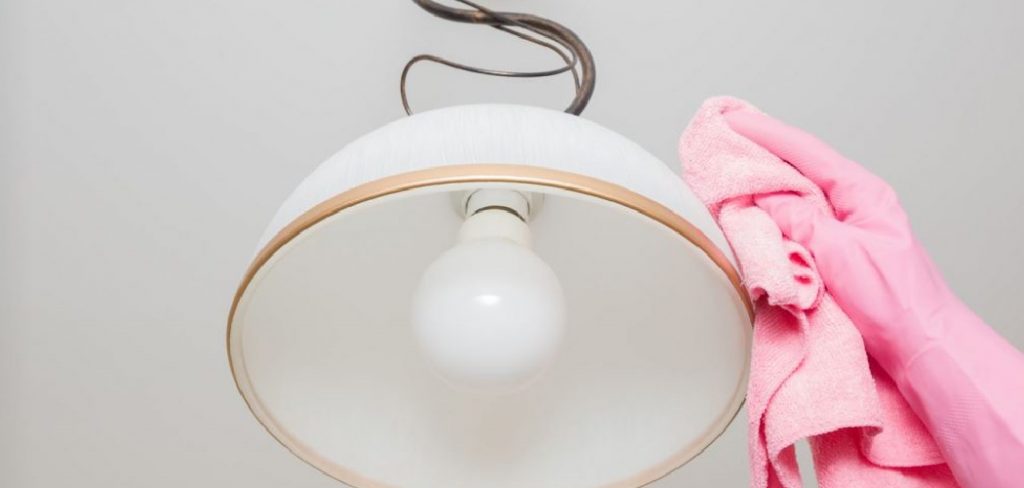
In this guide on how to clean greasy kitchen light fixtures, we will walk you through a step-by-step process to safely and efficiently clean your kitchen light fixtures, restoring them to their former sparkle.
Why is It Important to Clean Greasy Kitchen Light Fixtures?
Before we get into the cleaning process, it’s essential to understand why it’s crucial to regularly clean your kitchen light fixtures.
Firstly, grease and grime on light fixtures can significantly reduce the amount of light they emit, making your kitchen appear darker. This can make cooking and food preparation more challenging, potentially leading to accidents. Additionally, a buildup of grease can also attract dust and other particles, making your light fixtures look dull and dirty.
Moreover, regular maintenance can help extend the lifespan of your light fixtures, saving you money in the long run. Grease buildup can cause damage to the materials and components of your fixtures, leading to expensive repairs or replacements.

8 Step-by-step Guidelines on How to Clean Greasy Kitchen Light Fixtures
Step 1: Gather All Necessary Supplies
Before you begin cleaning, make sure to gather all the necessary supplies. Some items you will need include:
- Mild Dish Soap
- Warm Water
- Microfiber Cloth or Soft Sponge
- Soft-bristled Brush (Toothbrush Works Well)
- Ladder or Step Stool (if Your Fixtures Are High Up)
Step 2: Turn Off the Power
Safety should always be your first concern when working with electrical fixtures. Before you start cleaning, ensure that the power to the light fixtures is turned off. You can do this by switching off the relevant circuit breaker or simply turning off the light switch corresponding to your fixtures.
This precaution helps prevent electrical shock or short circuits while you are working. Always double-check that the light is off before proceeding to the next steps in the cleaning process.
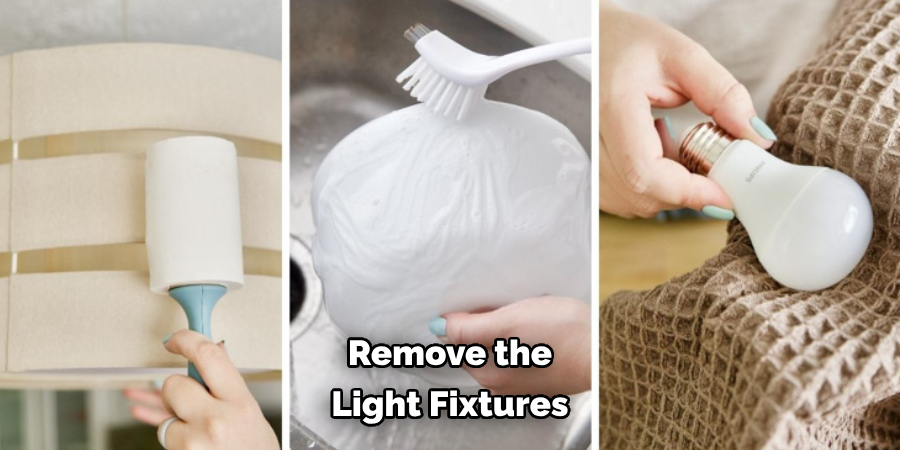
Step 3: Remove the Light Fixtures
Once you’ve ensured the power is off, the next step is to carefully remove the light fixtures. Depending on the design of your fixtures, this process may vary slightly. Generally, you will need to unscrew or unclip any coverings or decorative elements before gently detaching the fixture from its mounting. If your fixtures have light bulbs, it’s best to remove them to prevent any accidental breakage during cleaning.
Make a note of how the fixtures are assembled to ensure easy reinstallation afterward. Place all components, including screws, in a safe place to avoid misplacing them.
Step 4: Soak the Fixtures in Warm Soapy Water
After carefully removing the light fixtures, the next step is to soak them in a solution of warm soapy water. Fill a basin or sink with warm water and add a few drops of mild dish soap, creating a gentle cleaning solution. Immerse the fixtures completely in the water, allowing them to soak for approximately 15-20 minutes.
This will help to loosen the accumulated grease and grime, making it easier to clean. While the fixtures are soaking, use this time to gently scrub any stubborn areas with a soft sponge or microfiber cloth. Avoid using abrasive materials that could scratch or damage the surface of your fixtures. Once thoroughly soaked, rinse them with clean water to remove any soap residue and set them aside on a towel to air dry.
Step 5: Clean the Light Fixtures
While your fixtures are drying, you can start cleaning the remaining parts of your light fixtures. Using warm, soapy water and a soft cloth or sponge, gently scrub all visible surfaces to remove any grease and grime. For hard-to-reach areas, a soft-bristled brush like a toothbrush can be useful. Be sure to rinse thoroughly with clean water and dry with a towel afterward.
The key is to be gentle and avoid using harsh chemicals or abrasive materials that could damage the fixtures.
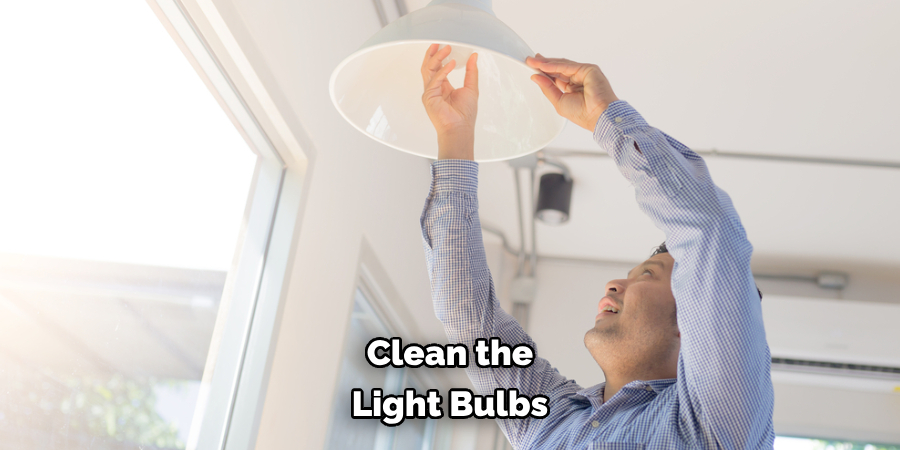
Step 6: Clean the Light Bulbs
Once the fixtures themselves are cleaned and drying, turn your attention to the light bulbs. Before cleaning, ensure that the bulbs are completely cool to the touch. To clean the bulbs, use a dry microfiber cloth or a soft lint-free cloth. Gently wipe the surface of each bulb to remove any dust, fingerprints, or light smudges.
If the bulbs have been particularly affected by grease or grime, slightly dampen the cloth with a mixture of warm water and mild dish soap, then gently wipe each bulb and dry it thoroughly with a towel before reinstalling. Be careful not to apply too much pressure or use excess moisture, which could damage the bulbs or create a safety hazard when they are reinstalled.
Step 7: Reassemble and Reinstall the Fixtures
Once everything is clean and dry, it’s time to reassemble your light fixtures. Follow the notes you made during disassembly to ensure they are put back together correctly. If there are any decorative elements, make sure they are securely attached before reinstalling the fixtures in their original location.
If necessary, use a ladder or step stool to reach high fixtures safely. Once reinstalled, turn on the power and test that the lights are working correctly before replacing any coverings or accessories.
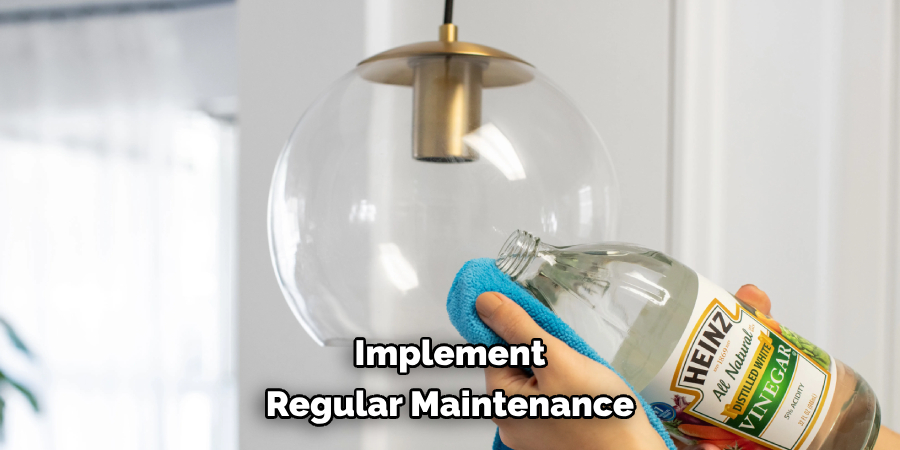
Step 8: Regular Maintenance
Now that your kitchen light fixtures are clean and sparkling again, it’s essential to implement regular maintenance to prevent excessive buildup and prolong their lifespan. Here are a few tips to help you maintain your fixtures:
- Dust and wipe down light fixtures weekly to remove any dirt or dust that has accumulated.
- Use mild dish soap or vinegar diluted with water for more thorough cleaning as needed.
- Change light bulbs regularly to avoid any potential safety hazards or reduced lighting effectiveness.
By following these steps on how to clean greasy kitchen light fixtures and implementing regular maintenance, you can keep your kitchen light fixtures clean, bright, and functional for years to come!
Do You Need to Get Help With Professional Cleaning Services?
While cleaning your kitchen light fixtures can often be a straightforward DIY task, there are situations where professional cleaning services might be beneficial. If your fixtures are high or difficult to reach, require special cleaning solutions due to intricate designs or sensitive materials, or are simply short on time, hiring professionals can ensure a thorough clean without the hassle.
Additionally, professional services come equipped with the right tools and expertise to handle delicate or stubborn build-ups that might be challenging to remove safely. They can also offer advice on maintaining your fixtures to prevent problems from arising in the future. Consider reaching out to a professional if you feel your cleaning needs exceed your abilities or comfort level.
Frequently Asked Questions
Q: Can I Use Harsh Chemicals to Clean My Light Fixtures?
A: No, it is best to avoid using harsh chemicals as they can damage the surface of your fixtures. Stick to mild dish soap and warm water for cleaning. The same goes for abrasive materials like scouring pads or steel wool, which can scratch the surface of your fixtures.
Q: How Often Should I Clean My Kitchen Light Fixtures?
A: It is recommended to clean your kitchen light fixtures at least once a month to prevent excessive buildup. However, it may be necessary to clean them more frequently if you cook regularly or notice a greasy buildup. Regular dusting and wiping down can also help extend the time between deep cleanings.
Q: How Do I Clean Crystal or Glass Light Fixtures?
A: To clean crystal or glass light fixtures, use a mixture of warm water and mild dish soap, then gently wipe with a soft cloth or sponge. Avoid using excess moisture or harsh chemicals to prevent damage to the delicate material. For tougher grime, a solution of vinegar and water can also be effective.
Q: How Do I Clean Light Fixtures in Hard-to-Reach Areas?
A: For light fixtures in hard-to-reach areas, such as high ceilings, use a ladder or step stool and exercise caution when cleaning. You may also want to consider hiring a professional cleaning service for these types of fixtures to ensure safety and thorough cleaning. Overall, regular maintenance and gentle cleaning techniques will help keep your kitchen light fixtures shining bright for years to come.
Conclusion
Maintaining clean kitchen light fixtures not only enhances the appearance of your cooking space but also ensures optimal brightness and functionality. By following the outlined steps on how to clean greasy kitchen light fixtures and incorporating regular maintenance routines, you can prevent grease and grime buildup, reduce the risk of damage, and extend the lifespan of your fixtures.
Remember to use gentle cleaning solutions and tools to avoid scratching surfaces or damaging sensitive components. With these practices, your kitchen will not only illuminate your culinary activities more effectively but will also convey a welcoming and pristine ambiance for family and guests alike.
Professional Focus
Angela Ervin, a former interior designer turned blogger, specializes in kitchen design and renovations. Through her website, she blends her passion for cooking with design expertise, sharing practical and creative ideas. Known for balancing functionality and beauty, Angela’s insightful content has made her a trusted voice in home design and lifestyle.
About the Author
Angela Ervin, an experienced interior designer and blogger, combines her passion for kitchen renovations with storytelling. Living in Petersburg with her family, she enjoys cooking and testing her projects firsthand. Known for her humor and relatable style, Angela shares creative, functional design insights through her content, making her a trusted voice in home design.
Education History
University: Virginia Commonwealth University
Degree: Bachelor of Fine Arts (BFA) in Interior Design
- Angela’s education at VCU focused on mastering core interior design principles, including spatial planning, color theory, materials selection, and sustainable design practices.
- She gained hands-on experience through studio projects and collaborative design exercises, which honed her ability to create functional and aesthetically pleasing environments.
- Her coursework also emphasized problem-solving and practical applications of design, preparing her for real-world projects like her self-directed kitchen renovations.
- The program’s strong foundation in both technical skills and creative expression shaped Angela’s ability to seamlessly integrate form and function in her work.