


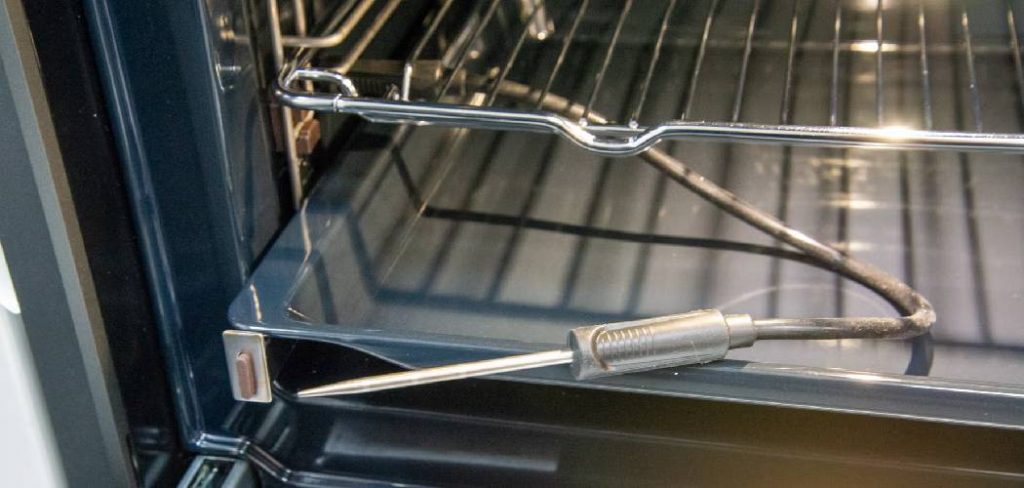
Cleaning oven heating coils can significantly enhance the efficiency and longevity of your appliance. Over time, these coils accumulate grease and food residues, which can lead to uneven cooking and unpleasant odors.
In this guide on how to clean oven heating coils, we will explore the best practices for safely and effectively cleaning your oven heating coils. By following these steps, you’ll ensure that your oven operates at peak performance, maintaining a clean and hygienic cooking environment.
Why Clean Oven Heating Coils?
Before we dive into the cleaning process, let’s discuss why it’s essential to keep your oven heating coils clean. First and foremost, dirty coils can affect the performance of your oven. Grease and food buildup on these coils can prevent them from evenly distributing heat throughout the oven, resulting in hot spots or undercooked food.
Moreover, dirty heating coils may emit unpleasant odors when in use due to the burning of residual food particles. This can not only affect the taste of your food but also create an unsafe cooking environment.
Lastly, regular cleaning of oven heating coils can extend their lifespan. When these coils are clogged with grease and residue, they have to work harder to maintain the desired temperature, putting unnecessary strain on them and causing them to wear out quickly.
Needed Materials
To clean your oven heating coils, you will need the following materials:
Oven Cleaner:
Choose a cleaner specifically designed for ovens, as they are formulated to cut through tough grease and food residue.
Baking Soda:
This household staple is an excellent natural cleaning agent and can help eliminate odors from your oven.
Hot Water:
Hot water will help loosen any hardened grime on the heating coils.
Rags or Paper Towels:
These will be used to wipe down the coils.
Rubber Gloves:
To protect your hands from harsh chemicals in the oven cleaner.
8 Steps on How to Clean Oven Heating Coils
Step 1: Safety First
Before beginning the cleaning process, it’s crucial to prioritize safety. Start by ensuring that your oven is completely turned off and cool to the touch to avoid burns. Unplug the oven from the power source if possible; this will prevent any accidental electric shocks during cleaning. Additionally, wear rubber gloves to protect your skin from harsh chemicals found in oven cleaners.
Consider opening a window or turning on a fan to ventilate the area, as some cleaning products can produce strong fumes. By taking these precautions, you’ll create a safer and more comfortable cleaning environment.
Step 2: Remove Oven Racks and Accessories
Once you have ensured your safety, the next step is to remove any oven racks and accessories that may obstruct your access to the heating coils. Begin by carefully taking out the racks, using a gentle rocking motion if they are stubborn. Place the racks in a sink or bathtub filled with warm, soapy water to soak while you clean the heating coils.
Additionally, remove any trays, pans, or other items from the oven that could hinder your cleaning process. By clearing the oven of these components, you’ll have a clearer workspace and make it easier to access the heating coils effectively.
Step 3: Prepare the Cleaning Solution
With the oven racks and accessories removed, it’s time to prepare your cleaning solution. If you’re using an oven cleaner, follow the manufacturer’s instructions for dilution if necessary. For a natural alternative, mix a generous amount of baking soda with hot water to create a paste-like consistency.
This mixture will serve as an effective cleaning agent that combats grease and eliminates odors without harsh chemicals. Once your cleaning solution is ready, ensure you have your rags or paper towels nearby for easy access as you begin applying the solution to the heating coils.
Step 4: Apply the Cleaning Solution
Now that your cleaning solution is ready, it’s time to apply it to the oven heating coils. If you are using a commercial oven cleaner, spray it evenly over the coils, being careful to cover all areas with grease and residue. Allow the cleaner to sit for the recommended time specified on the packaging to break down stubborn grime.
If you are using the baking soda and water mixture, apply the paste directly to the coils with a rag or paper towel, gently scrubbing to ensure that the solution penetrates any caked-on residue. This will help lift off the accumulated dirt without scratching or damaging the coils. After letting the solution sit for a few minutes, prepare to move on to the next step to thoroughly remove the loosened debris.
Step 5: Wipe Down the Coils
After letting the cleaning solution sit, use a rag or paper towel to wipe down the heating coils thoroughly. You may need to do this multiple times until all residue and grease have been removed. For tough spots, use a toothbrush or scrub brush for more concentrated cleaning power.
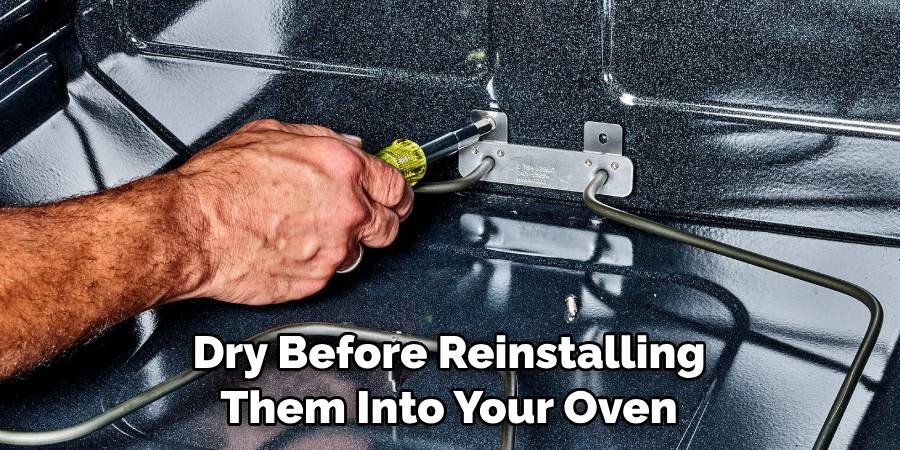
Be sure to remove any excess cleaner or baking soda from the coils before moving on to the next step; this will prevent it from activating when you turn on your oven again. As you clean each coil, place them aside to dry before reinstalling them into your oven.
Step 6: Clean The Oven Interior
While you’re waiting for the coils to dry, take the opportunity to clean the rest of your oven interior. Wipe down any remaining cleaner or baking soda residue, and use a damp cloth to remove any dirt or grime from the walls and bottom of your oven.
This step is also a great time to address any stubborn stains that may be present in your oven; you can use the same cleaning solution with a scrub brush for more challenging spots. Once complete, give your oven one final wipe-down before turning your attention back to the heating coils.
Step 7: Reinstall Oven Racks and Accessories
With all parts of your oven now sparkling clean, it’s time to reinstall the racks and accessories that you removed at the beginning of the cleaning process. Ensure that they are thoroughly dry before placing them back in your oven to prevent any rusting or damage.
It’s also a good idea to give your oven racks and accessories an occasional deep clean in the future; this will help maintain overall cleanliness and prevent any build-up of food residue or grease.
Step 8: Turn on Your Oven
With your oven now sparkling clean, it’s time to turn it back on and test the heating coils. Allow the oven to heat up for a few minutes before turning it off again. Check the heating coils for any signs of remaining debris or grime; if necessary, repeat the cleaning process until they are completely free of build-up.
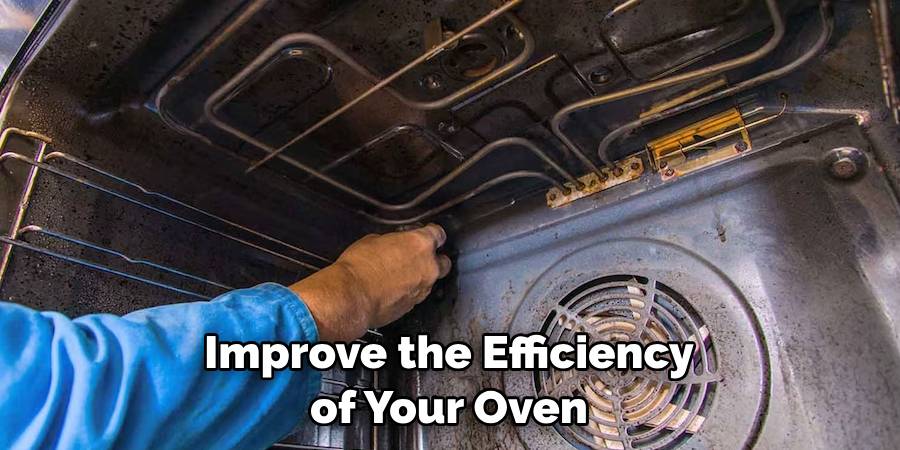
Following these 8 steps on how to clean oven heating coils will ensure that your oven’s heating coils are kept clean and functioning optimally. By regularly cleaning them, you’ll not only improve the efficiency of your oven but also prevent any potential fire hazards caused by built-up grease and debris. So roll up your sleeves, gather your supplies, and give those heating coils some well-deserved TLC – your future self (and maybe even your taste buds) will thank you!
Frequently Asked Questions
Q: How Often Should I Clean My Oven Heating Coils?
A: It is recommended to clean your oven heating coils every three to six months, depending on how frequently you use your oven and the amount of residue that accumulates. Keeping a regular cleaning schedule will ensure that your oven remains efficient and safe to use.
Q: Can I Use Natural Cleaning Solutions on My Oven Heating Coils?
A: Yes, natural cleaners such as baking soda and vinegar can be used to clean oven heating coils effectively without harsh chemicals. They are also safe to use and do not produce harmful fumes, making them a popular choice for those with sensitivities or allergies.
Q: Can I Use Oven Cleaner on Self-Cleaning Ovens?
A: No, it is not recommended to use oven cleaner on self-cleaning ovens as it may interfere with the self-cleaning process and cause damage to the oven’s interior coating. Instead, follow the manufacturer’s instructions for cleaning your specific self-cleaning oven model.
Q: How Do I Know When It’s Time to Replace My Oven Heating Coils?
A: If your oven heating coils are damaged, rusted, or show signs of wear and tear, it may be time to replace them. You should also consider replacing them if they are not heating evenly or your oven is taking longer than usual to preheat. It’s always best to consult a professional if you have any concerns about the condition of your oven heating coils.

Conclusion
In conclusion, maintaining your oven’s heating coils is a crucial step in ensuring your appliance functions efficiently and safely. By following these straightforward steps on how to clean oven heating coils, you can avoid potential hazards and prolong the lifespan of your oven. Regular cleaning not only enhances performance but also promotes a healthier cooking environment.
Embrace the routine of oven maintenance, and you’ll enjoy cleaner, tastier meals with peace of mind knowing your oven is in top shape. Remember, a little effort goes a long way in preserving the quality of your kitchen equipment and enhancing your culinary experiences. Happy cooking!
Professional Focus
Angela Ervin, a former interior designer turned blogger, specializes in kitchen design and renovations. Through her website, she blends her passion for cooking with design expertise, sharing practical and creative ideas. Known for balancing functionality and beauty, Angela’s insightful content has made her a trusted voice in home design and lifestyle.
About the Author
Angela Ervin, an experienced interior designer and blogger, combines her passion for kitchen renovations with storytelling. Living in Petersburg with her family, she enjoys cooking and testing her projects firsthand. Known for her humor and relatable style, Angela shares creative, functional design insights through her content, making her a trusted voice in home design.
Education History
University: Virginia Commonwealth University
Degree: Bachelor of Fine Arts (BFA) in Interior Design
- Angela’s education at VCU focused on mastering core interior design principles, including spatial planning, color theory, materials selection, and sustainable design practices.
- She gained hands-on experience through studio projects and collaborative design exercises, which honed her ability to create functional and aesthetically pleasing environments.
- Her coursework also emphasized problem-solving and practical applications of design, preparing her for real-world projects like her self-directed kitchen renovations.
- The program’s strong foundation in both technical skills and creative expression shaped Angela’s ability to seamlessly integrate form and function in her work.