


Cleaning your panini maker is essential for maintaining its performance and ensuring the safety of your food. Over time, cheese, oils, and other food residues can accumulate on the plates and in the crevices, potentially affecting the taste and hygiene of your meals.
By following a regular cleaning routine, you can extend the lifespan of your appliance and enjoy consistently delicious panini sandwiches.
This guide on how to clean panini maker will provide simple and effective steps to thoroughly clean your panini maker without damaging its non-stick surfaces.
What is a Panini Maker?
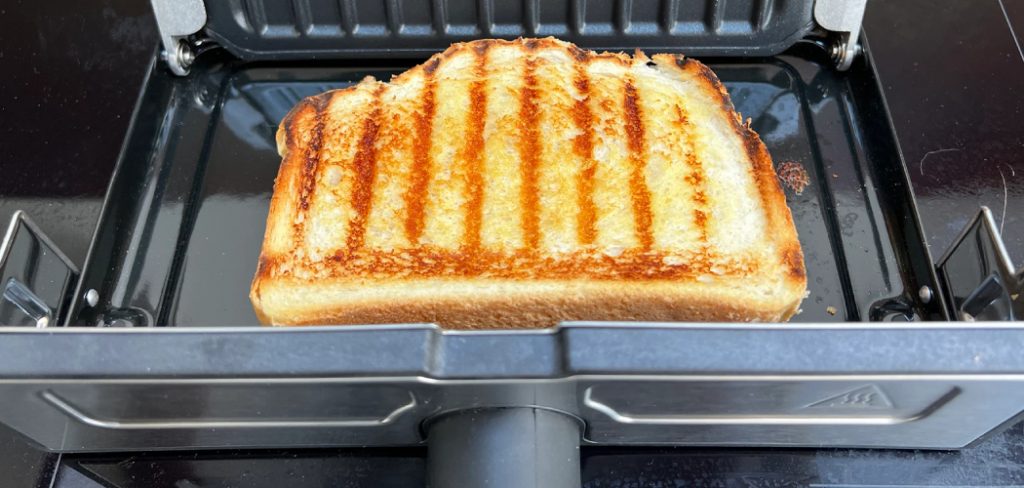
A panini maker is a kitchen appliance used to grill sandwiches, particularly the Italian-style Panino sandwich. It consists of two non-stick plates that are heated and pressed together, creating grill marks on both sides of the sandwich while sealing in the fillings.
Some panini makers come with removable plates for easy cleaning, while others have fixed plates that require extra attention when cleaning. If you are unsure about the type of plates your panini maker has, refer to the instruction manual or contact the manufacturer.
Why is Cleaning Your Panini Maker Important?
Cleaning your panini maker is important for several reasons:
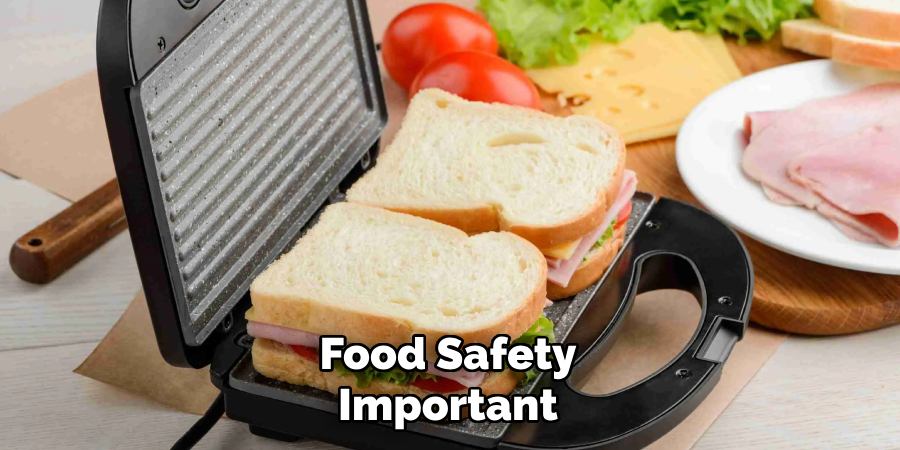
Food Safety:
As with any cooking surface, bacteria can grow on the plates of your panini maker if not cleaned properly. This can lead to foodborne illnesses and ruin your sandwiches.
Performance:
Accumulated oils and food residues can affect the performance of your panini maker, leading to uneven heating and decreased grilling ability.
Durability:
Failing to clean your panini maker regularly can result in wear and tear, shortening its lifespan and potentially causing malfunctioning or safety hazards.
Materials Needed
Before getting started, gather these materials for efficient cleaning:
- A Soft Sponge or Cloth
- Warm Water
- Mild Dish Soap or Vinegar
- Paper Towels or Clean Cloth for Drying
- Toothpicks or Small Brush (if Needed for Hard-to-reach Areas)
8 Step-by-step Guides on How to Clean Panini Maker
Step 1: Unplug the Panini Maker
Before you begin the cleaning process, ensure the panini maker is unplugged from the electrical outlet. This step is crucial for your safety as it prevents the risk of electric shock. Allow the appliance to cool down completely if it has been recently used, as the plates may still be hot.
However, if you are using a panini press with removable plates, remove them before unplugging the appliance. You can then clean the plates separately in the sink or dishwasher.
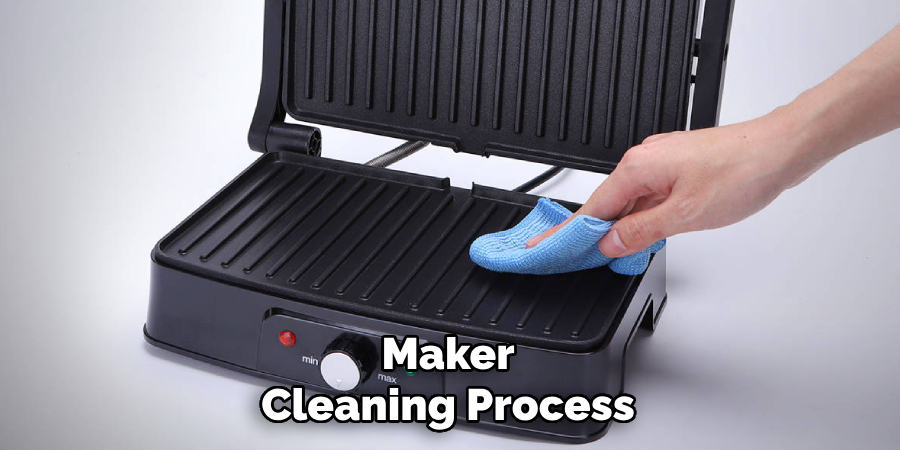
Step 2: Wipe Down the Plates
Using a soft sponge or cloth, wipe down both plates of the panini maker to remove any loose food particles and grease. Make sure to be gentle when cleaning as you do not want to scratch the non-stick coating.
If there is excessive build-up on the plates, you may need to repeat this step multiple times until they are visibly clean.
Step 3: Soak with Warm Water
Dampen a soft cloth or sponge with warm water and gently place it on the plates of the panini maker. Allow the warmth of the water to loosen any stubborn residue clinging to the surfaces. It’s important not to pour water directly onto the appliance as this can lead to damage. Instead, ensure the cloth or sponge is sufficiently moist for soaking purposes.
Let it sit for a few minutes to effectively soften any hard-to-remove food particles or grease. This soaking process will make the subsequent cleaning steps easier and more efficient.
Step 4: Clean the Plates
If your panini maker has removable plates, you can easily submerge them in soapy water and scrub away any remaining residues with a sponge or cloth.
For appliances with fixed plates, dip a soft sponge or cloth into the soapy water and gently scrub the plates. Avoid using harsh chemicals or abrasive sponges as they can damage the non-stick coating.
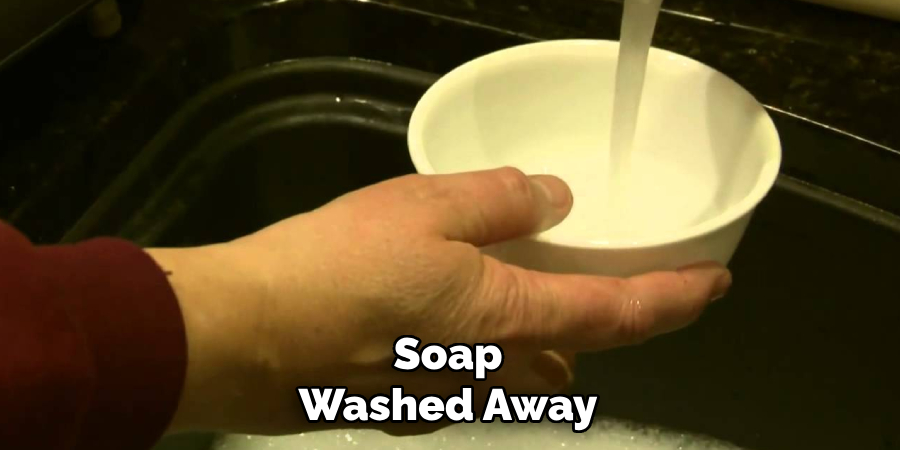
Step 5: Rinse with Warm Water
After scrubbing, it’s crucial to rinse the plates to remove any soap residue. For panini makers with removable plates, rinse them thoroughly under running warm water until all soap is washed away. If your appliance has fixed plates, dampen a clean cloth or sponge with warm water and wipe down the plates carefully to ensure that no soap or cleaning solution remains.
Make sure the cloth or sponge is well-wrung to avoid excess water dripping onto the appliance. A thorough rinse is essential to prevent altering the taste of your food with leftover detergent.
Step 6: Dry Thoroughly
Using paper towels or a clean cloth, dry off the plates and exterior of the panini maker. Make sure everything is completely dry before plugging in and using the appliance again.
Moisture left on the plates or inside the crevices can lead to rusting or mold growth, affecting the performance and safety of your panini maker.
Step 7: Clean Hard-to-reach Areas
If there are any hard-to-reach areas on your panini maker that cannot be cleaned with a sponge or cloth, use a toothpick or small brush to gently remove any debris.
Be careful not to scratch the surface while cleaning these areas. If you encounter stubborn residue, let it soak in warm, soapy water for a few minutes before attempting to clean it again.
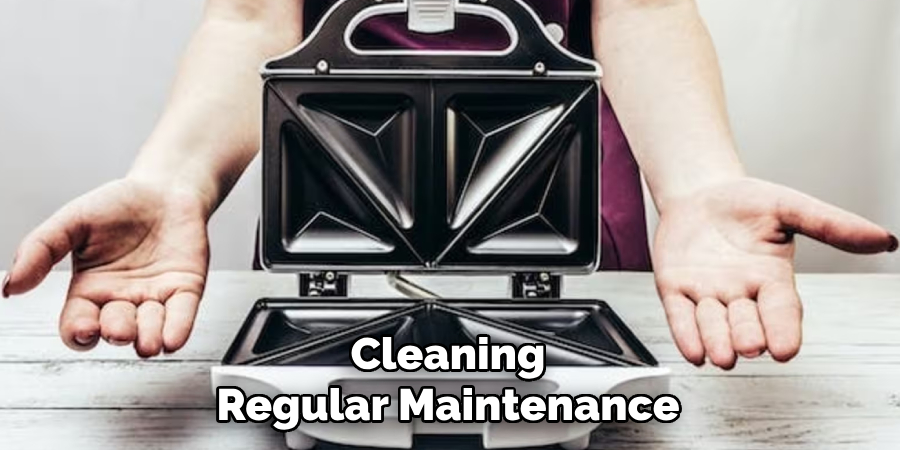
Step 8: Regular Maintenance
To keep your panini maker in top condition, follow these maintenance tips:
- Always clean the appliance after each use, even if it seems like there is no visible residue.
- Avoid using harsh chemicals or abrasive sponges when cleaning.
- Do not submerge the entire panini maker in water as it can damage the electrical components.
- If your panini maker has removable plates, clean them separately after each use.
- Store the panini maker in a dry place to prevent rust and mold growth.
By following these simple steps on how to clean panini maker and regular maintenance, you can enjoy delicious panini sandwiches without worrying about residue buildup or safety concerns. Remember to always unplug the appliance before cleaning and be gentle when scrubbing the non-stick plates. With proper care, you can prolong the lifespan of your panini maker and continue making tasty sandwiches for years to come.
Do You Need to Use Professionals?
While cleaning your panini maker can typically be handled with the DIY steps outlined in this guide, there are certain situations where hiring a professional might be beneficial. If your appliance has accumulated years of stubborn residue that regular cleaning methods haven’t removed, a professional cleaner can provide a deep cleaning service that ensures optimal performance. Similarly, if the non-stick coating has noticeably deteriorated, consulting a professional may be worthwhile to assess whether repairs or replacements are necessary.
Professionals have specialized tools and cleaning agents that can restore the appliance without causing damage. However, for everyday maintenance and light cleaning, following the guide should suffice to keep your panini maker in excellent condition.
How Much Could It Cost?
The cost of cleaning your panini maker professionally can vary depending on the level of service required. Basic cleaning services might range from $20 to $50, which covers standard residue removal and surface polishing. If the appliance requires extensive deep cleaning or repair work, costs could increase to $100 or more. This might include procedures such as fixing the non-stick coating or addressing electrical issues.
It’s important to compare prices between service providers and consider the overall condition of your panini maker when deciding whether to opt for professional cleaning. For routine maintenance, using do-it-yourself methods is a cost-effective approach, minimizing the need for professional intervention.
Frequently Asked Questions
Q: Can I Use a Dishwasher to Clean My Panini Maker?
A: It is not recommended to put your panini maker in the dishwasher as it can damage the non-stick coating and electrical components. If your appliance has removable plates, they can be washed separately in the dishwasher.
Q: How Often Should I Clean My Panini Maker?
A: It is best to clean your panini maker after each use. This will prevent any residue buildup and ensure a safe and hygienic cooking experience.
Q: Can I Use Metal Utensils on My Panini Maker?
A: No, it is not recommended to use metal utensils on the non-stick surface of your panini maker as it can scratch and damage the coating. Instead, use wooden or silicone utensils for grilling sandwiches.
Conclusion
Proper cleaning and maintenance of your panini maker are essential to ensure its longevity and optimal performance. By following the outlined steps on how to clean panini maker to clean the appliance after each use, you can prevent stubborn residue buildup and avoid potential safety hazards. Regularly addressing both the removable and fixed components will ensure a hygienic cooking surface for consistently delicious sandwiches.
Adopting gentle cleaning methods and avoiding abrasive materials will preserve the non-stick coating, extending the lifespan of your panini maker. With these simple practices, you can continue to enjoy perfectly pressed panini sandwiches for years to come, confident in the appliance’s cleanliness and efficiency.
Professional Focus
Angela Ervin, a former interior designer turned blogger, specializes in kitchen design and renovations. Through her website, she blends her passion for cooking with design expertise, sharing practical and creative ideas. Known for balancing functionality and beauty, Angela’s insightful content has made her a trusted voice in home design and lifestyle.
About the Author
Angela Ervin, an experienced interior designer and blogger, combines her passion for kitchen renovations with storytelling. Living in Petersburg with her family, she enjoys cooking and testing her projects firsthand. Known for her humor and relatable style, Angela shares creative, functional design insights through her content, making her a trusted voice in home design.
Education History
University: Virginia Commonwealth University
Degree: Bachelor of Fine Arts (BFA) in Interior Design
- Angela’s education at VCU focused on mastering core interior design principles, including spatial planning, color theory, materials selection, and sustainable design practices.
- She gained hands-on experience through studio projects and collaborative design exercises, which honed her ability to create functional and aesthetically pleasing environments.
- Her coursework also emphasized problem-solving and practical applications of design, preparing her for real-world projects like her self-directed kitchen renovations.
- The program’s strong foundation in both technical skills and creative expression shaped Angela’s ability to seamlessly integrate form and function in her work.