


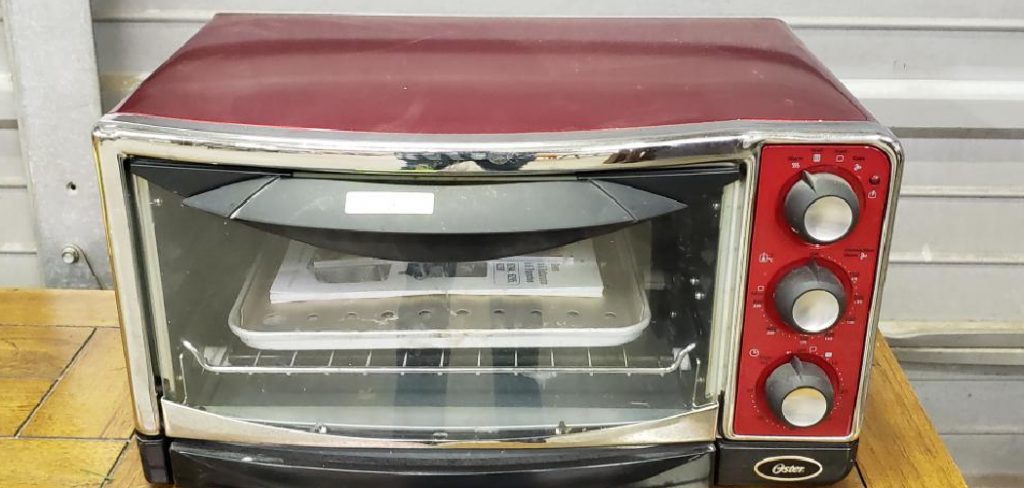
Oster ovens, whether toaster ovens or convection ovens are convenient kitchen appliances that simplify cooking and baking. However, like any appliance, they may encounter problems over time, such as failure to heat, timer malfunctions, or issues with the control panel. Knowing how to fix Oster oven issues can save time and money.
While some problems may require professional repair or replacement parts, many common issues can be resolved with simple troubleshooting and fixes you can perform at home. This guide will walk you through the most common problems Oster oven users face and provide step-by-step solutions. It’s important to always ensure safety by unplugging the appliance before attempting any repairs. Taking these precautions and following our detailed instructions can help extend the life of your Oster oven and keep your kitchen running smoothly.
Safety Precautions Before Repair
Before addressing any issues with your Oster oven, it’s essential to prioritize safety to prevent injuries and further damage. Follow these steps to ensure a safe repair process:
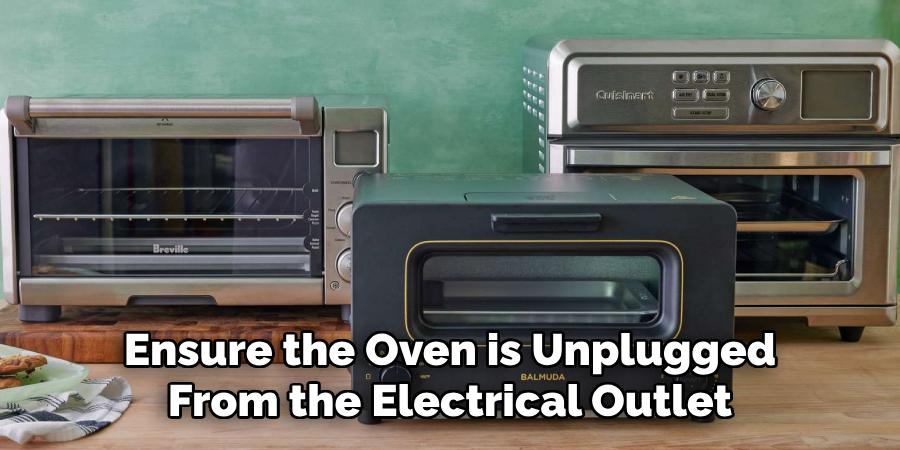
Step 1: Unplug the Oven
Before troubleshooting or repairs, ensure the oven is unplugged from the electrical outlet to avoid the risk of electric shock. Disconnecting power is crucial when handling electrical appliances.
Step 2: Allow the Oven to Cool
Ensure the oven is cool before attempting any repairs, especially if it has been in use recently. This will prevent burns and make it easier to handle components. Hot surfaces can cause injury and damage sensitive parts during the repair process.
Step 3: Refer to the User Manual
Keep your Oster oven’s user manual nearby, as it will provide useful information on the specific parts of your oven and any warranty details. Understanding your appliance’s structure and specifications is invaluable in diagnosing and rectifying issues effectively.

How to Fix Oster Oven: Common Problems and How to Fix Them
Problem 1: Oster Oven Won’t Heat Up
Cause: This issue is most commonly due to a malfunctioning heating element or a faulty thermostat.
Solution:
Check the Heating Element: Open the oven and visually inspect both the top and bottom heating elements. Replacement is necessary if they show signs of damage, such as cracks or burn marks. You may order these parts directly from Oster or through a reputable third-party supplier.
Test the Thermostat: If the heating elements look intact, the thermostat might be the culprit. To assess its condition, you must carefully remove the oven’s back panel using a screwdriver and locate the thermostat. Replacing the thermostat should resolve the issue if you observe any visible damage or malfunction.
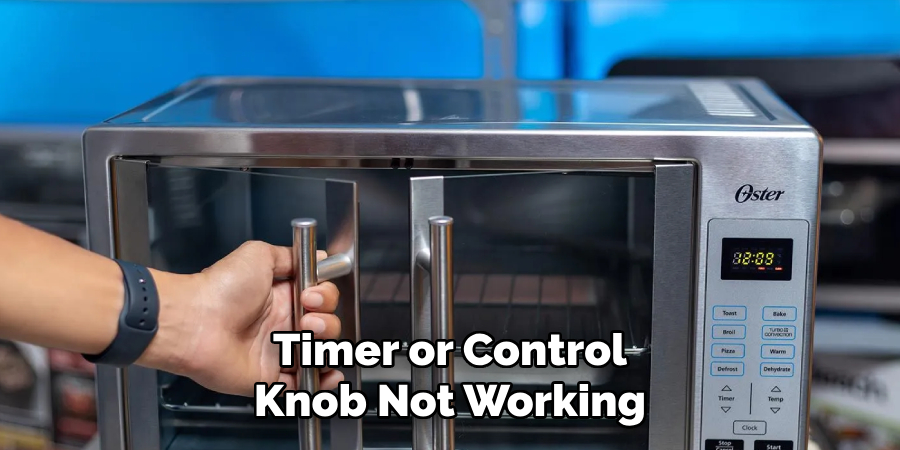
Problem 2: Timer or Control Knob Not Working
Cause: Wear and tear on the timer mechanism or loose knobs are usual suspects when these components fail.
Solution:
Tighten Loose Knobs: Determine whether the control knob is sagging or disconnected from the timer. If so, reattach and tighten the knob appropriately.
Replace the Timer: Should the timer itself be defective, it is often a replaceable part. Begin by removing the back panel, then locate and carefully disconnect the timer, paying close attention to the wire configuration. Install the new timer, ensuring the wiring matches the original setup.
Problem 3: Uneven Cooking or Burning Food
Cause: Such issues can arise due to faulty heating elements, a damaged fan in convection models, or improper rack placement in the oven.
Solution:
Check Heating Elements: Ensure that both heating elements are functioning correctly. Any failure in one of them requires replacement.
Inspect Convection Fan: Verify that the fan is operational for convection ovens with uneven cooking results. It should not be obstructed by food debris or defects; cleaning or replacing the fan may be necessary.
Adjust Rack Placement: To achieve more consistent cooking results, place dishes on the middle rack unless directed otherwise by the recipe. This adjustment helps balance heat distribution and prevent overcooking or burning.
Problem 4: Fixing a Faulty Power Supply
Problem: Oster Oven Won’t Turn On
Cause: This can be due to power cord issues, internal wiring problems, or a blown fuse.
Solution:
Check the Power Cord:
Start by examining the power cord for any visible signs of damage, such as cuts, fraying, or burnt marks. If the cord appears to be damaged, it is crucial to replace it. Detach the damaged cord from the oven by unscrewing any attachments and disconnecting the wiring, then install a new cord by reversing this process.
Test the Outlet:
To ensure the problem does not lie with the outlet, plug another appliance, such as a lamp or toaster, into the same outlet. If the alternative appliance does not operate either, the outlet may be the issue. Try resetting the circuit breaker or consulting an electrician to address the outlet problem.
Inspect Internal Wiring:
If both the power cord and outlet appear functional, turn off and unplug the oven before accessing its internal wiring. Use a screwdriver to carefully remove the oven’s back panel and closely examine the wiring for any loose or disconnected wires. If found, reattach the wires securely by ensuring all connections are snug and free from corrosion or wear.

Replace a Blown Fuse:
Oster ovens can sometimes have an internal fuse that might blow, preventing the oven from turning on. To check, locate the fuse within the oven’s internal structure—refer to the user manual if necessary. If the fuse is blown, carefully remove it from its housing and replace it with a new fuse of the same rating, ensuring it is fitted correctly and securely.
Cleaning and Maintenance for Longevity
Step 1: Regular Cleaning
Regularly clean the interior and exterior of your Oster oven to prevent grease buildup, which can interfere with proper heating and may cause unpleasant odors or smoke. Use a soft cloth, mild detergent, and warm water to clean the oven. Avoid using harsh chemicals or abrasive pads, which could damage the surface. This routine ensures that your oven maintains its efficiency and looks new for longer.
Step 2: Avoid Overloading
Overloading the oven with large amounts of food can block airflow and lead to uneven cooking. Use the appropriate rack positions and avoid overcrowding trays. Each tray should be adequately spaced, allowing hot air to circulate freely and cook the food evenly. This practice enhances cooking results and preserves the oven’s performance.
Step 3: Preventing Damage to Heating Elements
Do not place aluminum foil or metal trays in direct contact with the heating elements. Doing so can damage the oven or affect its heating efficiency. Always ensure that cookware is appropriately positioned and does not touch the elements, preserving its condition and functionality over time.
Step 4: Clean the Crumb Tray
Empty and clean the crumb tray regularly to prevent crumbs from burning inside the oven. A clean crumb tray also promotes even cooking and prevents potential fire hazards. Incorporating this step into your cleaning routine keeps your oven safe and hygienic, ensuring optimal performance in every use.
Replacing the Heating Element
Step 1: Identify the Problem
If the Oster oven isn’t heating up and you’ve confirmed that the thermostat is functioning properly, the heating element may be faulty and require replacement. Diagnosing a malfunctioning heating element typically involves observing uneven or no heating and ensuring other components are operational.
Step 2: Gather Tools and Parts
To perform the replacement, you will need a screwdriver, a replacement heating element that matches your specific Oster oven model, and gloves to protect your hands from sharp edges. Ensuring you have the correct parts and tools is essential for a smooth replacement process.
Step 3: Remove the Old Heating Element
- Unplug the Oven: To prevent electrical accidents, start by unplugging the oven from the power source.
- Open the Oven: Depending on your model, you may need to remove the screws holding the outer casing or the back panel of the oven to access the internal components where the heating elements are located.
- Locate the Heating Element: The heating elements are usually situated at the top and bottom of the oven’s interior. Identify the location of the screws or clips that hold the heating element in place.
- Disconnect the Wires: Carefully unscrew or unclip the existing heating element and gently pull it away from the structure, disconnecting the wires carefully. Note the wire configurations to ensure correct reconnection when installing the new element.
Step 4: Install the New Heating Element
- Attach the Wires: Begin by reconnecting the wires to the new heating element, ensuring that the configuration matches the old setup.
- Secure the Heating Element: Position the new heating element back in the same location as the old one, and secure it with the screws or clips. Ensure it is firmly attached to avoid vibrations or misalignment during operation.
- Reassemble the Oven: Reattach any panels or screws that were removed to access the heating element. Confirm that everything is properly secured to maintain the oven’s integrity.
Step 5: Test the Oven
Plug the oven back into the electrical outlet and test the new heating element by turning it on. Monitor it to ensure it heats up efficiently, listen for any unusual sounds, and check for operational issues. Confirming that the oven reaches the desired temperature confirms a successful replacement.

When to Call a Professional
Step 1: Complex Electrical Issues
If the oven’s control board or electronic components malfunction, it may be best to call a professional technician. Attempting to repair electrical components without the right tools or expertise can result in further damage or safety hazards. Electrical issues can be intricate and require the precision and understanding of a trained expert who can safely diagnose and resolve the problem without putting you or the appliance at risk.
Step 2: Persistent Problems
If you’ve tried the basic fixes and your Oster oven continues to have problems, it might require professional repair. This is especially true if the issue involves internal circuitry or temperature regulation. Sometimes, underlying issues can be hard to detect without specialized equipment, and addressing them promptly through professional intervention can prevent further complications.
Step 3: Warranty Considerations
If your oven is still under warranty, contact Oster customer service before attempting any repairs. Unauthorized repairs may void the warranty, so it’s essential to consult the manufacturer for assistance or approved repair services. The warranty may cover specific repairs or replacements, saving you time and the cost of independent repair services. Always ensure repairs are conducted in line with warranty conditions to protect your investment.
Conclusion
Fixing common problems with your Oster oven is often simple and can be done at home with basic tools. By identifying the issue—whether it’s a heating element failure, power problem, or timer malfunction—you can take the appropriate steps to restore your oven’s functionality. Regular maintenance, such as cleaning and inspecting the heating elements and other components, can prevent many problems and keep your oven working efficiently.
Always remember to unplug the oven and allow it to cool down before performing any repairs to ensure safety. For more complex issues, or if your oven is under warranty, it’s advisable to consult with a professional or contact Oster’s customer service for further assistance. Taking proper care and performing occasional repairs on your appliance will ensure that your Oster oven continues to serve you well for years to come. Knowing “how to fix oster oven” empowers you to handle minor issues effectively and maintain its performance.
Professional Focus
Angela Ervin, a former interior designer turned blogger, specializes in kitchen design and renovations. Through her website, she blends her passion for cooking with design expertise, sharing practical and creative ideas. Known for balancing functionality and beauty, Angela’s insightful content has made her a trusted voice in home design and lifestyle.
About the Author
Angela Ervin, an experienced interior designer and blogger, combines her passion for kitchen renovations with storytelling. Living in Petersburg with her family, she enjoys cooking and testing her projects firsthand. Known for her humor and relatable style, Angela shares creative, functional design insights through her content, making her a trusted voice in home design.
Education History
University: Virginia Commonwealth University
Degree: Bachelor of Fine Arts (BFA) in Interior Design
- Angela’s education at VCU focused on mastering core interior design principles, including spatial planning, color theory, materials selection, and sustainable design practices.
- She gained hands-on experience through studio projects and collaborative design exercises, which honed her ability to create functional and aesthetically pleasing environments.
- Her coursework also emphasized problem-solving and practical applications of design, preparing her for real-world projects like her self-directed kitchen renovations.
- The program’s strong foundation in both technical skills and creative expression shaped Angela’s ability to seamlessly integrate form and function in her work.