


Are you looking for a way to boost your outdoor grilling game? Have you ever considered using a Nexgrill? With so many essential features, the Nexgrill can help you achieve the perfect outdoor BBQ. Starting up the grill can be confusing and intimidating if it is something that is unfamiliar to you. That’s why we have created this blog post – to teach and guide you on how to light a nexgrill. Continue reading our comprehensive guide and take your outdoor cooking up a notch!
Grilling is one of the most popular ways to cook food, especially during the warmer months. However, not everyone knows how to light a Nexgrill correctly. With the right steps and equipment in place, you can easily learn how to light your Nexgrill for perfect results every time. Read on for more information on what you need and key tips on how to properly light your grill!
What is a Nexgrill?
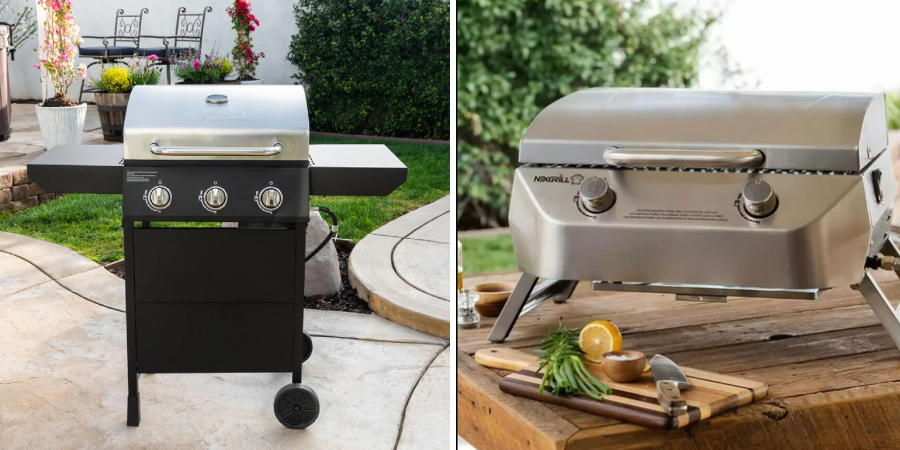
Before diving into the process of lighting a Nexgrill, it is essential to understand what it is and how it differs from other types of grills. A Nexgrill is a type of outdoor gas grill that uses propane or natural gas as its fuel source. It typically consists of burners, cooking grates, and heat plates to evenly distribute heat while cooking. The Nexgrill is known for its efficient heating capabilities and versatility, making it a popular choice among grilling enthusiasts. You can find different sizes and models of Nexgrills to suit your needs and budget.
Why Choose a Nexgrill?
There are many reasons why you should consider investing in a Nexgrill for your outdoor cooking needs. For one, it offers quick and easy ignition, making it convenient to use. It also provides consistent heat distribution, ensuring that your food cooks evenly and thoroughly. Additionally, the Nexgrill is equipped with temperature control knobs, allowing you to adjust the heat to your desired level. Overall, a Nexgrill offers convenience, efficiency, and versatility compared to other types of grills.
Benefits of a Nexgrill:
There are many benefits to owning a Nexgrill. Such as:
1. Durable Construction
One of the main benefits of the Nexgrill is its sturdy construction. It’s made from high-quality materials like stainless steel, making it both rust and corrosion resistant. This ensures that your grill will last a long time without needing any repairs.
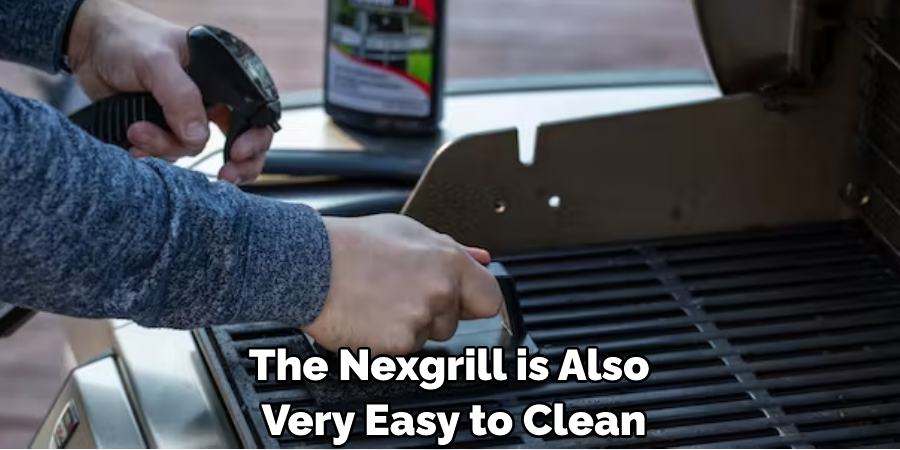
2. Easy to Clean
The Nexgrill is also very easy to clean and maintain. Its non-stick grates make it simple to wipe off any residue or fat that may have accumulated over time. This helps you keep the grill in top shape so it’s ready for use whenever you need it.
3. Versatile Cooking Options
The Nexgrill also provides a wide variety of cooking options, making it suitable for any type of food. You can use it to grill, bake, smoke, or even rotisserie your favorite dishes. This versatility allows you to create delicious meals with ease.
4. Affordable Price
Finally, the Nexgrill is an affordable option that won’t break the bank. Its price tag is quite low compared to other grill models, making it perfect for anyone on a budget. You can still enjoy the benefits and features of a high-quality grill without spending a fortune.
With these great features and benefits, it’s easy to see why the Nexgrill is such a popular choice. Now that you know more about this amazing product, let’s take a look at how to light yours so you can get grilling!
Safety First:
Before learning how to light your Nexgrill, it’s essential to first go over some safety precautions. When dealing with gas and fire, there are always potential hazards that should be taken seriously. Here are a few tips to help ensure your grilling experience is both safe and enjoyable:
Check for Gas Leaks:
Before lighting your grill, make sure there are no gas leaks. You can do this by performing a simple soap and water test. Mix equal parts of dish soap and water in a spray bottle, then spray the solution on all gas connections. If there is a leak, bubbles will form, indicating the need for immediate repair.
Keep Children Away:
When grilling, it’s crucial to keep children away from the grill at all times. The grill can reach high temperatures, and children may not understand the potential dangers that come with it.
Proper Ventilation:
Always ensure that your grill is in a well-ventilated area to avoid any buildup of gas or smoke. Grilling in an enclosed space can lead to carbon monoxide poisoning, which can be fatal.
Read the Manual:
Lastly, make sure to read the manufacturer’s manual carefully before using your Nexgrill. It contains important information on how to properly operate and maintain your grill.
How to Light a Nexgrill in Easy Steps:
Step 1: Start by Positioning Your Nexgrill on a Level Surface
The very first step is to make sure that your Nexgrill is placed on a level surface. This will ensure that it functions properly and safely when you are using it. It will also help to prevent accidents and ensure that your grilling experience is as enjoyable as possible.
You should always keep your Nexgrill at least 10 feet away from any combustible material, such as buildings or trees. This will help to prevent accidents and minimize the risk of fire. You should also avoid using your Nexgrill on a windy day as this can be dangerous.
Step 2: Open the Hood of Your Grill
Once you have positioned your Nexgrill, open the hood of your grill so you can access the burners. You may need to use the handle or a pair of long-handled tongs. So, you have to make sure that the apparatus is cold.
It’s essential to check the hood and grill for any debris before you start. You don’t want any old ash, dust, or even insects getting in the way of your cooking. It’s always a good idea to clean your grill before and after each use.
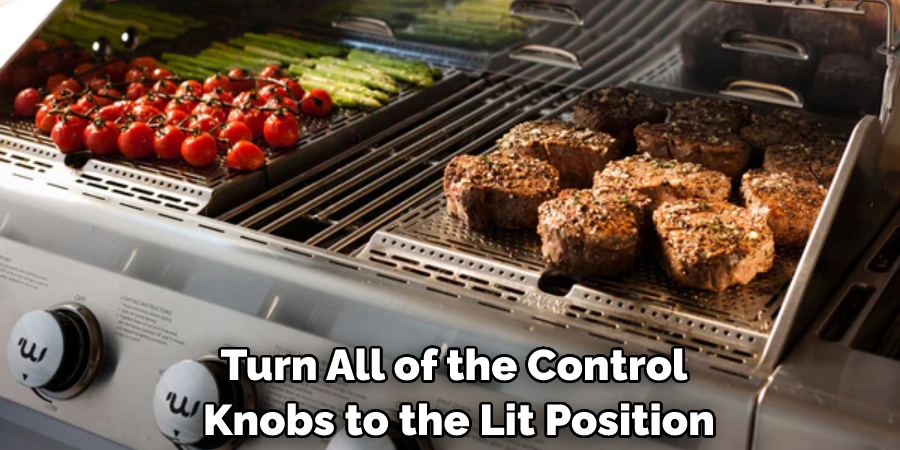
Step 3: Place the Control Knobs on the “Lite” Position
Locate and turn all of the control knobs to the lit position. This will allow you to ignite each burner individually. You have to be careful and make sure that all of the knobs are in the lit position. Also, make sure that the knobs are not in a full-on position, as this can cause an unexpected flare-up. You can confirm this by checking the gas valves under your grill.
It’s important to remember that different Nexgrill models may have slightly different control knobs. So, always refer to your user manual for the correct lighting instructions.
Step 4: Light Each Burner Individually
Using a long match or lighter, light each burner individually. Hold the flame directly over the holes of the burner for about 15 seconds, and make sure you are standing back when you do this. This will ensure that the flame is lit evenly.
It’s important to note that if you are using a propane Nexgrill, the burners should light almost immediately. However, if you are using a natural gas grill, it may take a few seconds for the burners to catch.
Step 5: Check for Leaks
After you have lit each burner, check to make sure there are no leaks or visible damage in any of the areas where you can access gas. If there are any leaks, turn off all burners immediately and call a professional.
But don’t worry. If you have followed all of these steps carefully and your grill is functioning properly, there should be no leaks. You can now close the hood of your grill and let it preheat for about 10-15 minutes. It’s now ready for use!
Step 6: Close the Hood of Your Grill
Once you have checked for any leaks, close the hood of your grill. This will help to protect the burners from outside elements that may cause damage to them over time. Also, be careful when closing the hood, as it can get very hot.
It’s essential to preheat your grill before you start cooking. This will ensure that the temperature is even throughout and helps to prevent food from sticking to the grates. It also helps to create the perfect sear on your food.
Step 7: Adjust the Temperature
Once your grill is preheated, you can adjust the temperature according to what you are cooking. If your Nexgrill has a built-in thermometer, use it to monitor and maintain a consistent temperature throughout the cooking process.
It’s important to note that different types of food require different temperatures for optimal cooking. Refer to your recipe or use a grilling cookbook for guidelines on the right temperature to use for specific dishes.
Step 8: Begin Grilling
Now, you are ready to start grilling! Place your food on the preheated grill and let it cook according to your recipe or desired level of doneness. Remember to keep an eye on the temperature and adjust it if needed. And don’t forget to use your grill’s lid, as it helps to lock in heat and flavors.
You now have all the information you need to light your Nexgrill and start preparing delicious meals. With its easy-to-use features, versatile cooking options, and affordable price, the Nexgrill is a must-have for any grilling enthusiast.
Step 9: Turn Off and Clean Your Grill
After you have finished grilling, turn off all burners and let your Nexgrill cool down for about 15 minutes. This will allow the grill to cool before you start cleaning it.
Once cooled, use a grill brush to scrape off any residue or stuck-on food particles from the grates. You can also use warm, soapy water and a sponge to clean the exterior of your grill. The Nexgrill is designed for easy maintenance and cleaning, making it a convenient choice for any outdoor cooking needs.
By following these simple steps, you can easily and safely light your Nexgrill and start barbecuing! Enjoy!
Some Additional Tips to Light a Nexgrill
1. Do Not Overfill the Grill with Charcoal
This is very important. Overfilling the grill can cause an excess of heat, which may make it difficult to light the charcoal or keep the fire burning. So make sure not to overfill the grill with charcoal. Also, it’s best to use charcoal briquettes rather than loose coal for a more controlled flame.
2. Use a Charcoal Chimney Starter
Using a chimney starter is the most reliable way to light your Nexgrill. It’s quick, easy, and efficient. You simply fill the starter with charcoal, place it on top of the grate, place some paper underneath it, and light the paper. The chimney will evenly distribute the heat and give your charcoal an even burn.
3. Be Patient
Lighting a Nexgrill can take some time, so make sure to be patient during the process. It’s important not to rush things, as this may lead to an unevenly lit grill or one that doesn’t stay lit for long. Take your time and enjoy the process, as once it’s lit, you can get ready to cook some delicious food.
4. Keep a Fire Extinguisher Nearby
Safety should always be a top priority when lighting any grill, including a Nexgrill. So, make sure to keep a fire extinguisher nearby in case of any emergencies. It’s better to be prepared and have it on hand, just in case.
5. Use High-Quality Charcoal and Lighter Fluid
Using high-quality charcoal and lighter fluid can make a big difference in how well your Nexgrill lights and how long they stay lit. Low-quality products may take longer to light or result in uneven flames, so investing in good-quality materials is worth it.
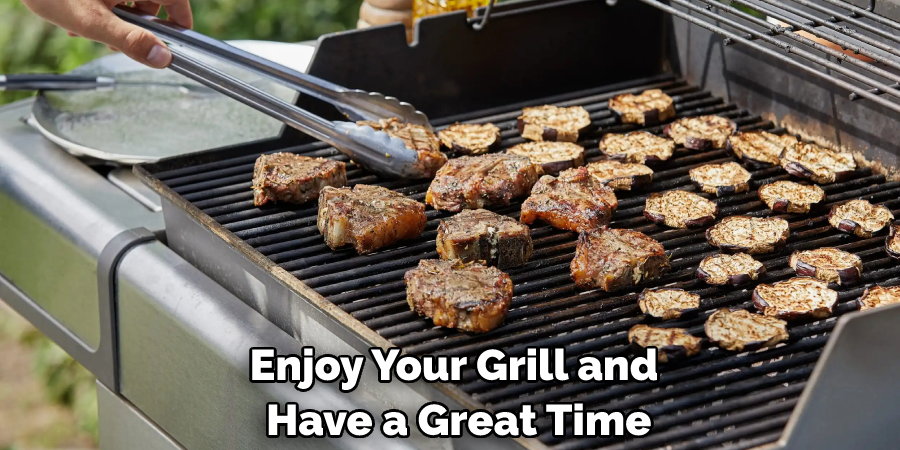
Following these tips should help you successfully light your Nexgrill. Once the charcoal is lit, you can start cooking right away! Enjoy your grill and have a great time!
FAQs
What Precautions Should I Take When Lighting a Nexgrill?
It is important to take certain safety precautions when lighting a Nexgrill. Before lighting the grill, make sure that it is on a flat, stable surface and away from any flammable materials such as trees or buildings. Additionally, always wear protective clothing like heat-resistant gloves and eyewear to protect yourself from the heat and sparks of the grill. Additionally, make sure that you light the grill in an area with proper ventilation– never use a Nexgrill indoors or in enclosed spaces.
How Do I Light My Nexgrill?
Lighting your Nexgrill is very easy! First, make sure that all of the burners are off and that there is no leftover debris, such as leaking grease or oil. Next, turn the selector knob to the “High” setting, then press down on the igniter button to spark all of the burners at once. Keep holding the button until you hear a clicking sound from all of your burners. If the burners do not light after several tries, try turning them off and on again.
How Long Does It Take for a Nexgrill to Heat Up?
Once lit, your Nexgrill should take about 10-15 minutes to reach its optimal cooking temperature. Depending on the size of your grill and how much food you are cooking, you may need to adjust the temperature accordingly. Additionally, be sure to check your food regularly while it is cooking and turn the burners down if the heat becomes too intense. Once you are finished cooking, make sure to turn all of the burners off before leaving the area. This will ensure that your Nexgrill remains safe for future use.
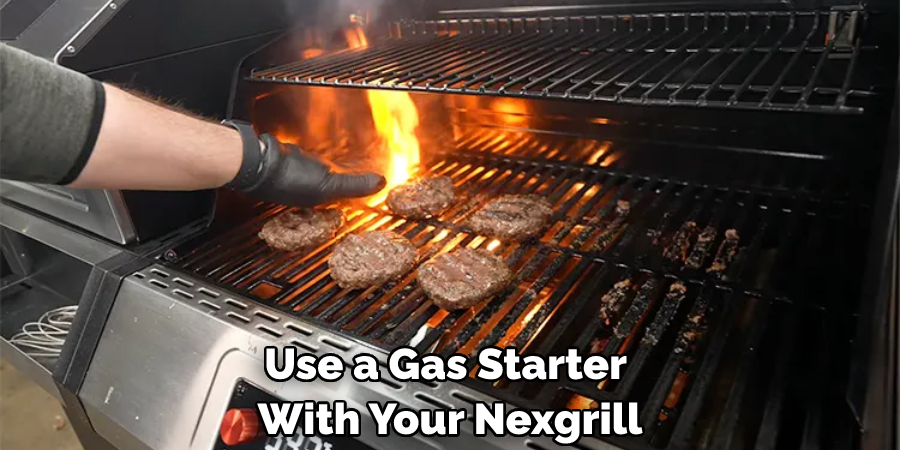
Can I Use a Gas Starter on My Nexgrill?
Yes, you can use a gas starter with your Nexgrill if you prefer. This type of starter is perfect for lighting the grill without having to hold down the igniter button for several minutes. To use it, simply attach the gas starter to one of the burners, then turn the knob to the “High” setting. Finally, ignite the starter and wait until you hear a clicking sound from all of your burners. Once the grill is lit, remember to turn off the starter before using it again.
Can I Use Charcoal in My Nexgrill?
Yes, you can use charcoal in your Nexgrill. However, you should take extra safety precautions when using it. Charcoal is a more dangerous fuel source to use as it can produce more smoke and higher temperatures. Additionally, you should never light the charcoal with lighter fluid or any other flammable materials as this could cause an explosion.
Conclusion
In conclusion, lighting a Nexgrill is an easy process that can happen in three simple steps. Start by putting the gas tank on correctly, ignite it with a match or piezo igniter, and lastly adjust your flame as needed. With our guide, you can now light your Nexgrill with confidence so you can get the best char-grilled results. What’s more, with follow-up care like cleaning and regularly checking connections and valves, you can help keep your grill safe and functioning properly for many grilling seasons to come!
Now you know how to light a nexgrill. With some simple steps and a few supplies, you can have your grill ready to go in no time. Make sure you check the propane tank for any leaks before using it and always follow safety instructions when lighting or using gas grills. Once your Nexgrill is properly lit, you’ll be able to enjoy delicious grilled meals with family and friends. Bon Appétit!
Professional Focus
Angela Ervin, a former interior designer turned blogger, specializes in kitchen design and renovations. Through her website, she blends her passion for cooking with design expertise, sharing practical and creative ideas. Known for balancing functionality and beauty, Angela’s insightful content has made her a trusted voice in home design and lifestyle.
About the Author
Angela Ervin, an experienced interior designer and blogger, combines her passion for kitchen renovations with storytelling. Living in Petersburg with her family, she enjoys cooking and testing her projects firsthand. Known for her humor and relatable style, Angela shares creative, functional design insights through her content, making her a trusted voice in home design.
Education History
University: Virginia Commonwealth University
Degree: Bachelor of Fine Arts (BFA) in Interior Design
- Angela’s education at VCU focused on mastering core interior design principles, including spatial planning, color theory, materials selection, and sustainable design practices.
- She gained hands-on experience through studio projects and collaborative design exercises, which honed her ability to create functional and aesthetically pleasing environments.
- Her coursework also emphasized problem-solving and practical applications of design, preparing her for real-world projects like her self-directed kitchen renovations.
- The program’s strong foundation in both technical skills and creative expression shaped Angela’s ability to seamlessly integrate form and function in her work.