


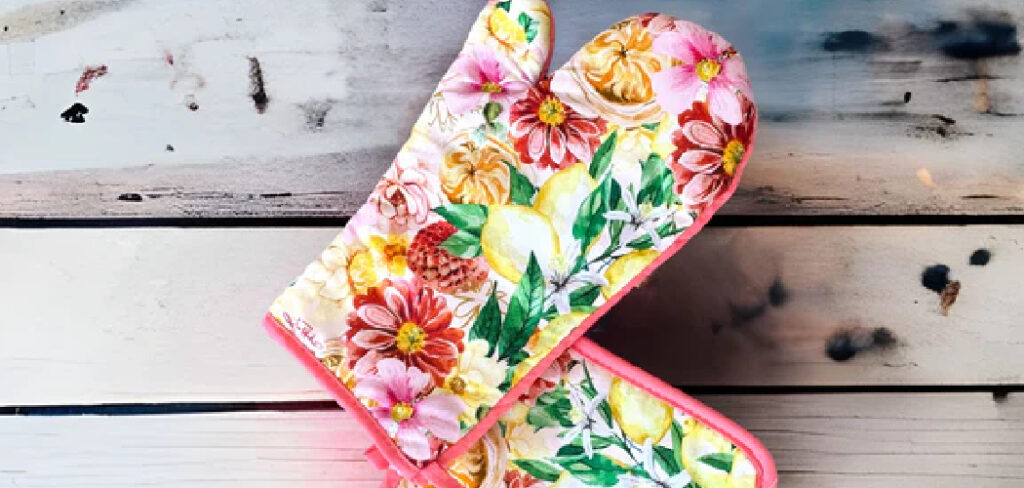
Creating your own oven mitt can be a rewarding and practical sewing project, perfect for beginners and experienced crafters alike. Not only does it offer a creative outlet, but it also results in a useful kitchen tool that can be personalized to match your style.
With a few simple materials and some basic sewing skills, you can craft a durable mitt perfect for handling hot pots and pans. This guide will walk you through how to make an oven mitt is both functional and aesthetically pleasing.
The Usefulness of DIY Oven Mitts
DIY oven mitts combine functionality with a personal touch, making them a valuable addition to any kitchen. Unlike store-bought varieties, homemade mitts can be tailored to fit your exact specifications, ensuring a snug and safe grip on cookware.
By choosing your own fabrics, you can select materials that not only reflect your personality but also enhance heat resistance and durability. Additionally, crafting your own mitts allows you to incorporate additional layers of padding as needed, optimizing protection against burns.
This personalization extends beyond aesthetics, transforming a simple tool into a unique, handcrafted item that enhances the efficiency and safety of your culinary endeavors.
Advantages of Making Your Own Oven Mitt
There are numerous advantages to making your own oven mitt, ranging from personal satisfaction to practical utility. Firstly, the process of creating something by hand offers a sense of accomplishment and can be a relaxing, stress-relieving activity.
It provides an opportunity to express creativity in fabric selection, color coordination, and pattern design. Moreover, homemade oven mitts can be customized in size and shape, offering a perfect fit that enhances safety and comfort while cooking.
Economically, crafting your own mitts can be more cost-effective than purchasing high-quality, store-bought alternatives. Lastly, making your own oven mitts can reduce waste, as you have control over the materials you use, allowing you to opt for sustainable, eco-friendly options. This not only contributes to environmental conservation but also results in a unique, personalized kitchen accessory.
10 Methods How to Make an Oven Mitt
1. Select and Prepare Your Materials
The first step in making an oven mitt is choosing the right materials. You’ll need a heat-resistant fabric for the outer layer, such as cotton or a blend that can handle high temperatures. For added protection, consider using a layer of heat-resistant batting or insulation material, like aluminized fabric or insulated quilt batting.
Choose a soft, comfortable fabric for the lining, such as cotton or fleece. Measure and cut the fabric pieces according to your pattern, ensuring that you have enough for the outer layer, lining, and any additional layers of insulation.
2. Draft or Choose a Pattern
You can create your own oven mitt pattern or use a pre-existing one. If you’re designing your own, draft a pattern that includes a base shape and any additional features you desire, such as a thumb or different size options.
You’ll need to consider the size of your hand and the length of the mitt to ensure a comfortable fit. If you prefer, you can find printable patterns online or in sewing books. Make sure to add seam allowances to your pattern—typically 1/4 to 1/2 inch—so your mitt will be the right size when sewn together.
3. Cut Out the Fabric Pieces
Once you have your pattern, lay it out on your fabric and cut out the necessary pieces. For each oven mitt, you’ll need two pieces of the outer fabric, two pieces of the lining fabric, and two pieces of the insulation material, if using.
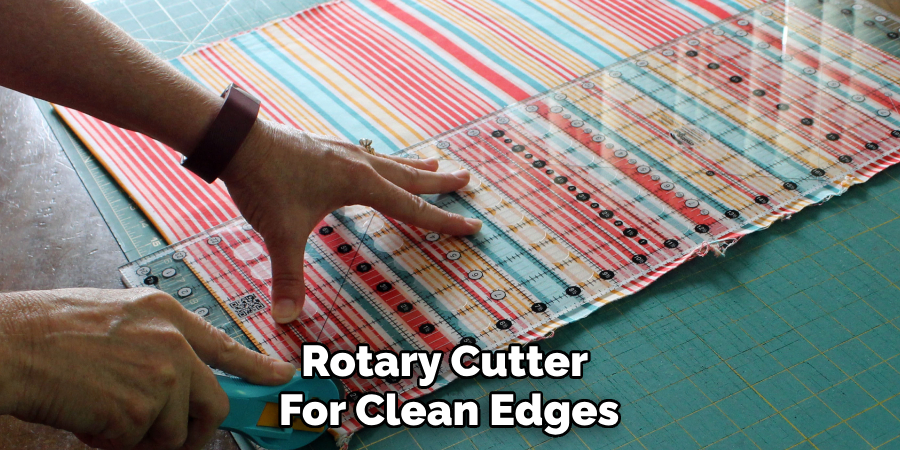
It’s important to cut precisely to ensure all pieces fit together well. Use fabric scissors or a rotary cutter for clean edges. If your fabric has a pattern, make sure to align the pieces correctly to maintain a consistent design.
4. Assemble the Mitt Layers
To provide effective heat protection, the oven mitt should have multiple layers. Start by layering the insulation material between the outer fabric and the lining fabric.
Place the outer fabric right side up, then add the insulation material, and finally, place the lining fabric right side down, aligning all edges. Pin or clip the layers together to keep them in place. Make sure that the insulation layer covers the entire area where your hand will be, including the thumb if your pattern includes one.
5. Sew the Mitt Pieces Together
Begin sewing the layers together, starting with the outer fabric and insulation. Use a sewing machine with a heat-resistant needle and thread, as these will handle the thickness and durability of the fabric better. Sew around the edges, leaving a small gap for turning the mitt right side out.
If your pattern includes a thumb, sew around the thumb section separately before attaching it to the main body of the mitt. Once the outer fabric is sewn, repeat the process with the lining fabric, ensuring that both layers are attached securely.
6. Turn the Mitt Right Side Out
After sewing, carefully turn the mitt right side out through the gap you left. This step is crucial as it gives the mitt its final shape. Gently push out the corners and seams to ensure they are well-defined. Use a blunt object like a chopstick or a turning tool to help shape the mitt, being careful not to tear the fabric. Once the mitt is turned out, press it lightly with an iron on a low setting to smooth out any wrinkles and ensure all layers are properly aligned.
7. Close the Turning Gap
To finish the mitt, close the gap you left for turning. Fold the raw edges inside and pin them in place. Hand-sew the gap closed with a needle and thread, using a slip stitch or ladder stitch for a neat, invisible finish. Ensure the stitching is secure and aligns well with the rest of the seam. This step ensures that the mitt is fully functional and aesthetically pleasing.
8. Add a Hanging Loop
To make storing your oven mitts convenient, add a hanging loop. Cut a small strip of fabric, fold it in half lengthwise, and sew along the edge to create a loop. Attach the loop to the top edge of the mitt by sewing it in place. The loop should be strong enough to support the weight of the mitt when hung. This small addition makes it easy to hang your mitts on a hook or peg, keeping them within reach while cooking.
9. Test for Heat Resistance
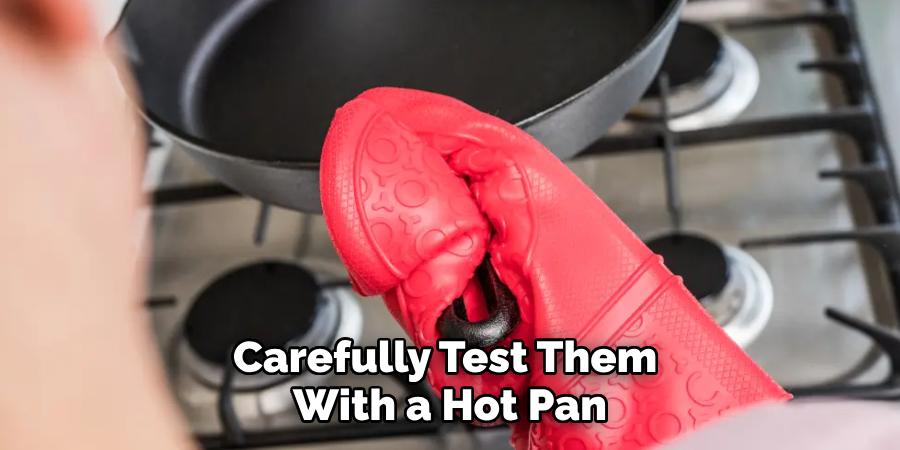
Before using your homemade oven mitts, it’s important to test their heat resistance to ensure they provide adequate protection. Carefully test them with a hot pan or in a controlled oven setting. Make sure the mitts are comfortable and that they provide sufficient insulation against heat. If you notice any issues, such as thin spots or discomfort, consider adding additional layers of insulation or adjusting the fit.
10. Care and Maintenance
Proper care will extend the life of your oven mitts and keep them in good condition. Wash them according to the fabric care instructions—typically, this involves gentle machine washing or hand washing with mild detergent.
Avoid using bleach or harsh chemicals, as they can damage the fabric. After washing, air dry the mitts or tumble dry on a low setting. Regular maintenance, such as checking for any wear and tear, will ensure your mitts remain safe and functional for all your baking needs.
Things to Consider When Choosing Materials for Oven Mitts
When selecting materials for oven mitts, prioritizing heat resistance is essential to ensure safety during use. Opt for fabrics like cotton, which naturally handles heat well, or specialized heat-resistant materials like silicone blends for the outer layer.
Comfort is another crucial factor, as mitts should be easy to put on and use without feeling bulky or constraining. Additionally, consider durability—choosing materials that can withstand frequent laundering without losing their protective qualities or structure.
Seam integrity is also important; make sure that your sewing materials, such as thread and needles, can handle the stress and thickness of the chosen fabrics to prevent any seam failures during use. Finally, the aesthetic aspect should not be overlooked; selecting colors and patterns that match your kitchen decor can make your homemade oven mitts an attractive addition to your culinary toolkit.
Conclusion
Making your own oven mitts is a practical and enjoyable project that allows you to customize a kitchen essential to your liking. By carefully selecting materials, drafting a suitable pattern, and following the sewing steps, you can create oven mitts that are both functional and stylish.
Whether you’re a seasoned sewer or a beginner, these methods offer a comprehensive guide to crafting high-quality, protective oven mitts that will enhance your cooking experience. Thanks for reading, and we hope this has given you some inspiration on how to make an oven mitt!
Professional Focus
Angela Ervin, a former interior designer turned blogger, specializes in kitchen design and renovations. Through her website, she blends her passion for cooking with design expertise, sharing practical and creative ideas. Known for balancing functionality and beauty, Angela’s insightful content has made her a trusted voice in home design and lifestyle.
About the Author
Angela Ervin, an experienced interior designer and blogger, combines her passion for kitchen renovations with storytelling. Living in Petersburg with her family, she enjoys cooking and testing her projects firsthand. Known for her humor and relatable style, Angela shares creative, functional design insights through her content, making her a trusted voice in home design.
Education History
University: Virginia Commonwealth University
Degree: Bachelor of Fine Arts (BFA) in Interior Design
- Angela’s education at VCU focused on mastering core interior design principles, including spatial planning, color theory, materials selection, and sustainable design practices.
- She gained hands-on experience through studio projects and collaborative design exercises, which honed her ability to create functional and aesthetically pleasing environments.
- Her coursework also emphasized problem-solving and practical applications of design, preparing her for real-world projects like her self-directed kitchen renovations.
- The program’s strong foundation in both technical skills and creative expression shaped Angela’s ability to seamlessly integrate form and function in her work.