


Painting kitchen appliances is an effective way to refresh your kitchen’s look without the cost of buying new equipment. Whether you’re aiming to match your appliances to a modern color scheme or just want to experiment with a new style, applying a fresh coat of paint can transform their appearance.
This guide on how to paint kitchen appliances will walk you through the necessary steps, providing tips and tricks to achieve a professional finish. By using specialized paints and following the correct procedures, you can ensure that your appliances not only look great but also maintain their durability.
What is the Best Paint for Kitchen Appliances?
Before diving into the painting process, it’s essential to choose the right paint. Not all paints are suitable for appliances as they may not adhere properly or withstand frequent use and cleaning.
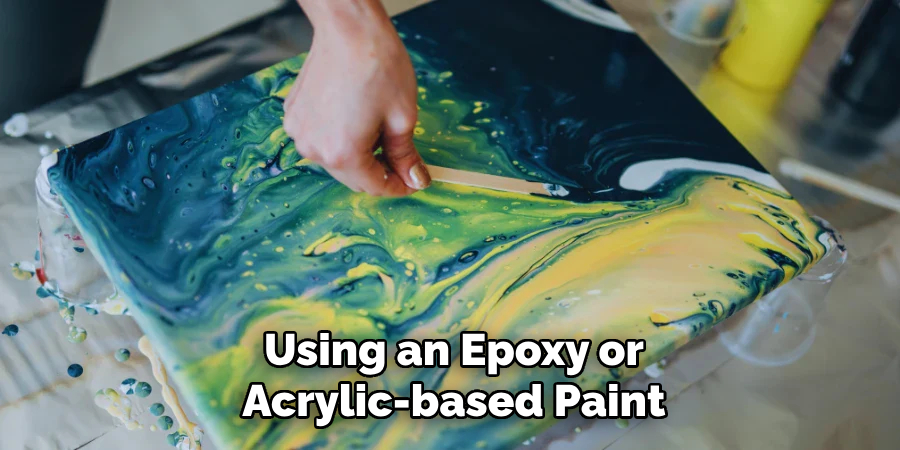
For kitchen appliances, epoxy or acrylic-based paints specifically designed for metal surfaces are recommended. These types of paint have a high resistance to heat, moisture, and daily wear and tear. They also provide excellent coverage and adhesion, making them ideal for coating large surfaces such as refrigerators or stoves.
Needed Tools and Materials
To successfully paint your kitchen appliances, you will need the following tools and materials:
Cleaning Supplies:
- Mild Soap or Dishwashing Liquid
- Microfiber Cloths
- Degreaser
Sanding Tools:
- Sandpaper (120 Grit)
- Sanding Block or Electric Sander (Optional)
Painting Supplies:
- Painter’s Tape
- Drop Cloths or Newspapers
- Paintbrushes and/or Paint Rollers
- Epoxy or Acrylic-based Paint (Specifically Designed for Metal Surfaces)
8 Step-by-step Guides on How to Paint Kitchen Appliances
Step 1: Prepare the Appliance
Before starting the painting process, it’s crucial to properly prepare your appliance. Begin by unplugging and cleaning the surface thoroughly to remove any dirt, oil, or grease buildup. You can use a mixture of mild soap or dishwashing liquid and warm water for this step.

Next, use a degreaser to eliminate any stubborn stains or residue. Once the surface is clean, dry it off with a microfiber cloth and allow it to air dry completely. It’s essential to ensure that the surface is dry before proceeding with the next step.
Step 2: Sand the Surface
Sanding the appliance is a crucial step in achieving a smooth and long-lasting finish. Using a sandpaper with 120 grit, lightly sand the entire surface of your appliance in a circular motion. This will help remove any rough patches or rust spots on the metal, making it easier for the paint to adhere.
You can also use an electric sander for this step if you have one available. Remember to wipe off any dust or debris from sanding using a clean cloth.
Step 3: Protect Areas You Don’t Want to Paint
Using painter’s tape, cover any areas of the appliance that you don’t want to be painted, such as handles, knobs, or logos. This will ensure that these parts remain their original color and prevent any accidental paint splatters.
You can also use drop cloths or newspapers to protect your countertops or floors from any potential drips or spills.
Step 4: Apply Primer (Optional)
If you’re painting a dark-colored appliance with a lighter color, it’s recommended to apply a primer first. The primer will help create an even base for the paint and improve its adhesion.
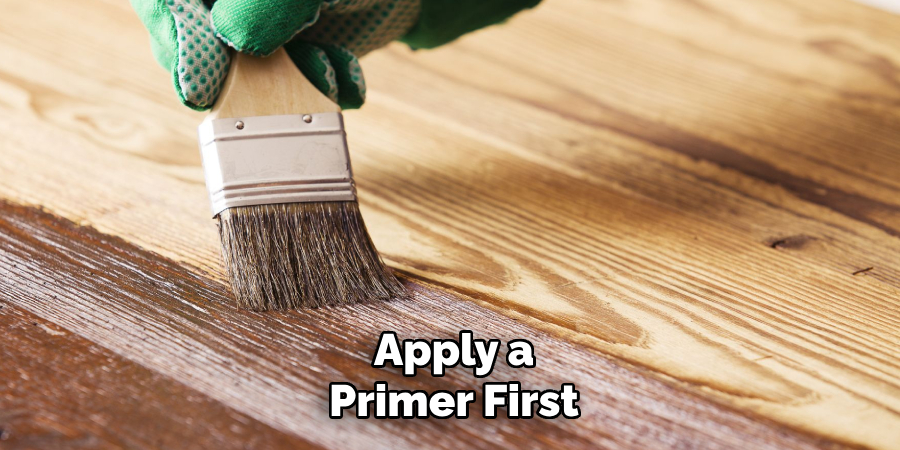
Using a small paintbrush or roller, apply a thin layer of primer evenly over the surface and allow it to dry completely before proceeding.
Step 5: Paint the Appliance
Now it’s time to paint your appliance. Using a high-quality brush or roller, apply thin and even coats of paint in the direction of the grain. It’s better to apply multiple thin coats rather than one thick layer as it will help prevent drips and achieve a smoother finish.
Be sure to cover all areas evenly, including any crevices or hard-to-reach spots. Allow each coat to dry completely before applying the next one.
Step 6: Add Additional Coats (If Necessary)
After the first coat of paint has dried completely, inspect the appliance to determine if an additional coat is needed. If the color appears uneven or there are areas where the previous color is still visible, apply another thin and even coat of paint.
Ensure that each coat is fully dried before applying the next to avoid any imperfections or smudging. Depending on the color transition and desired finish, you may need to apply multiple additional coats. Remember, patience is key as allowing thorough drying between coats will enhance the durability and professional look of the finished appliance.
Step 7: Let the Paint Dry Completely
Once you have achieved the desired color coverage and finish, it is crucial to let the paint dry completely before handling or reconnecting the appliance. Depending on the type of paint and environmental conditions like humidity and temperature, drying times can vary. Typically, it’s advisable to wait at least 24 hours to ensure the paint has set properly.
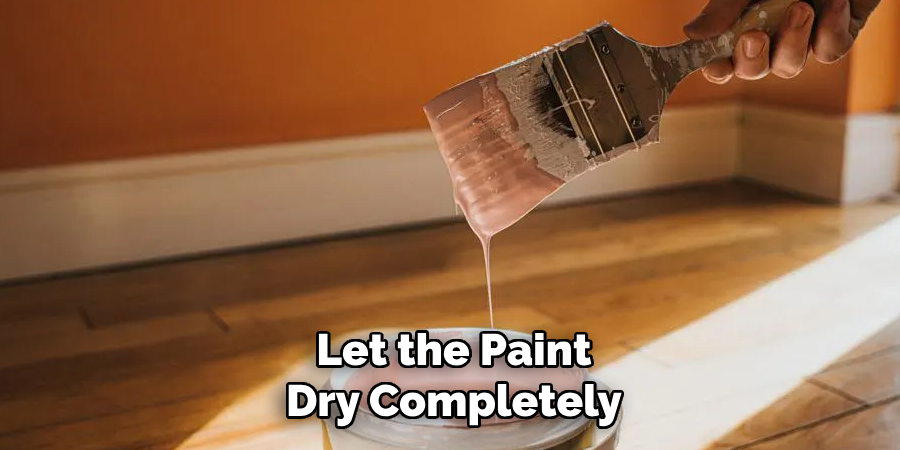
Maintaining a dust-free environment during this time will help preserve the quality of the finish. After the paint has dried fully, remove any painter’s tape and inspect the appliance for any touch-ups needed before plugging it back in and returning it to its designated spot in the kitchen.
Step 8: Properly Cure the Appliance (If Necessary)
Some paints require a curing process to reach their full durability and resistance. Refer to the specific instructions of your chosen paint for proper curing procedures, which typically involve letting the appliance sit unplugged for a certain amount of time. This step is crucial in ensuring that your newly painted kitchen appliances maintain their finish and withstand daily use.
Following these step-by-step guides on how to paint kitchen appliances will help you successfully paint your kitchen appliances and give them a fresh and updated look. With the right tools, materials, and techniques, you can transform your old and worn-out appliances into stylish additions to your kitchen.
Tips and Tricks for Painting Kitchen Appliances
- Always read and follow the manufacturer’s instructions on the paint can before starting the painting process.
- Before painting, ensure that your workspace is well-ventilated as some paints may have strong fumes.
- Apply thin coats of paint rather than one thick layer to avoid drips and achieve a smoother finish.
- For a more durable and long-lasting finish, consider using an epoxy or acrylic-based paint specifically designed for metal surfaces.
- Don’t rush the drying process. Allow each coat of paint to dry thoroughly before applying another one.
- It’s best to remove any hardware, such as handles or knobs, before painting for a more professional look.
- If you’re unsure about painting your entire appliance, start with smaller parts like the door or side panels to get a feel for the process and color.
- Be patient and take your time. The key to achieving a professional-looking result is proper preparation and attention to detail.
Frequently Asked Questions
Q: Can I Use Regular Paint for My Kitchen Appliances?
A: It’s not recommended to use regular paint as it may not adhere well to the metal surface and can easily chip or peel off with daily use. Instead, opt for a high-quality paint specifically designed for metal surfaces.
Q: How Do I Clean and Maintain My Newly Painted Appliances?
A: To clean your newly painted appliances, use a soft cloth or sponge with mild soap and water. Avoid using abrasive cleaners or scrubbers as they can damage the paint. Regularly wiping down the surface will help maintain its appearance and prevent any buildup of dirt or grime. Additionally, avoid placing hot pans or dishes directly on the surface of the appliance as it may cause damage to the paint.
Q: Can I Paint a Stainless Steel Appliance?
A: Yes, you can paint a stainless steel appliance. However, it’s important to note that the finish may not be as smooth and shiny as the original due to the texture of stainless steel. It’s recommended to use a primer specifically designed for stainless steel before painting to help with adhesion and create a smoother finish.
Q: How Long Will the Painted Finish Last on My Appliances?
A: The longevity of your painted finish will depend on various factors such as the type of paint used, proper preparation and application, and the amount of wear and tear the appliance receives. With proper maintenance and care, a well-painted appliance can last for several years.
Conclusion
Painting kitchen appliances is an effective and budget-friendly way to refresh your kitchen’s look without investing in new appliances. By following these detailed steps on how to paint kitchen appliances, you can achieve a stunning transformation that complements your kitchen’s style. Remember to prioritize preparation and use quality materials for the best results.
With patience and attention to detail, your old appliances can soon look as good as new and give your kitchen a modern, cohesive feel. Don’t forget to give yourself time to enjoy the process and be proud of the creative work you’ve accomplished.
Professional Focus
Angela Ervin, a former interior designer turned blogger, specializes in kitchen design and renovations. Through her website, she blends her passion for cooking with design expertise, sharing practical and creative ideas. Known for balancing functionality and beauty, Angela’s insightful content has made her a trusted voice in home design and lifestyle.
About the Author
Angela Ervin, an experienced interior designer and blogger, combines her passion for kitchen renovations with storytelling. Living in Petersburg with her family, she enjoys cooking and testing her projects firsthand. Known for her humor and relatable style, Angela shares creative, functional design insights through her content, making her a trusted voice in home design.
Education History
University: Virginia Commonwealth University
Degree: Bachelor of Fine Arts (BFA) in Interior Design
- Angela’s education at VCU focused on mastering core interior design principles, including spatial planning, color theory, materials selection, and sustainable design practices.
- She gained hands-on experience through studio projects and collaborative design exercises, which honed her ability to create functional and aesthetically pleasing environments.
- Her coursework also emphasized problem-solving and practical applications of design, preparing her for real-world projects like her self-directed kitchen renovations.
- The program’s strong foundation in both technical skills and creative expression shaped Angela’s ability to seamlessly integrate form and function in her work.