


Removing a wall oven can seem like a daunting task, but with the right tools and preparation, it can be accomplished efficiently and safely. This guide will provide you with step-by-step instructions on how to remove a wall oven without damaging your kitchen or appliances.
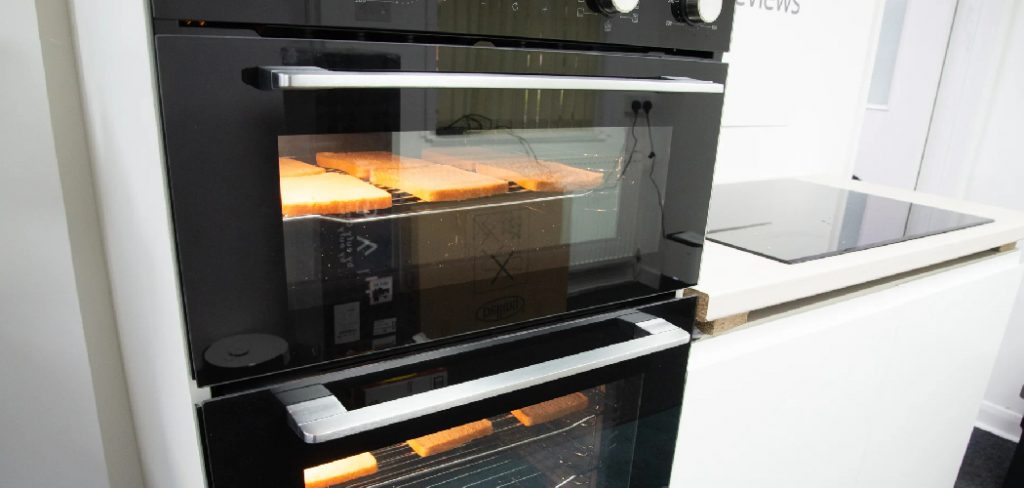
Whether you’re replacing your existing oven with a new model or making room for a kitchen renovation, these guidelines will ensure that the removal process is smooth and straightforward. Always remember to prioritize safety and seek help if needed, especially when it comes to dealing with electrical components.
Importance of Safety During the Removal Process
Safety is paramount when removing a wall oven, as improper handling can lead to injury or damage. Firstly, ensure that the oven is completely powered off and disconnected from the electrical supply to avoid electrical shocks. This might involve turning off the circuit breaker or unplugging the unit, depending on your oven model.
It’s also important to clear the surrounding area to prevent trips or falls during the process. Using the correct tools, such as a sturdy screwdriver and gloves, will help prevent personal injury and safeguard the appliance. If the oven is particularly heavy or unwieldy, enlist the help of another person to manage the weight and balance during removal. By following these precautions, you can ensure a safe and efficient removal experience.
Tools and Safety Gear Needed
To successfully remove a wall oven, having the right tools and safety gear on hand is essential. Begin with a trusty screwdriver set, which will likely be needed to remove screws securing the oven in place. A voltage tester is crucial to ensure there is no electrical current remaining in the wiring before starting work.

Pliers or a wrench may also be required to disconnect the wiring or hard-to-reach components. Additionally, protective gear such as safety gloves should be worn to prevent cuts or abrasions when handling sharp edges or heavy parts. Safety glasses can protect your eyes if any debris or dust becomes airborne during the process. By equipping yourself with these tools and safety gear, you will be well-prepared for the task ahead, minimizing risks and facilitating a smooth removal process.
10 Steps on How to Remove a Wall Oven
Thinking about upgrading your kitchen? Removing a wall oven might be on your to-do list. Whether you’re a homeowner eager for a new cooking setup or a kitchen remodeler tackling a renovation, this guide will walk you through the process safely and efficiently. Discover exactly how to detach your oven without a hitch, ensuring your cooking space is ready for its next upgrade.
Step 1: Gather Your Tools
Before you begin, ensure you have all the necessary tools on hand. You will typically need a screwdriver, a voltage tester, and a dolly or sturdy cart. Having these tools ready will streamline the process and help avoid unnecessary delays.
Step 2: Ensure Safety First
Safety should be your top priority. Turn off the power supply to the oven at the breaker box. Use a voltage tester to confirm that no electricity is flowing to the appliance. This step is crucial to prevent electrical shocks during the removal process.
Step 3: Clear the Surrounding Area
Clear the surrounding area of any kitchen items and ensure there’s ample space to maneuver. This will prevent any accidental damage to your belongings and provide a clear path when it’s time to remove the oven.
Step 4: Remove Oven Door
Gently open the oven door and unscrew the hinges using your screwdriver. Once unscrewed, carefully lift the door off. Removing the door reduces weight and makes handling the oven much easier.
Step 5: Detach the Trim
Using your screwdriver, remove the trim around the oven. The trim often conceals screws or mounting brackets that secure the oven in place. Be careful as some trims can be delicate, and you’ll want to avoid bending or damaging them.
Step 6: Unscrew Mounting Screws
Locate the mounting screws that hold the oven in place. These are usually found at the front of the oven. Use your screwdriver to carefully remove these screws. Ensure you keep them in a safe place for potential use with a new appliance.
Step 7: Slide Out the Oven
With the screws removed, gently slide the oven out of its cavity. This may require an extra set of hands, especially for larger ovens. Use a dolly or cart to help support the weight as you maneuver the oven out of the wall.
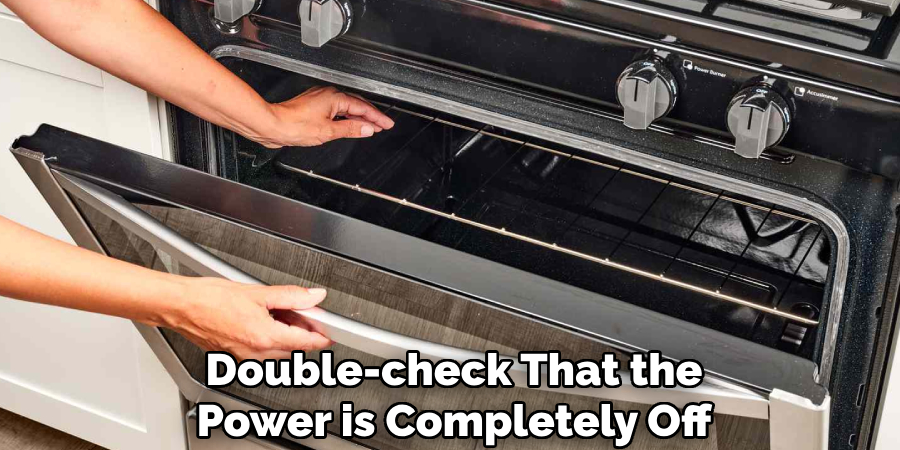
Step 8: Disconnect Electrical Wiring
Carefully access the back of the oven to find the electrical wiring. Before disconnecting, always double-check that the power is completely off. Once confirmed, disconnect the wires by loosening the wire nuts or connectors and separating the wires.
Step 9: Cap the Wires
After disconnecting the oven, secure the exposed wires with wire nuts to prevent any accidental contact. This is a safety precaution and helps ensure the wires are protected until you’re ready to install a new appliance.
Step 10: Dispose or Store the Oven
Decide whether you’ll dispose of or store the removed oven. If disposing, check with local waste management for appliance recycling guidelines. If storing, ensure it’s in a dry, safe place until further use or sale.
Maintenance and Upkeep
Once you have successfully removed your wall oven, you’ll want to ensure that your kitchen remains in top condition for future use. Regular maintenance and upkeep of your kitchen space are essential to extend the life of your appliances and keep your kitchen running smoothly. For any areas that were hidden behind the oven, clean thoroughly to remove dust, grease, or grime accumulation.
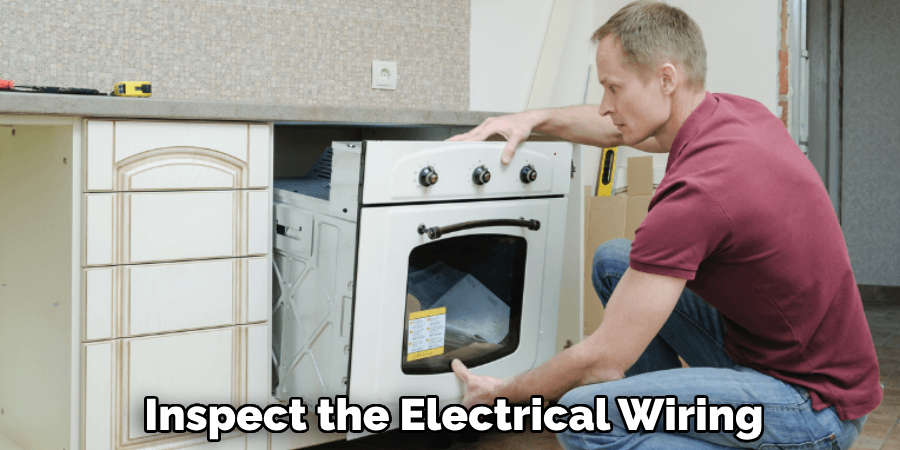
Inspect the electrical wiring and connections for any signs of damage or wear, and consider hiring a professional for thorough checks. Additionally, review your kitchen’s ventilation to ensure it is clean and effective, which helps reduce buildup that can affect appliance performance. By incorporating these maintenance routines, you’ll not only enhance the efficiency and longevity of your kitchen setup but also ensure it’s safe and ready for your next appliance installation.
Troubleshooting Common Issues
While removing a wall oven is generally straightforward, you may encounter some common issues that require troubleshooting. Here’s a guide to addressing them:
- Stuck Screws: Over time, screws can become rusted or seized. To remedy this, apply a penetrating oil to loosen them before attempting removal again. If they remain stubborn, using a screw extractor might be necessary.
- Difficulty Sliding Out the Oven: If the oven is resisting movement, check for any remaining screws or brackets securing it. Additionally, ensure the weight is evenly balanced by using a dolly or seeking assistance.
- Damaged Wiring: Inspect the wiring for any signs of fraying or damage before disconnecting. If encountered, it’s advisable to consult an electrician to avoid potential hazards.
- Residual Power: If the voltage tester indicates power after turning off the breaker, double-check the electrical panel to ensure the correct circuit is switched off. Never proceed until you are certain the power is completely disconnected.
- Unstable Oven on Dolly: Ensure the oven is properly centered on the dolly and use straps to secure it during transport. This prevents tipping and makes maneuvering safer.
Alternative Methods and Tips
While the step-by-step guide provided is a comprehensive way to remove a wall oven, there are alternative methods and helpful tips to consider that might suit specific situations or preferences better:
- Hiring Professionals: If you’re unsure about handling electrical components or simply prefer ease, consider hiring a professional service. This ensures that all safety standards are met and the removal is done efficiently.
- Use of Specialized Tools: While basic tools suffice, using specialized tools like a cordless drill can speed up the process. Additionally, a set of socket wrenches might be more effective for dealing with old or stubborn screws.
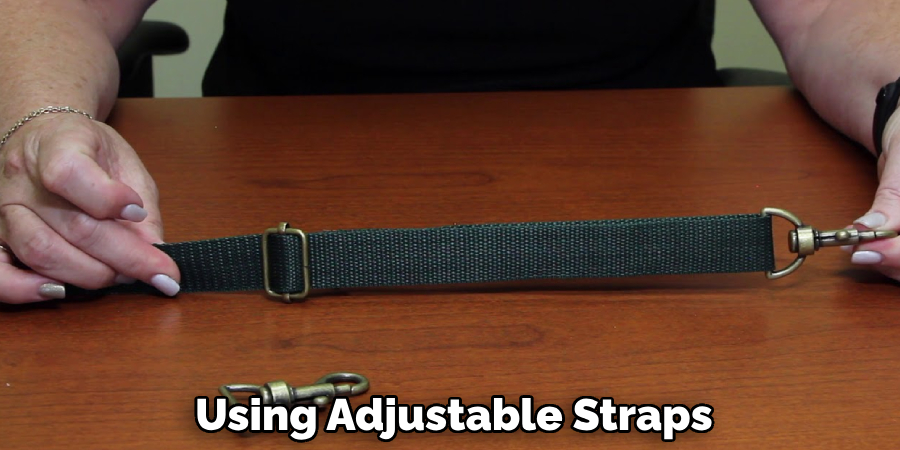
- Alternative Support Methods: Instead of a dolly, some find using adjustable straps or a winch system more convenient for lowering the oven gently. This can be particularly useful if space around the oven is limited.
- Simplified Trim Detachment: For ovens with particularly delicate or ornate trim, try using a non-marring pry bar to gently ease the trim away, reducing the risk of damage.
- Engage in Preventive Measures: Before beginning the process, consider taking photos of the oven’s installation. This can serve as a useful reference for both reinstallation or troubleshooting during the removal, ensuring wires and components are properly reassembled.
Conclusion
Removing a wall oven can seem daunting, but by following a methodical approach and adhering to safety precautions, it becomes a manageable task. Whether you’re upgrading appliances or simply making space, ensuring you have the right tools and assistance is crucial. Remember, safety is paramount, and consulting or hiring professionals when in doubt is always a wise decision. Thanks for reading, and we hope this has given you some inspiration on how to remove a wall oven!
Professional Focus
Angela Ervin, a former interior designer turned blogger, specializes in kitchen design and renovations. Through her website, she blends her passion for cooking with design expertise, sharing practical and creative ideas. Known for balancing functionality and beauty, Angela’s insightful content has made her a trusted voice in home design and lifestyle.
About the Author
Angela Ervin, an experienced interior designer and blogger, combines her passion for kitchen renovations with storytelling. Living in Petersburg with her family, she enjoys cooking and testing her projects firsthand. Known for her humor and relatable style, Angela shares creative, functional design insights through her content, making her a trusted voice in home design.
Education History
University: Virginia Commonwealth University
Degree: Bachelor of Fine Arts (BFA) in Interior Design
- Angela’s education at VCU focused on mastering core interior design principles, including spatial planning, color theory, materials selection, and sustainable design practices.
- She gained hands-on experience through studio projects and collaborative design exercises, which honed her ability to create functional and aesthetically pleasing environments.
- Her coursework also emphasized problem-solving and practical applications of design, preparing her for real-world projects like her self-directed kitchen renovations.
- The program’s strong foundation in both technical skills and creative expression shaped Angela’s ability to seamlessly integrate form and function in her work.