


Setting a timer on your GE oven is a straightforward process that helps you manage cooking times efficiently, ensuring your meals are cooked perfectly every time. Whether you’re baking a cake, roasting a turkey, or preparing a simple weeknight dinner, utilizing the timer function can give you peace of mind and allow you to focus on other tasks without worrying about overcooking.
In this guide, we will walk you through how to set timer on ge oven, so you can make the most out of your cooking experience.
Understanding the Timer Function on a GE Oven
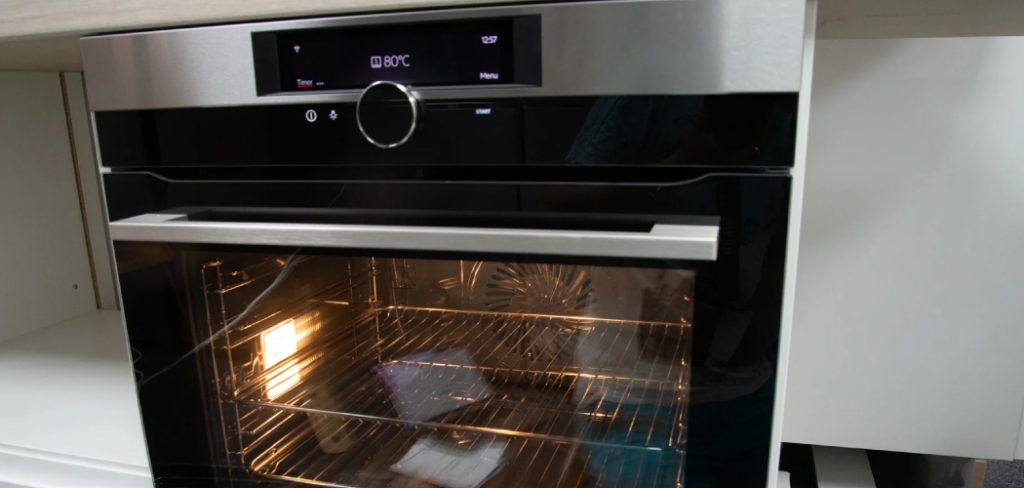
The timer function on a GE oven is an essential feature designed to enhance your cooking experience by allowing precise control over the timing of your cooking processes. It acts independently from the oven’s temperature and is not directly linked to the cooking settings, which means it can be used in conjunction with any cooking mode. The timer is typically programmable in minute increments, and depending on the model, it can be set up to 12 hours.
The easy-to-read digital display ensures that you can check the remaining time at a glance. Once the set time has elapsed, the timer will alert you with an audible beep, signaling that the programmed period has ended. This function enables you to multitask with ease, helping you manage meal preparations while attending to other household activities.
Types of GE Ovens
GE offers a variety of oven types to suit diverse cooking needs and preferences, ensuring there’s an option for every kitchen. The most common categories include conventional ovens, which provide reliable, even baking thanks to their use of radiant heat. They are perfect for traditional cooks who prefer straightforward operation. Convection ovens, on the other hand, incorporate a fan and exhaust system that circulates hot air, allowing for more even cooking at lower temperatures, thus reducing cooking time.
For those who prefer modern technology, GE offers smart ovens equipped with connectivity features, allowing users to control and monitor their cooking from a smartphone. Additionally, GE’s double ovens provide flexibility for families or enthusiastic home cooks who need to prepare multiple dishes simultaneously. Each type of GE oven comes with specific features and benefits, catering to different culinary tasks and personal preferences.
10 Easy Methods How to Set Timer on Ge Oven
Whether you’re a tech-savvy enthusiast or an aspiring home chef, mastering your kitchen appliances can enhance your culinary adventures. One essential skill is setting the timer on your GE oven—a feature that can transform your cooking experience by ensuring precision and perfect results. In this listicle, we will explore ten simple methods to set your GE oven timer, helping you make the most of your cooking endeavors.
1. Using the Touchpad
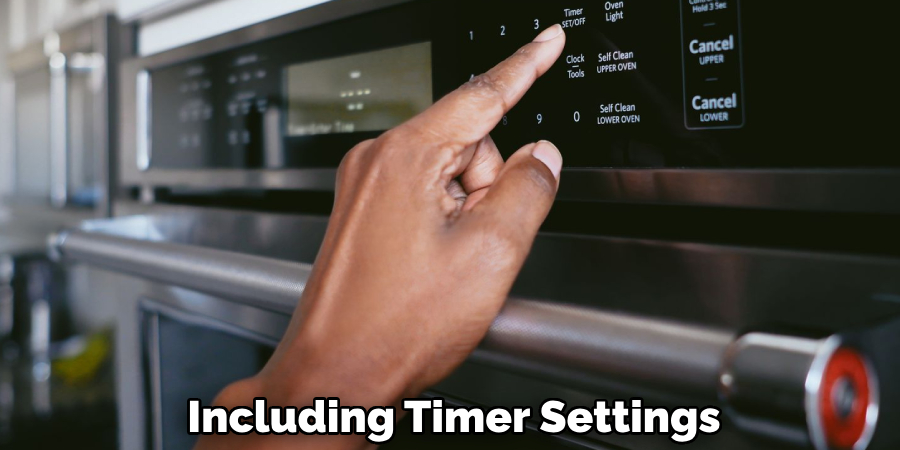
The touchpad on your GE oven is designed for ease of use. Simply press the “Timer” button, enter your desired time using the numeric keypad, and press “Start.” This method is perfect for those who prefer a straightforward approach.
2. Voice Command with Smart Technology
If your GE oven is equipped with smart technology, like integration with Alexa or Google Home, use voice commands to set the timer. This hands-free method is ideal when your hands are busy preparing ingredients.
3. GE Oven App
The GE Oven app offers remote control of your appliance, including timer settings. Download the app, connect it to your oven, and set timers directly from your smartphone. It’s a convenient option for tech enthusiasts who love integrating their devices.
4. Manual Dials
For those with a more traditional GE oven model, manual dials may be used. Turn the dial to the “Timer” setting, adjust to the desired time, and wait for the mechanical bell to ring. This tactile approach appeals to users who enjoy the simplicity of classic designs.
5. Pre-Programmed Settings
Explore your GE oven’s pre-programmed settings, which often include timer functions. Use modes such as “Bake,” “Broil,” or “Convection” to automatically set a timer based on standard cooking times for specific dishes.
6. Multi-Timer Functionality
For complex meals requiring multiple timers, utilize the multi-timer function available on select GE models. Access this feature via the control panel to set different timers simultaneously, perfect for those orchestrating elaborate dinners.
7. Setting Timers for Delayed Start
Prepare meals in advance by using the delayed start timer. Program your oven to begin cooking at a later time, ensuring your meal is ready exactly when you need it. This method is particularly useful for busy schedules or timed family meals.
8. Control Lock Feature
Prevent accidental timer changes by activating the control lock feature. This ensures the timer remains unchanged while you’re away from the kitchen or focused on other tasks, adding an extra layer of reliability.
9. Adjusting the Timer Mid-Cook
If you need to tweak the cook time, adjust the timer mid-session without interrupting the cooking process. Simply press the “Timer” button, set the new time, and hit “Start.” This flexibility allows for real-time adjustments based on your dish’s needs.
10. Using an Auxiliary Kitchen Timer
For additional support, consider using an auxiliary kitchen timer. These standalone timers provide a backup to your oven’s built-in timer, giving you peace of mind and precision control over your cooking times.
Maintenance and Upkeep of Your GE Oven
Proper maintenance and upkeep of your GE oven are crucial to ensure its longevity and optimal performance. To keep your oven in top shape, regular cleaning is essential. Begin by removing spills and splatters as soon as the oven cools, using a damp cloth and mild detergent.
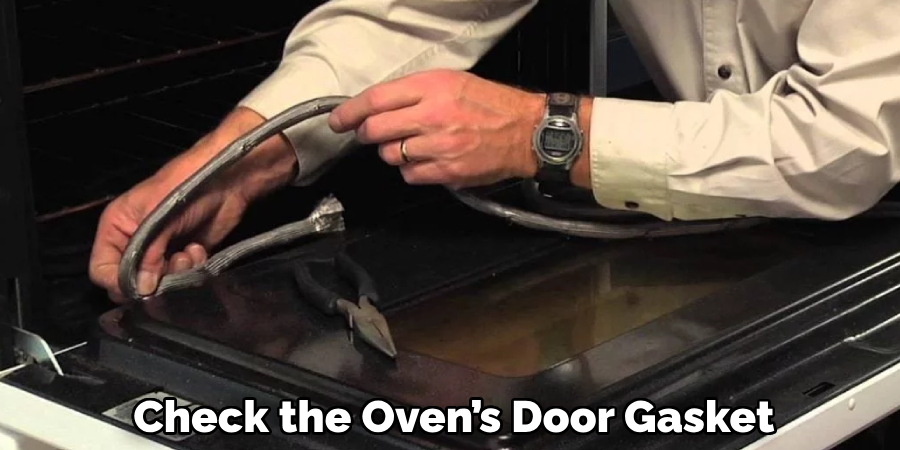
Avoid using harsh cleaners or abrasive pads that could damage surfaces. Most GE ovens have a self-cleaning feature that can be utilized to remove stubborn grime; however, always follow the manufacturer’s instructions for best results. Additionally, check the oven’s door gasket periodically for any wear and tear, as a tight seal is necessary for efficient operation.
For models with removable parts, such as racks or trays, ensure these components are cleaned regularly and handled with care to maintain their finish. Scheduling an annual professional maintenance check can also help identify any underlying issues before they become significant problems, ensuring your GE oven continues to serve you with precision and reliability for years to come.
Preventative Measures
To avoid potential issues and enhance the longevity of your GE oven, there are several preventative measures you can implement. Regularly inspect the power cord and plug for any signs of wear or damage, ensuring they remain in good condition to prevent electrical problems. It’s vital to avoid slamming the oven door, as this can cause misalignments or damage to the hinges and seals over time.
Keeping the ventilation clear is another critical measure; regularly check and clean air vents to allow efficient air circulation, preventing overheating. Avoid using aluminum foil on the oven’s interior surfaces as it can obstruct heat distribution and cause damage. Opt for cookware that is safe for use at high temperatures to prevent cracking or glass shattering in the oven. Paying attention to these precautionary steps can help maintain your oven’s performance and reduce the chances of costly repairs.
Things to Consider When Baking with Your GE Oven
Baking is an art that requires precision, so understanding your GE oven’s features can greatly enhance your culinary creations. Here are some things to consider when baking to ensure your dishes turn out perfectly every time:
- Preheating Time: Always preheat your oven to the required temperature before placing your dish inside. This ensures even cooking and helps achieve desired textures and flavors.
- Rack Positioning: The position of the oven rack can significantly affect baking results. For even browning and correct cooking, adjust the rack depending on the recipe’s requirements. Typically, the middle rack is ideal for most baking tasks.
- Temperature Accuracy: Consider using an oven thermometer to verify your GE oven’s temperature accuracy. This ensures that the set temperature aligns with the actual temperature inside, leading to consistent baking outcomes.
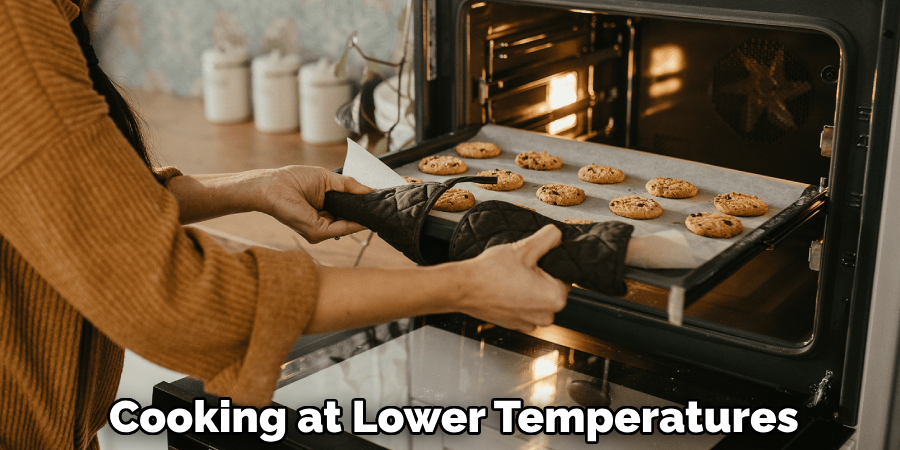
- Convection vs. Conventional Baking: If your GE oven offers convection baking, understand when to utilize this feature. Convection baking typically reduces cooking time and provides more even heat distribution, making it suitable for pastries and roasted dishes.
- Pan Rotation: Rotate your pans halfway through the baking time for evenness, especially when baking multiple trays at once. This practice helps in countering any hot spots within the oven.
- Moisture Management: Be aware of moisture levels, especially when baking delicate items like soufflés or custards. Some GE ovens offer a steam feature that can enhance texture and flavor by injecting moisture during baking.

Conclusion
Mastering your GE oven’s features and functions can revolutionize your cooking and baking experiences, ensuring consistent and flavorful results. By familiarizing yourself with the timer settings, maintenance protocols, and baking techniques, you can fully harness the capabilities of your appliance.
Remember that preventive care and proper use not only enhance performance but also extend the lifespan of your oven. Thanks for reading, and we hope this has given you some inspiration on how to set timer on ge oven!
Professional Focus
Angela Ervin, a former interior designer turned blogger, specializes in kitchen design and renovations. Through her website, she blends her passion for cooking with design expertise, sharing practical and creative ideas. Known for balancing functionality and beauty, Angela’s insightful content has made her a trusted voice in home design and lifestyle.
About the Author
Angela Ervin, an experienced interior designer and blogger, combines her passion for kitchen renovations with storytelling. Living in Petersburg with her family, she enjoys cooking and testing her projects firsthand. Known for her humor and relatable style, Angela shares creative, functional design insights through her content, making her a trusted voice in home design.
Education History
University: Virginia Commonwealth University
Degree: Bachelor of Fine Arts (BFA) in Interior Design
- Angela’s education at VCU focused on mastering core interior design principles, including spatial planning, color theory, materials selection, and sustainable design practices.
- She gained hands-on experience through studio projects and collaborative design exercises, which honed her ability to create functional and aesthetically pleasing environments.
- Her coursework also emphasized problem-solving and practical applications of design, preparing her for real-world projects like her self-directed kitchen renovations.
- The program’s strong foundation in both technical skills and creative expression shaped Angela’s ability to seamlessly integrate form and function in her work.