


Are you having trouble getting your GE dishwasher to make any sounds? A malfunctioning control panel or a damaged speaker could be the cause.
When using a GE dishwasher, you might notice its sound settings are either too loud, too quiet, or disabled entirely.

Adjusting these settings can enhance your overall experience, ensuring you receive the necessary notifications without the excess noise. Whether it’s switching on a subtle beep to alert you when the cycle is complete or activating all the sound prompts to keep you informed, learning how to manage these settings is straightforward.
In this guide, we’ll walk you through the process of how to turn sound on GE dishwasher, helping you make the most out of your appliance’s features.
What Will You Need?
Before we begin, make sure you have the following items on hand to turn the sound on your GE dishwasher successfully:
- Your GE dishwasher model number
- A user manual for your specific model
- A flathead or Phillips screwdriver (depending on the type of screws used)
Once you have these items ready, we can begin with the steps to turn the sound on your GE dishwasher.
10 Easy Steps on How to Turn Sound on Ge Dishwasher
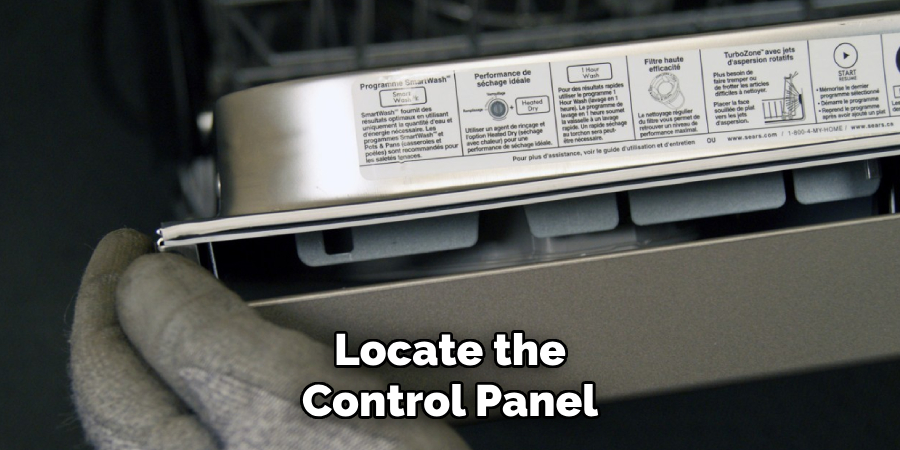
Step 1. Locate the Control Panel:
The control panel is usually found on the top edge of the door, concealed when the dishwasher is closed. Familiarize yourself with this panel, as it contains all the essential buttons and display indicators used to operate your dishwasher. Depending on your model, the control panel may have different configurations, but it typically includes a start button, cycle selectors, and sometimes a digital display. Before proceeding, ensure that the dishwasher is in standby mode, meaning it is powered on but not running a cycle, to avoid any interruptions or malfunctions during adjustments.
Step 2. Access the Settings Menu:
To access the settings menu on your GE dishwasher, you’ll need to navigate through the options displayed on the control panel. Start by pressing the “Menu” or “Settings” button, depending on the model of your dishwasher. This action will allow you to scroll through various settings, including sound options. If your model has a digital display, watch for prompts or symbols indicating that you are in the settings or configuration mode. Some models may require you to hold a specific button for a few seconds to enter this menu. Pay close attention to the display or refer to the user manual for detailed instructions tailored to your particular model.
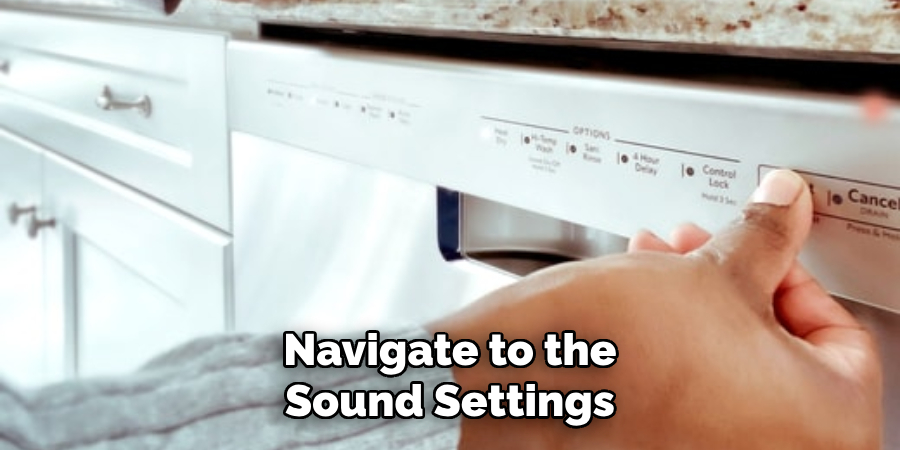
Step 3. Navigate to the Sound Settings:
Once in the settings menu, look for the option labeled “Sound” or “Audio.” Use the arrow buttons or cycle through with the “Next” button to find this option. Different models may use varying terminology, so consult your user manual to ensure you’re selecting the correct setting. When you locate the sound settings, press the “Select” or “Enter” button to access further sound customization options.
Step 4. Adjust the Sound Level:
After accessing the sound settings, you can adjust the volume or toggle the sound alerts on and off. Use the arrow keys to increase or decrease the volume or select between different sound profile levels such as “Loud,” “Normal,” or “Quiet.” For a more custom experience, some models allow you to individually adjust specific alerts, like the cycle completion beep or error sounds. If your dishwasher provides a test feature, use it to play a sample sound to judge the level. Once you’ve set the desired volume, press “Save” or “OK” to confirm your choice and exit this section. Adjusting these settings ensures you’re aware of the dishwasher’s status without being disturbed by excessive noise.
Step 5. Test the Sound Settings:
With the sound settings adjusted, it’s a good idea to test them to ensure everything works as intended. Start by running a short cycle or using a test function if your dishwasher model offers one. Listen carefully for any sound alerts or notifications during this process. Pay attention to the volume and clarity of the sounds to verify that the adjustments have the desired effect. If you find that the sound is too loud, too quiet, or still not activated, revisit the sound settings and make further tweaks as needed. Testing at this stage helps confirm that the sound settings will provide timely alerts without contributing to unwanted noise in your home.

Step 6. Exit the Settings Menu:
Once you’ve tested and are satisfied with the sound settings, it’s time to exit the settings menu. To do this, look for a “Menu” or “Back” button on the control panel, or simply hit the “Exit” button if available. If your model doesn’t have a dedicated exit button, you should navigate back through the menu options until you reach the main screen. Exiting properly ensures that any changes you’ve made are saved and that the dishwasher returns to its standby state, ready for use with the new sound configuration. Always verify that the control panel has returned to its normal display, indicating that the appliance is fully prepared for its subsequent operation.
Step 7. Reattach Any Removed Parts:
If you had to remove any parts or panels to access the control panel or settings menu, now is the time to reattach them securely. Use your flathead or Phillips screwdriver to fasten any screws you may have loosened. Make sure everything is aligned correctly and that there are no loose components. This step is essential to ensure the dishwasher’s durability and proper function after making your sound adjustments. Once all parts are reattached, double-check the stability and fit of the components to avoid any issues during future use. Ensuring everything is back in place will also help maintain the appliance’s aesthetic appearance.
Step 8. Restart the Dishwasher:
After you’ve confirmed that all parts are securely reattached, proceed to restart the dishwasher. This step is vital for resetting the system and allowing any changes to occur. Close the dishwasher door and press the “Start” button on the control panel. Depending on your model, you may need to hold the button for a few seconds until the dishwasher begins its new cycle. Restarting the dishwasher ensures your sound settings are correctly applied and checks that the appliance operates smoothly post-adjustment. Monitor the initial minutes of the cycle to verify that everything functions as expected and that any sound alerts reflect the changes you’ve made.

Step 9. Monitor Dishwasher Performance:
Following the restart of your dishwasher, it’s vital to observe its overall performance to ensure that all settings and components are functioning optimally. Listen for unusual noises or irregularities during the wash cycle, such as excessive clattering or buzzing, which might indicate that parts weren’t reattached securely or require further adjustment. Additionally, check for any leaks or water flow issues that could arise from improperly reattached components. Monitoring the dishwasher during this phase helps identify potential problems early and ensures a smooth, noise-free operation aligned with your sound adjustments. If any issues are noticed, turn off the dishwasher and revisit the previous steps to troubleshoot as necessary.
Step 10. Regular Maintenance:
Regular maintenance is essential to keep your dishwasher running efficiently and quietly. Periodically clean the filters to prevent blockages that could lead to operational noise or decreased washing performance. Inspect the spray arms for clogs or debris hindering proper water circulation. Additionally, cleaning the door gasket will prevent leaks and ensure a tight seal. Consider running an empty hot water cycle with a dishwasher cleaner once a month to eliminate buildup and maintain optimal performance. Regular maintenance not only prolongs the lifespan of your appliance but also keeps the sound settings consistent and adequate.
By following these steps, you can easily adjust the sound settings on your dishwasher for a more personalized and quiet operation.
5 Things You Should Avoid
- Ignoring the User Manual: One of the most common mistakes is not referring to the user manual that comes with your GE dishwasher. The manual contains specific instructions related to your model, which can help you understand how to adjust the settings properly.
- Using Excessive Force on Buttons: It’s essential to use a gentle touch when pressing buttons on your dishwasher. Excessively pressing buttons can lead to wear and tear or even damage to the control panel, potentially making it malfunction.
- Ignoring Error Messages: If your dishwasher displays error messages, do not dismiss them. These messages often indicate underlying issues that might require attention, including sound settings that may not be adequately engaged due to a fault.
- Disabling the Control Lock: Ensure the control lock is not enabled when adjusting the sound settings. This feature is designed to prevent accidental changes, so temporarily disabling it is essential for making sound adjustments.
- Don’t forget to Clean the Filters Regularly: It’s essential to clean your dishwasher filters regularly, as a clogged filter can impact its performance and may cause it to produce louder sounds.
Conclusion
To turn the sound on your GE dishwasher, follow the procedure outlined in the user manual for your specific model.
Begin by accessing the control panel on your dishwasher. If the control lock feature is enabled, disable it first to allow changes. Navigate through the settings menu, where you’ll find the sound options. Select the desired sound setting, which may include volume adjustment or turning the sound on. After selecting, confirm the settings and re-engage the control lock if necessary to secure your adjustment and prevent accidental changes.
Following these steps on how to turn sound on GE dishwasher, you can now enjoy a quieter kitchen while your dishwasher efficiently cleans your dishes. Happy dishwashing!
Professional Focus
Angela Ervin, a former interior designer turned blogger, specializes in kitchen design and renovations. Through her website, she blends her passion for cooking with design expertise, sharing practical and creative ideas. Known for balancing functionality and beauty, Angela’s insightful content has made her a trusted voice in home design and lifestyle.
About the Author
Angela Ervin, an experienced interior designer and blogger, combines her passion for kitchen renovations with storytelling. Living in Petersburg with her family, she enjoys cooking and testing her projects firsthand. Known for her humor and relatable style, Angela shares creative, functional design insights through her content, making her a trusted voice in home design.
Education History
University: Virginia Commonwealth University
Degree: Bachelor of Fine Arts (BFA) in Interior Design
- Angela’s education at VCU focused on mastering core interior design principles, including spatial planning, color theory, materials selection, and sustainable design practices.
- She gained hands-on experience through studio projects and collaborative design exercises, which honed her ability to create functional and aesthetically pleasing environments.
- Her coursework also emphasized problem-solving and practical applications of design, preparing her for real-world projects like her self-directed kitchen renovations.
- The program’s strong foundation in both technical skills and creative expression shaped Angela’s ability to seamlessly integrate form and function in her work.