


Are you tired of having to wash your dishes by hand? If so, you’re not alone. Many rely on dishwashers to make their lives easier and more convenient.
How do I get my dishwasher to work efficiently involves a few simple but essential steps. First, ensure that the dishwasher is adequately connected to a power source and the water supply.
It’s also crucial to load the dishwasher correctly and arrange dishes so water can easily reach every surface. Use the appropriate amount of detergent, as using too much or too little can affect cleaning results. Regular maintenance, such as cleaning the filter and checking the spray arms for blockages, can help keep your dishwasher running smoothly.
Following these guidelines ensures your dishwasher operates effectively, saving you time and effort in the kitchen.
What Will You Need?
You will need a few essential items to get your dishwasher to work. These include:
- Dishwashing Detergent: Choose a high-quality, low-sudsing detergent specifically designed for dishwashers.
- Scouring Pad: This will come in handy for removing any tough food stains or residue.
- Clean Towel: Used to dry the dishes and wipe down the dishwasher’s interior.
- Maintenance Tools: Depending on your dishwasher model, you may need a screwdriver, pliers, or other tools for maintenance tasks.
- Vinegar: An excellent natural cleaning agent that can help remove buildup and odors from your dishwasher.
Once you have all the necessary items, you can begin getting your dishwasher to work efficiently.
10 Easy Steps on How Do I Get My Dishwasher to Work
Step 1. Check Power and Water Connections:
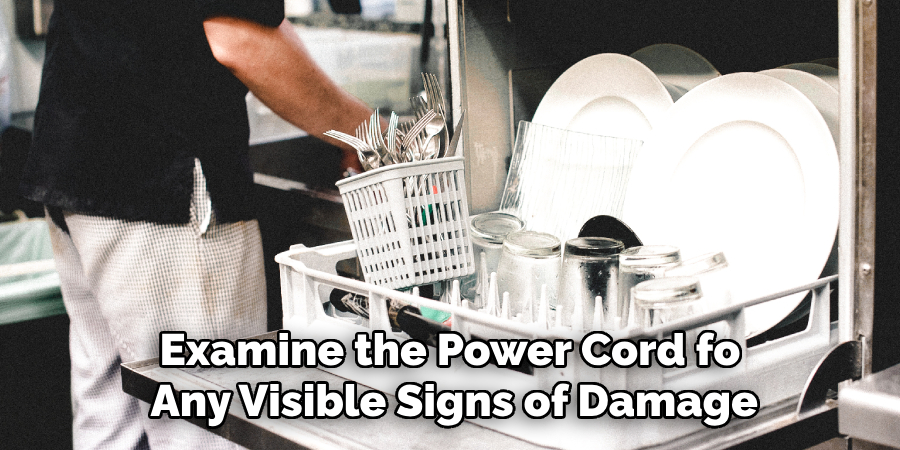
Ensure that your dishwasher is securely connected to a power source. Examine the power cord for any visible signs of damage, such as fraying or exposed wires, and confirm that it is firmly plugged into the electrical outlet. For built-in dishwashers, inspect the electrical connections behind the unit, ensuring there is no damage or loose wiring.
Equally important is verifying the water supply connection. Locate the water shut-off valve under the sink and ensure it is fully open to allow water to flow into the dishwasher. Check for any kinks or obstructions in the water supply hose that might impede water flow. Identifying and resolving these issues will lay the foundation for effective dishwasher operation.
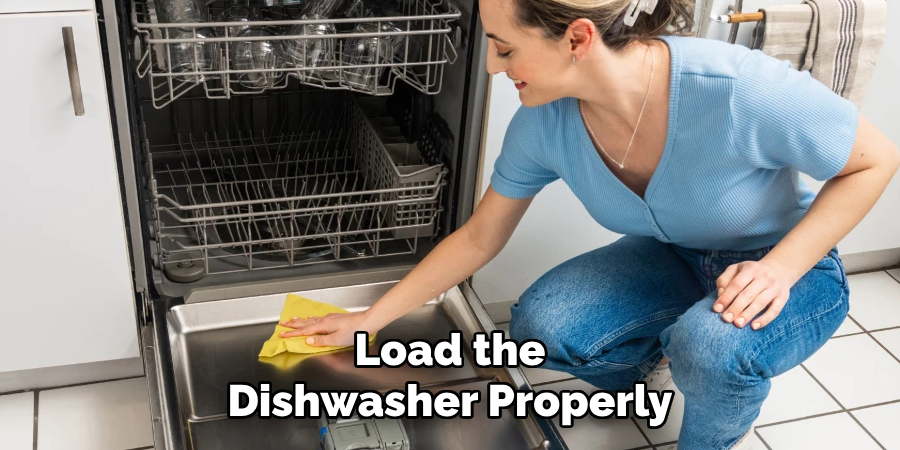
Step 2. Load the Dishwasher Properly:
Loading your dishwasher correctly is crucial for efficient cleaning. Start by scraping large food particles from the dishes into the trash or compost before placing them in the dishwasher. Position large items such as pots, pans, and serving bowls in the lower rack, ensuring they do not block the spray arms. Arrange plates and bowls vertically, facing the center of the rack, to allow water to reach every surface.
Utensils should be mixed in the cutlery basket to prevent nesting, with forks, spoons, and knives placed handle-down for optimum cleaning. Place delicate glassware and small items in the upper rack, avoiding overcrowding to facilitate proper water circulation. Following these loading guidelines ensures that each dish receives adequate exposure to water and detergent, resulting in spotless dishes after each cycle.
Step 3. Add the Appropriate Detergent:
Using the correct dishwasher detergent is essential for achieving the best cleaning results. Begin by selecting a high-quality, low-sudsing detergent formulated explicitly for dishwashers. Refer to the manufacturer’s guidelines for the recommended amount of detergent for your specific model and water hardness. Generally, place the detergent in the designated compartment within the dishwasher’s dispenser.
Avoid overfilling, as excess detergent can lead to residue on dishes and damage internal components. In addition, some dishwashers may require rinse aid to help dry dishes effectively and prevent water spots. Ensure the rinse aid dispenser is filled according to the manufacturer’s instructions. Choosing the suitable detergent and using it in the proper quantity are crucial steps in maintaining the efficiency and longevity of your dishwasher.
Step 4. Clean the Filter:
Regularly cleaning the dishwasher filter is a crucial maintenance task that helps prevent clogs and maintains optimal performance. Begin by locating and removing the filter, typically found at the bottom of the dishwasher beneath the lower spray arm. Check your dishwasher’s manual for specific instructions on removing the filter.
Rinse the filter under warm running water to remove debris and food particles. For stubborn buildup, gently scrub the filter with a soft brush or sponge. Once clean, reassemble and securely reattach the filter to its original position. Keeping the filter clean ensures efficient water flow and enhances cleaning results, prolonging the life of your appliance.
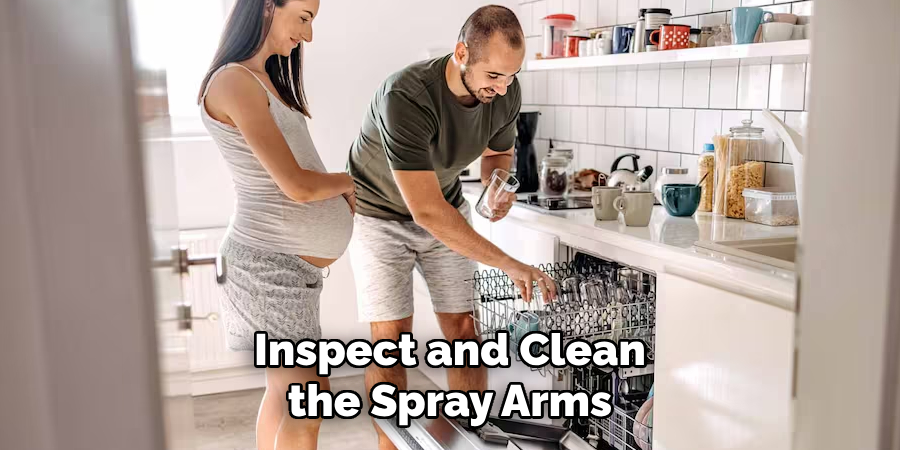
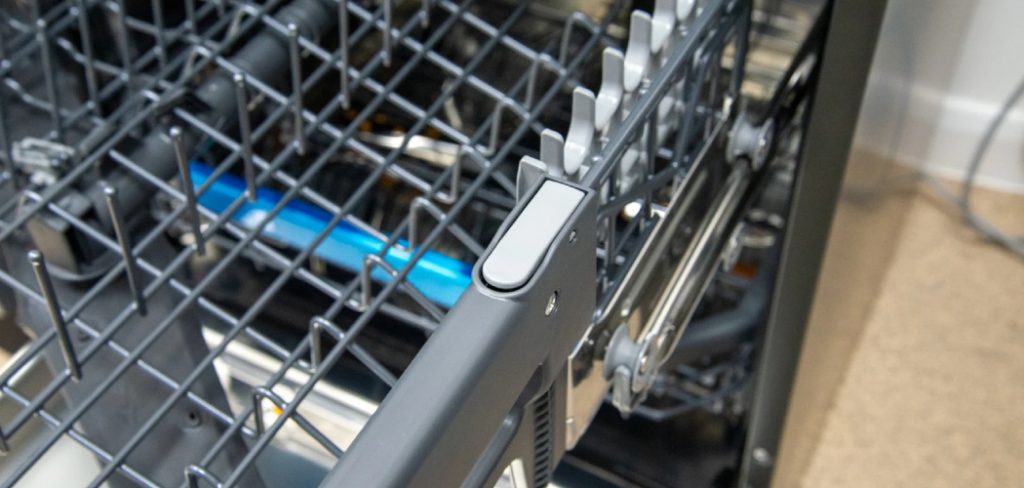
Step 5. Inspect and Clean the Spray Arms:
The spray arms are critical components within your dishwasher that facilitate the effective water distribution over your dishes. Inspecting and cleaning them regularly is essential to ensure they function correctly. Start by carefully removing the spray arms, usually located on the bottom and upper parts of the appliance, or refer to your dishwasher’s manual for instructions. Once removed, examine them for any blockages caused by food particles or mineral deposits.
Use a toothpick or similar small tool to unclog any obstructed spray holes. Rinse the spray arms thoroughly under running water to remove any remaining debris. Once clean, reattach the spray arms securely, ensuring they rotate freely and are not impeded by obstructions.
Step 6. Run a Cleaning Cycle with Vinegar:
Running a cleaning cycle with vinegar is a simple and effective way to remove buildup and eliminate any lingering odors in your dishwasher. Start by ensuring the dishwasher is empty of any dishes or items. Pour one cup of white vinegar into a dishwasher-safe bowl or cup and place it on the top rack of the dishwasher. Select the hottest water setting on your dishwasher and complete the cleaning cycle.
The vinegar will circulate throughout the dishwasher, breaking down any residue and disinfecting the interior. Once the cycle is complete, you may wipe down the interior walls and door seals with a clean towel to remove any loosened debris. Regularly using vinegar in this manner helps maintain a fresh and efficient dishwasher.
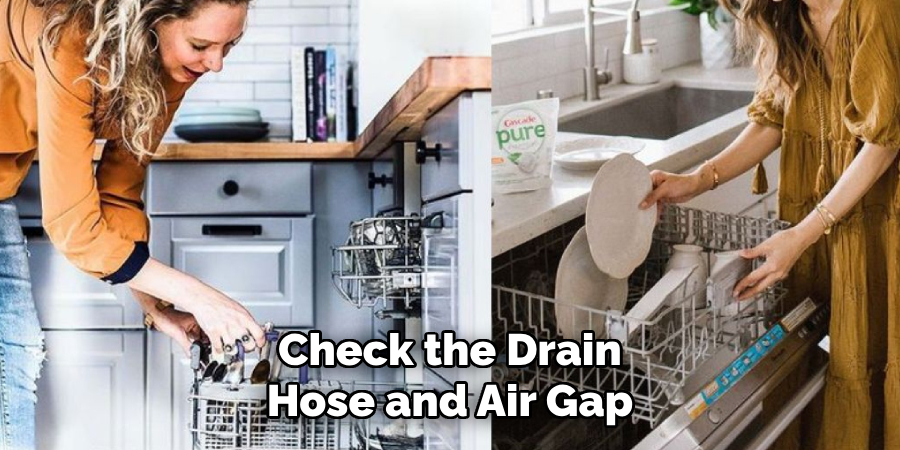
Step 7. Check the Drain Hose and Air Gap:
Ensuring that the drain hose and air gap are correctly working is essential for preventing drainage issues affecting your dishwasher’s performance. Begin by examining the drain hose at the back of the dishwasher. Ensure there are no kinks or bends that might restrict water flow. If the hose appears damaged or blocked, gently straighten or clear any obstructions.
If your dishwasher features an air gap, this is usually found near the sink or countertop. Remove the cap and check for any debris or buildup that could cause blockages. Cleaning the air gap ensures efficient drainage and prevents backup into the dishwasher. Maintaining an unobstructed drain hose and clean air gap helps optimize the dishwasher’s ability to expel water effectively after each cycle.
Step 8. Perform Regular Maintenance Checks:
Regular maintenance checks are vital to ensure your dishwasher runs smoothly and efficiently. Start by visually inspecting the door seal for any wear or damage, as a compromised seal can lead to leaks. Clean the gasket using a damp cloth to remove any debris that might prevent a tight seal. Listen for unusual sounds during a wash cycle, which can indicate issues with the motor or other mechanical parts. If strange noises persist, it’s advisable to consult a professional technician for further examination.
Step 9. Update the Dishwasher’s Software:
In today’s digital age, many modern dishwashers come equipped with software that may require periodic updates to optimize their functionality and incorporate new features or improvements. To update your dishwasher’s software, consult the user manual or the manufacturer’s website for specific instructions.
If necessary, ensure that the appliance is connected to a stable internet connection, and follow the guidance to initiate the update process. Updating the software can enhance the dishwasher’s performance, provide additional settings, and fix potential bugs.
Step 10. Use the Dishwasher Regularly:
Regular use is an often overlooked yet important aspect of dishwasher maintenance. By running the dishwasher frequently, you help keep the pump and motor seals in good condition, preventing them from drying out and deteriorating over time. This consistent usage also reduces the likelihood of residual food particles accumulating within the appliance, which can lead to unpleasant odors and potential clogs. Regularly operating the dishwasher ensures that its components remain flexible and functional, enhancing its longevity and performance.
Following these ten steps for maintaining your dishwasher, you can keep your appliance in top working condition and prolong its lifespan.
Conclusion
Ensuring your dishwasher operates effectively involves a combination of routine maintenance and attentive monitoring of its components.
By adhering to the comprehensive guide on how do I get my dishwasher to work, you can tackle both common and unexpected issues, resulting in a more efficient machine. Regular cleaning, inspection, and updating of software are critical to maintaining peak performance and optimizing the lifespan of your dishwasher. Additionally, promptly addressing unusual signs, such as leaks or noises, can prevent more serious problems.
With diligent care and these actionable steps, you can enjoy the convenience of a reliable and well-functioning dishwasher, minimizing the need for costly repairs or replacement.
Professional Focus
Angela Ervin, a former interior designer turned blogger, specializes in kitchen design and renovations. Through her website, she blends her passion for cooking with design expertise, sharing practical and creative ideas. Known for balancing functionality and beauty, Angela’s insightful content has made her a trusted voice in home design and lifestyle.
About the Author
Angela Ervin, an experienced interior designer and blogger, combines her passion for kitchen renovations with storytelling. Living in Petersburg with her family, she enjoys cooking and testing her projects firsthand. Known for her humor and relatable style, Angela shares creative, functional design insights through her content, making her a trusted voice in home design.
Education History
University: Virginia Commonwealth University
Degree: Bachelor of Fine Arts (BFA) in Interior Design
- Angela’s education at VCU focused on mastering core interior design principles, including spatial planning, color theory, materials selection, and sustainable design practices.
- She gained hands-on experience through studio projects and collaborative design exercises, which honed her ability to create functional and aesthetically pleasing environments.
- Her coursework also emphasized problem-solving and practical applications of design, preparing her for real-world projects like her self-directed kitchen renovations.
- The program’s strong foundation in both technical skills and creative expression shaped Angela’s ability to seamlessly integrate form and function in her work.