


If you’re like most homeowners, your range hood is vented to the exterior of your home. But what if you want to vent it to an interior wall? It’s actually not as difficult as you might think. Range hoods are an important part of any kitchen, but they can be difficult to install.
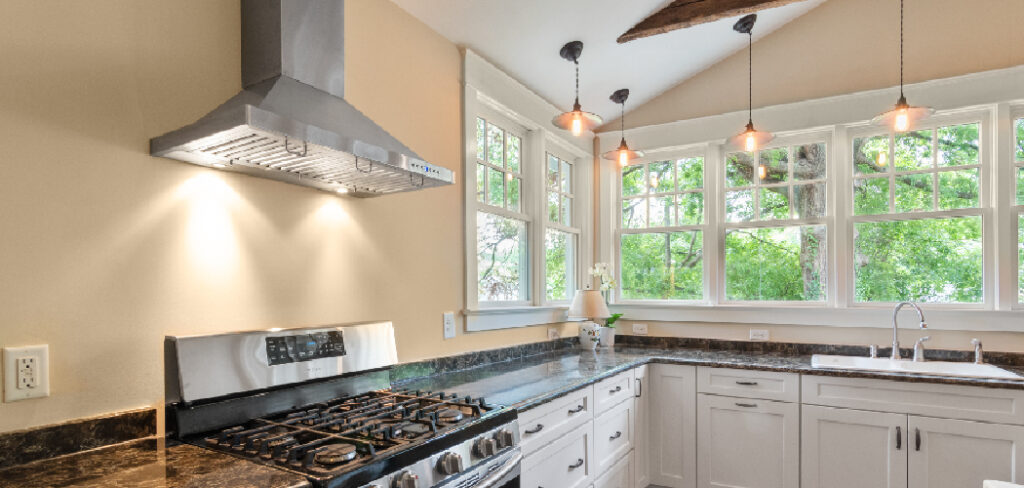
If you need to vent a range hood on an interior wall, there are a few things you need to know first. In this blog post, we’ll walk you through how to vent a range hood on an interior wall. We’ll also give you a few tips to keep in mind during the installation process.
Why Vent a Range Hood on an Interior Wall?
One of the main reasons to vent a range hood on an interior wall is to create a more efficient airflow system in your home. By doing this, you can help improve the air quality in your home and reduce energy costs. Additionally, it can also help to extend the lifespan of your range hood by preventing it from overworking itself.
Another reason to vent a range hood on an interior wall is to prevent any grease or smoke from accumulating on the exterior of your home. This can be unsightly and dangerous, as it can create a fire hazard. By venting your range hood on an interior wall, you can help to keep your home safe and clean.
10 Methods on How to Vent a Range Hood on an Interior Wall
1. Cut a Hole in the Wall:
The first thing you need to do is cut a hole in the wall where the range hood will be installed. You can use a saw or other cutting tool to make the hole. If you have an electrical outlet nearby, you can use that as a guide for where to cut the hole. While you’re cutting the hole, be sure to wear safety goggles and a dust mask to protect yourself from debris.
2. Install the Range Hood:
Once the hole is cut, you can then install the range hood. Make sure that you follow the instructions that come with the range hood. While you’re installing the range hood, be sure to wear safety goggles and a dust mask to protect yourself from debris. If you have an electrical outlet nearby, you can use that as a guide for where to install the range hood.

3. Connect the Ductwork:
The next step is to connect the ductwork to the range hood. This will allow the air to flow from the hood to the outside of your home. However, before you connect the ductwork, you need to make sure that it is properly insulated. This will help to prevent any heat loss. Once the ductwork is connected, you can then turn on the range hood and test it out.
4. Vent the Range Hood:
Once everything is installed, you can then vent the range hood. To do this, you will need to open up the vent on the hood and turn on the fan. If everything is working properly, you should see the air flowing from the hood to the outside of your home. However, if you don’t see any air flowing, you may need to adjust the damper.
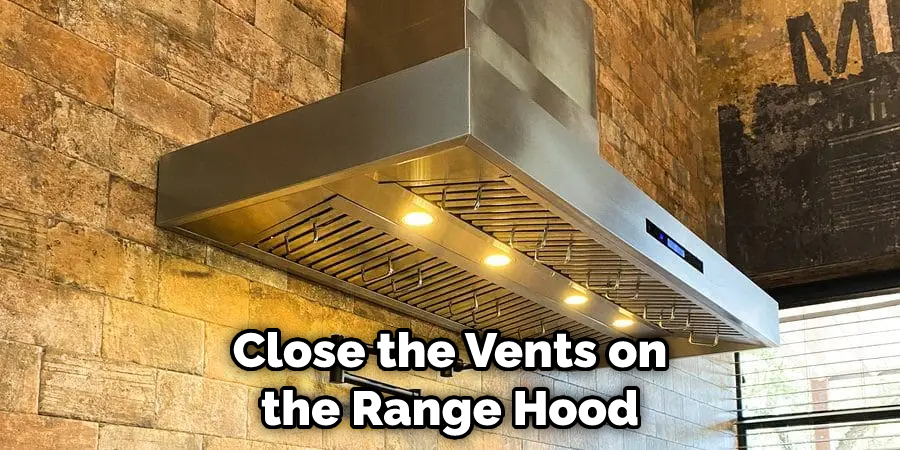
5. Close the Vents:
When you are done cooking, you will need to close the vents on the range hood. This will prevent heat from escaping into your home. While the vents are closed, you can then turn off the fan. If you have an exhaust fan, you can leave it on to help remove any lingering smells. Make sure to clean the filter regularly to prevent it from getting clogged.
6. Repeat as Needed:
You will need to repeat the venting process every time you use the range hood. Be sure to follow the manufacturer’s instructions on how often to vent the hood. In most cases, you will need to vent the hood at least once a week. If you use the range hood more than that, you may need to vent it more often.
7. Use Insulation:
One way you can help vent a range hood on an interior wall is by using insulation. This will help to keep the heat in and make sure that it does not escape into your home. If you are not sure how to install insulation, you can hire a professional to do it for you. Make sure to use the right type of insulation for your range hood.
8. Seal Any Gaps:
Another way to help vent a range hood on an interior wall is by sealing any gaps. You can use caulk or other sealants to fill in any cracks or gaps. While you are sealing the gaps, be sure to wear safety goggles and a dust mask to protect yourself from debris. If you have an electrical outlet nearby, you can use that as a guide for where to seal the gaps.
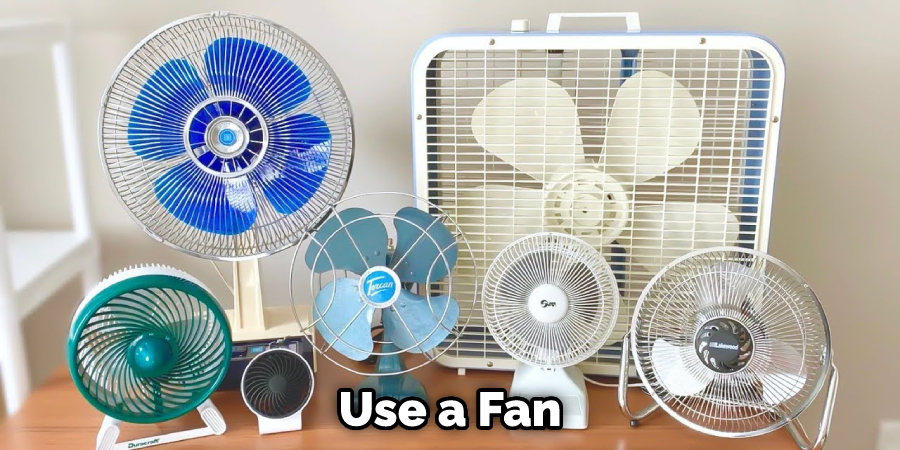
9. Use a Fan:
You can also use a fan to help vent a range hood on an interior wall. This will help to circulate the air and keep the heat from escaping. If you are not sure how to install a fan, you can hire a professional to do it for you. Make sure to use the right size fan for your range hood. Make sure to clean the blades regularly to prevent them from getting clogged.
10. Use Vents:
The last way you can vent a range hood on an interior wall is by using vents. You can find these at most hardware stores. While you are installing the vents, be sure to wear safety goggles and a dust mask to protect yourself from debris. If you have an electrical outlet nearby, you can use that as a guide for where to install the vents.
These are just a few ways you can vent a range hood on an interior wall. If you are not sure how to do it, you can always hire a professional to do it for you. Make sure to follow the manufacturer’s instructions on how to vent the hood properly.
Some Essential Tips and Tricks
1. Use Insulation:
One way you can help vent a range hood on an interior wall is by using insulation. This will help to keep the heat in and make sure that it does not escape into your home. If you are not sure how to install insulation, you can hire a professional to do it for you. Make sure to use the right type of insulation for your range hood.
2. Seal Any Gaps:
Another way to help vent a range hood on an interior wall is by sealing any gaps. You can use caulk or other sealants to fill in any cracks or gaps. While you are sealing the gaps, be sure to wear safety goggles and a dust mask to protect yourself from debris. If you have an electrical outlet nearby, you can use that as a guide for where to seal the gaps.
3. Use a Fan:
You can also use a fan to help vent a range hood on an interior wall. This will help to circulate the air and keep the heat from escaping. If you are not sure how to install a fan, you can hire a professional to do it for you. Be sure to use the right size fan for your range hood.
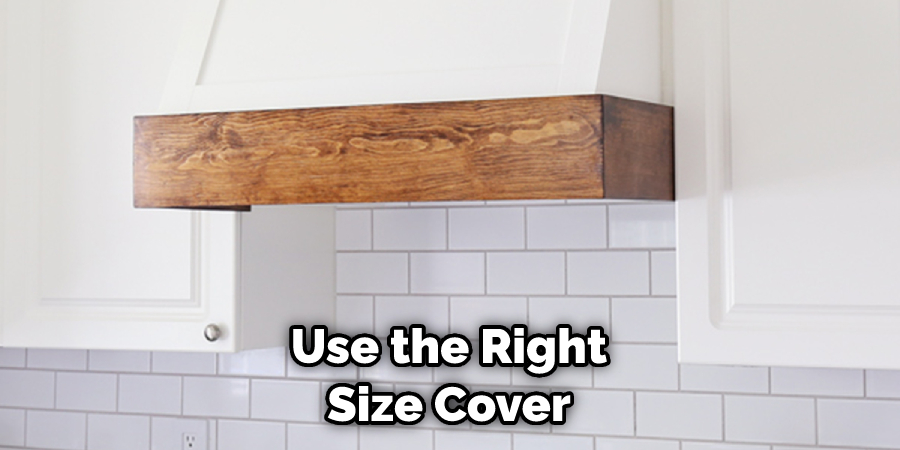
4. Use a Vent Cover:
Another way to help vent a range hood on an interior wall is by using a vent cover. This will help to keep the heat in and make sure that it does not escape into your home. If you are not sure how to install a vent cover, you can hire a professional to do it for you. Be sure to use the right size cover for your range hood.
5. Use an Air Filter:
One final way to help vent a range hood on an interior wall is by using an air filter. This will help to remove any airborne particles that could be causing the heat to escape. If you are not sure how to install an air filter, you can hire a professional to do it for you. Be sure to use the right size filter for your range hood.
By following these tips, you can help vent a range hood on an interior wall and keep the heat from escaping into your home. If you have any questions about how to properly vent a range hood, you can contact a professional contractor or plumber. They will be able to give you more advice and help you choose the best way to vent your range hood.
Conclusion
If your grill is in need of serious cleaning, don’t despair. By following these simple tips, you can have your grill looking brand new in no time. And once it’s clean, be sure to take proper care of it by regularly cleaning it after each use. With a little bit of effort, your grill will provide you with years of delicious meals.
Now that you know how to vent a range hood on an interior wall, you can apply them the next time your grill is in need of some TLC. Be sure to follow these tips and tricks to ensure your grill is always in top shape. Do you have any other tips on how to clean a grill? Leave us a comment below!
You Can Check It Out Clean Ninja Air Fryer Oven Heating Element
Professional Focus
Angela Ervin, a former interior designer turned blogger, specializes in kitchen design and renovations. Through her website, she blends her passion for cooking with design expertise, sharing practical and creative ideas. Known for balancing functionality and beauty, Angela’s insightful content has made her a trusted voice in home design and lifestyle.
About the Author
Angela Ervin, an experienced interior designer and blogger, combines her passion for kitchen renovations with storytelling. Living in Petersburg with her family, she enjoys cooking and testing her projects firsthand. Known for her humor and relatable style, Angela shares creative, functional design insights through her content, making her a trusted voice in home design.
Education History
University: Virginia Commonwealth University
Degree: Bachelor of Fine Arts (BFA) in Interior Design
- Angela’s education at VCU focused on mastering core interior design principles, including spatial planning, color theory, materials selection, and sustainable design practices.
- She gained hands-on experience through studio projects and collaborative design exercises, which honed her ability to create functional and aesthetically pleasing environments.
- Her coursework also emphasized problem-solving and practical applications of design, preparing her for real-world projects like her self-directed kitchen renovations.
- The program’s strong foundation in both technical skills and creative expression shaped Angela’s ability to seamlessly integrate form and function in her work.