
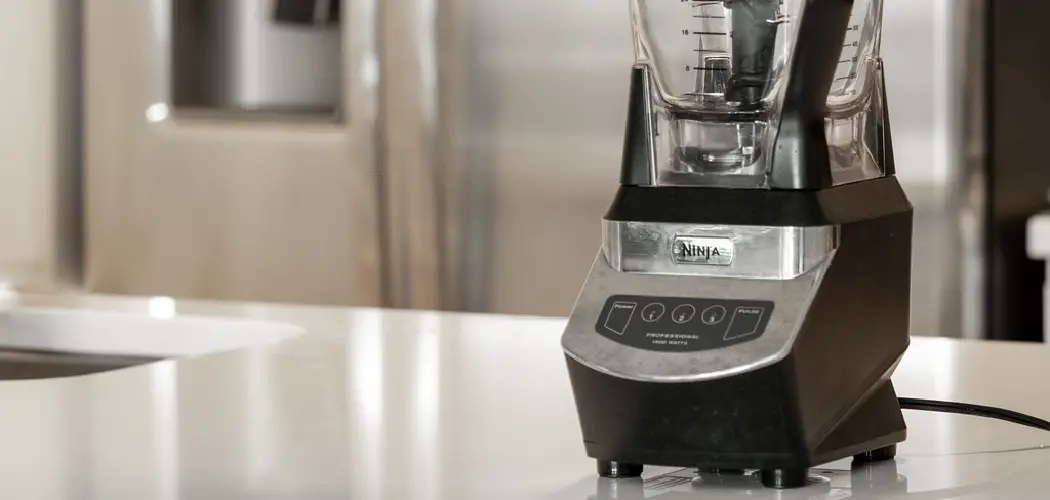
Blenders are one of the most versatile appliances in any kitchen, and the Ninja blender is no exception. Its powerful motor and sharp blades can easily pulverize fruits and vegetables into smooth, healthy juices and purees. However, like any other appliance, the Ninja blender needs to be cleaned regularly to prevent the build-up of dirt and grime.
Luckily, cleaning a Ninja blender is a quick and easy process that only requires a few simple steps. If you use your blender frequently, it is recommended that you clean it at least once a week. After following the steps below, you will let it know how to clean a ninja blender and make it look new.

Complete Stepwise Guidelines on How to Clean a Ninja Blender
Step 1: Rinse the Ninja Blender Jar and Blade
Rinse the jar and blade of your Ninja blender with warm water. If there are any tough spots or stains, you can use a soft sponge or brush to clean them off.
Step 2: Fill the Jar with Warm Water and Dish Soap
Fill the jar about halfway with warm water. Add a drop or two of dish soap and screw the lid back on. Place the jar on the base of the blender and turn it on. Let it run for a few seconds to mix the water and soap together.
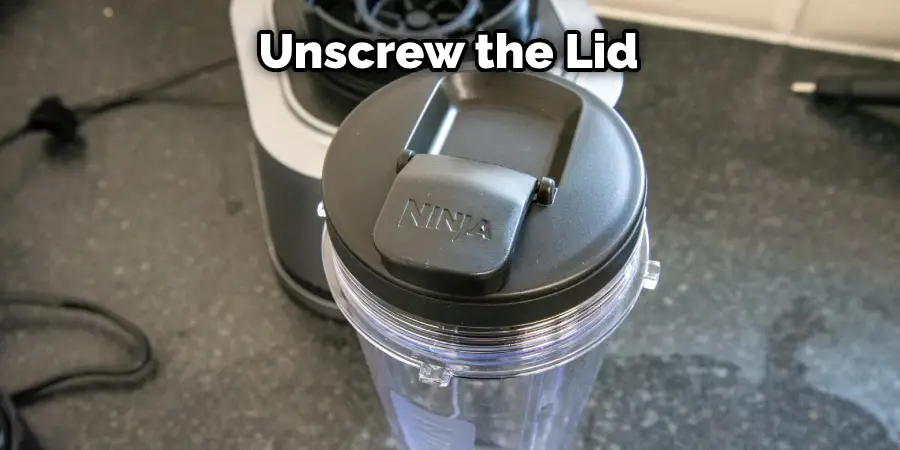
Step 3: Rinse and Repeat
Once the blender has run for a few seconds, turn it off and unscrew the lid. Pour out the soapy water and rinse the jar and blade with clean water. Repeat this process until the blender is completely clean.
Step 4: Remove Tough Stains
If any tough stains remain, you can make a paste out of baking soda and water. Rub the paste onto the stain and let it sit for a few minutes. Rinse it off with warm water, and the stain should be gone!
Step 5: Unplug & Disassemble the Ninja Blender for Through Cleaning
Once you’ve finished cleaning the jar and blade, it’s time to clean the rest of the blender. Unplug the blender and disassemble all the parts. The base, lid, and blade assembly can be cleaned with warm water and dish soap. Be sure to dry all of the parts completely before reassembling the blender.
Step 6: Cleaning the Ninja Blender Base
The base of the blender can be cleaned with a damp cloth. If there are any tough spots, you can use a mild cleaner or vinegar solution to clean them. Be sure to unplug the blender before cleaning the base.
Step 7: The Cleaning Sponge
The cleaning sponge is the final step in cleaning your Ninja blender. Soak the sponge in warm water and dish soap. Rub it over all of the parts of the blender to remove any remaining dirt or grime. Rinse the sponge thoroughly before using it again.
Step 8: Soak the Jar in Warm Water With Vinegar
If you want to clean your blender thoroughly, you can soak the jar in a mixture of warm water, vinegar, and baking soda. Let it soak for 30 minutes to an hour. Rinse it off with clean water and dry it completely before using it again.
Step 9: Clean Other Parts
In addition to the jar and blade, you should also clean the base of the blender, the lid, and the gasket (if applicable). These parts can be cleaned with warm water and dish soap. If there are any tough spots, you can use a mild cleaner or vinegar solution to clean them. Be sure to unplug the blender before cleaning any of these parts.
Step 10: Allow the Ninja Blender Parts to Air Dry
Once you’ve finished cleaning all of the parts, it’s important to let them air dry completely. This will help prevent rusting and ensure that your blender is ready to use the next time you need it. Cleaning a Ninja blender is simple and only takes a few minutes. By following these steps, you can ensure that your blender is always clean and ready to use.
Step 11: Wipe the Power-base of the Ninja Blender
The power base is the part of the blender that houses the motor and blades. It’s important to keep this part clean to prevent dirt and dust from build-up. Use a damp cloth to wipe down the power base. If there are any tough spots, you can use a mild cleaner or vinegar solution to clean them. Be sure to unplug the blender before cleaning the power base.
Step 12: Cleaning the Motor of the Ninja Blender (Optional)
You can clean the motor if you want to clean your blender thoroughly. First, unplug the blender and remove the power base. Use a brush or cloth to remove any dirt or dust from the motor. You can also use a mild cleaner or vinegar solution to clean the motor. Be sure to dry the motor completely before reassembling the blender.
Step 13: Assemble All the Ninja Blender Parts
Once all of the parts are clean and dry, it’s time to reassemble the blender. Start by attaching the power base to the jar. Then, add the blade assembly and screw on the lid. Be sure to tighten the lid securely before using the blender.

Safety Tips for Cleaning a Ninja Blender
- Always unplug the blender before cleaning it.
- Avoid getting water inside the blender’s base, as this can damage the motor.
- Use mild soap and warm water to clean the jar and blades.
- Rinse well and dry completely before using again.
- To clean the blender’s base, simply wipe it down with a damp cloth.
- For tough stains, you can use a little bit of vinegar or baking soda on a damp cloth to help clean the jar.
- If your blender has a detachable blade assembly, you can clean it by soaking in soapy water for 10 minutes, then rinsing well.
How Much Water Do I Put in My Ninja Blender?
When cleaning your Ninja blender, it’s important to use the right amount of water. If you use too little, the blender won’t be able to clean the blades and jar properly. Using too much, the water can get into the blender’s base and damage the motor. The best way to ensure you’re using the right amount of water is to consult your Ninja blender’s manual.
Why Does My Ninja Blender Smell Like It’s Burning?
If your Ninja blender smells like it’s burning, it’s likely because the motor is overheating. This can happen if the blender is overworked or if something is blocking the ventilation holes on the base of the blender.
If your blender starts to smell like it’s burning, unplug it immediately and allow the motor to cool down. Once it’s cooled down, check the ventilation holes to make sure they’re clear, and try again. If the problem persists, contact Ninja customer service for assistance.
You Can Check It Out Clean a Rolling Pin
How Do I Get Rid of the Smell in My Blender?
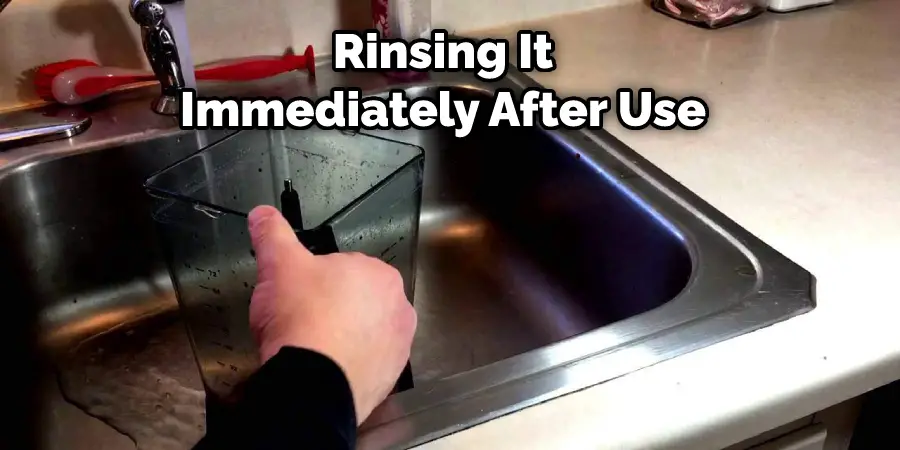
If you’re like me, you love your Ninja blender. It’s so powerful and efficient that it can make quick work of just about anything you put in it. But sometimes, no matter how well you clean it, your blender can start to smell bad.
You can do a few things to get rid of the smell and keep your blender smelling fresh. This is probably the most important thing you can do to prevent your blender from smelling bad. Rinsing it immediately after use will help remove any food particles or residue that might be stuck to the blades or other parts of the blender.
Why Should You Regularly Clean Your Ninja Blender?
Cleaning your Ninja blender regularly is important for two reasons. First, it will help keep your blender smelling fresh. Second, it will help prevent the build-up of food particles and residue that can lead to bacterial growth. Regular cleaning will also help prolong the life of your blender.
How Often Should You Clean Your Ninja Blender?
Ideally, you should clean your Ninja blender after every use. However, that’s probably not realistic if you’re like most people. A good rule of thumb is to clean your blender at least once a week. If you use it more frequently, you may need to clean it more often.
Conclusion
Cleaning a Ninja Blender is not difficult and does not require any special cleaners. The best way to clean your blender is to fill it halfway with warm water and a drop of dish soap. Be sure to put the lid on tight and then blend on high for about 30 seconds. If you follow these simple steps, you will have a clean blender in no time.
The most important part is to ensure that you do not put the ninja blender into the dishwasher because it can damage the blades. If you take care of your ninja blender, it will last for many years and make delicious smoothies every time. We hope you learned something from how to clean a ninja blender. Always make sure to proceed in the order described here. Make sure the safety precautions are followed.
You Can Check It Out Ninja Air Fryer Oven Heating Element
