


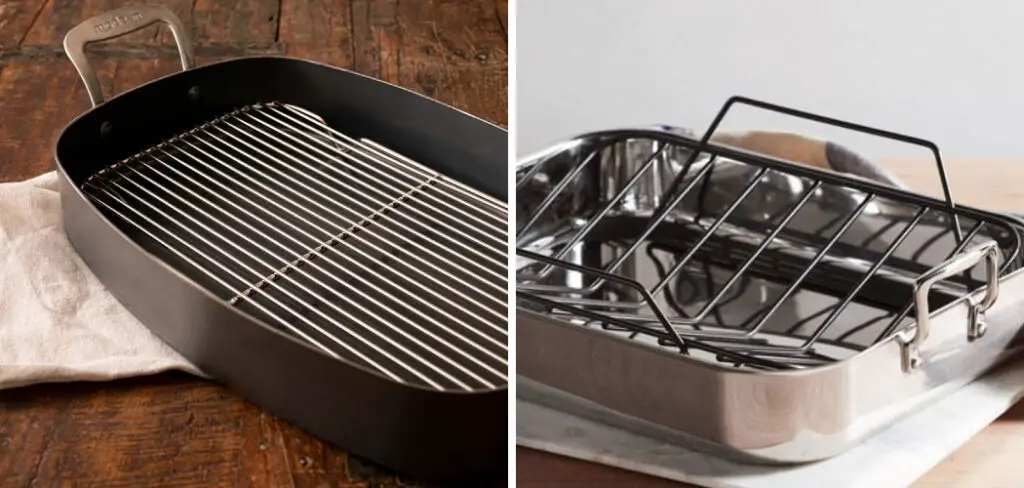
The process may seem daunting if you’ve never cleaned a roaster pan. However, with a little know-how and the right tools, it’s actually quite simple! In this blog post, we’ll walk you through everything you need to know about how to clean a roaster pan – from what kind of soap to removing stubborn stains.
We’ll also advise you on how to get the job done quickly and easily. So if you don’t want to spend hours scrubbing your roaster pan, follow these steps, and you’ll have it looking as good as new in no time! Read on for more information.
Why Should You Clean a Roaster Pan?
Cleaning a roaster pan is important because it is used to cook food, and you want your food to be healthy and free of contaminants. Not cleaning a roaster pan can lead to the accumulation of grease and other particles from prior uses that could affect the taste and quality of the current food cooked in the same roaster pan.
In addition, leaving the roaster pan unclean can also lead to bacteria and mold growth, which can create a health risk. Therefore, cleaning the roaster pan thoroughly after each use is best to ensure it is safe for further use.
Now that you know why it’s important to clean your roaster pan let’s move on to how you should do it.
10 Effective Ways on How to Clean a Roaster Pan
1. Rinse the Pan With Hot Water:
The first step in cleaning a roaster pan is to rinse it with hot water. Next, use a soft cloth or sponge to gently clean the pan, removing any food residue and debris. Make sure that all of the corners are thoroughly cleaned so that no bacteria is left behind. If your roaster is stainless steel, use a mild soap and water solution to help lift off any stuck-on food.
2. Scrub With Baking Soda:
Baking soda is a great natural cleaner if stubborn stains or grease remain on your roaster pan. Simply make a paste with equal parts baking soda and water, then apply it to the stains on the pan. Allow the paste to sit for several minutes before scrubbing it off with your cloth or sponge. If the stains are still present, try repeating the process until they disappear.
3. Use a Steel Wool Pad:
For tougher stains, it may be necessary to use a steel wool pad. This should only be done if you have tried other methods and the stains are still not coming off. However, take extra care when using steel wool pads, as they can scratch the pan’s surface if used incorrectly.
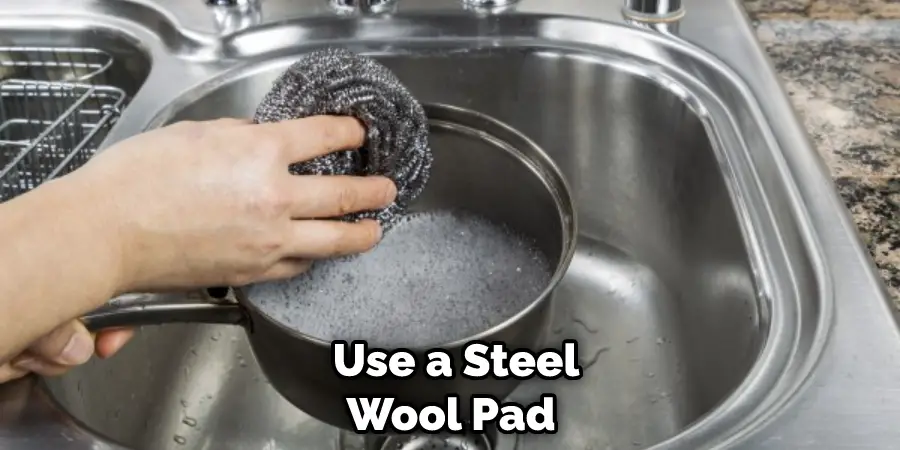
To use a steel wool pad, wet it with soapy water and then gently scrub the stained area on your roaster pan. Rinse thoroughly with warm water after you are done to make sure no remnants of steel wool remain on the surface. Then dry completely with a soft cloth. This should help remove those tougher stains and get your roaster pan looking as good as new.
4. Use an Aluminum Foil Ball:
For more stubborn spots, try using an aluminum foil ball. Simply take a piece of aluminum foil, ball it up, and use the crinkles to scrub away the food particles stuck to your roasting pan. Use this method sparingly, however, as too much abrasion can cause damage to the finish of your pan. Also, be sure to rinse off all residue after using this method.
5. Fill the Pan With Hot Water and Dish Soap:
Once the pan has been rinsed, fill it with hot water and dish soap. Let the pan soak for a few minutes to allow the dish soap to break down the food. If the food has been cooked for longer, you may need to increase the soaking time. Also, make sure to add enough soap to create a good lather. If the pan is not getting clean enough, add more dish soap.
6. Use a Non-Scratch Sponge:
After soaking the pan, use a non-scratch sponge to scrub off any remaining food. Ensure not to apply too much pressure when cleaning, as this can damage the roaster pan’s surface. Rinse with warm water afterward and dry completely before storing it. If your pan is stainless steel, you may use a specialty stainless steel cleaner to prevent smudges or fingerprints from forming. Do not use any abrasive scrubber pads, as they may also damage the pan.
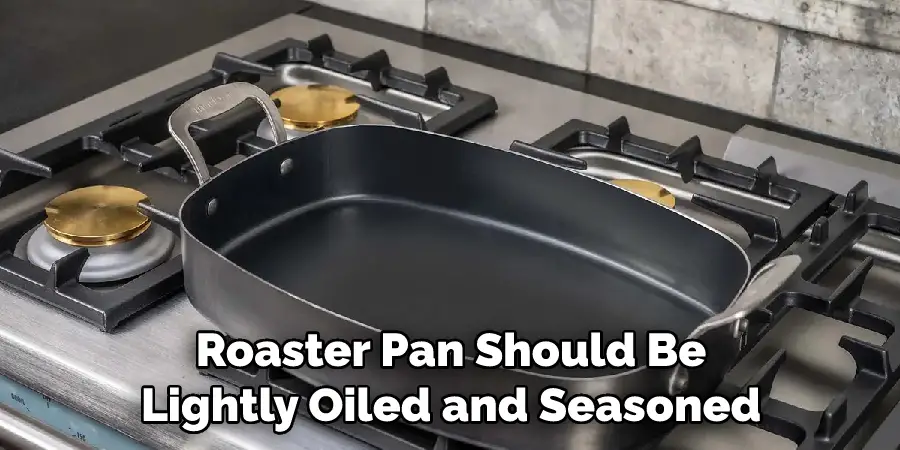
7. Season Your Roaster Pan:
Your roaster pan should be lightly oiled and seasoned before each use for the best results. If the pan is not seasoned, it will eventually become coated with a black residue. To season your roaster pan, begin by lightly coating the inside with cooking oil and wiping off any excess. Next, place the roaster in a cold oven, then set the temperature to 350 degrees Fahrenheit and allow the pan to heat for up to an hour. Once heated, please turn off the oven but leave the pan inside until it has cooled completely. Your roaster should be ready to use now!
8. Use Oven Cleaner on Tough Stains:
If there are still tough stains remaining after running the self-cleaning cycle, use oven cleaner on them and scrub them until they are gone. Be sure to wear gloves and follow the instructions on the oven cleaner packaging. If the pan is too large to fit in your sink, use a brush and cleaning cloth on it outside or in an area with good ventilation. Rinse off all traces of oven cleaner before drying and putting away the roaster pan.
9. Use White Vinegar.
White vinegar is a great natural cleaner for many surfaces. It is especially effective at removing stubborn grease and grime from roaster pans. To clean your pan, fill it with water and add 1/2 cup of white vinegar. Allow the mixture to sit in the pan for several hours before scrubbing with a non-scratch sponge or brush. This method should successfully remove most stuck-on debris from the pan. Next, rinse with hot water and dry before using again. Use a little baking soda to give it a clean shine if needed.
10. Dry the Pan With a Towel:
Once the roasting pan is clean, dry it with a soft cloth or paper towel. This will help prevent rust and ensure it’s ready for your next use. If you have hard water deposits on the pan’s surface, you can try scrubbing them off with steel wool before drying. Finally, store the roaster pan in a dry, cool place away from direct sunlight. With proper care and maintenance, your roaster pan should last you many years of delicious meals.
Some Additional Cleaning Tips and Advice
- If your roaster pan is especially greasy, use a degreaser before scrubbing the surface with a sponge.
- If you aren’t going to use your roaster pan for at least 24 hours, fill it with a solution of equal parts water and white vinegar and allow it to soak overnight before washing it out.
- If your roaster pan is non-stick, you can use a scouring pad to remove tough spots without scratching the surface.
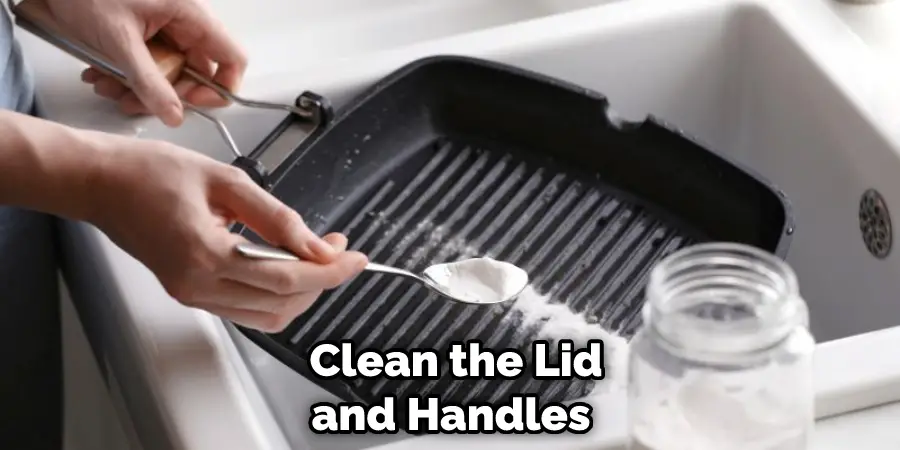
- Don’t forget to clean the lid and handles of your roaster pan as well; you may need to use a little extra elbow grease!
- Always make sure to dry your roaster pan completely after washing, as wet surfaces can be prone to rust and corrosion.
- To keep your roaster pan looking like new, sand lightly with steel wool once in a while. This will help prevent any food particles or grease buildup that could lead to unsightly staining.
- If you want to keep your roaster pan in the best condition, make sure to follow the manufacturer’s instructions for proper care and cleaning. This will help ensure that your roaster pan lasts as long as possible.
How Do You Clean the Inside of a Roaster Oven?
The inside of a roaster oven should be cleaned regularly to prevent the buildup of grease and food particles. The easiest way to clean the inside is with warm, soapy water and a soft cloth or sponge. Start by unplugging the roaster oven from its power source. Next, wipe down all surfaces with a damp cloth, removing any food particles or residue.
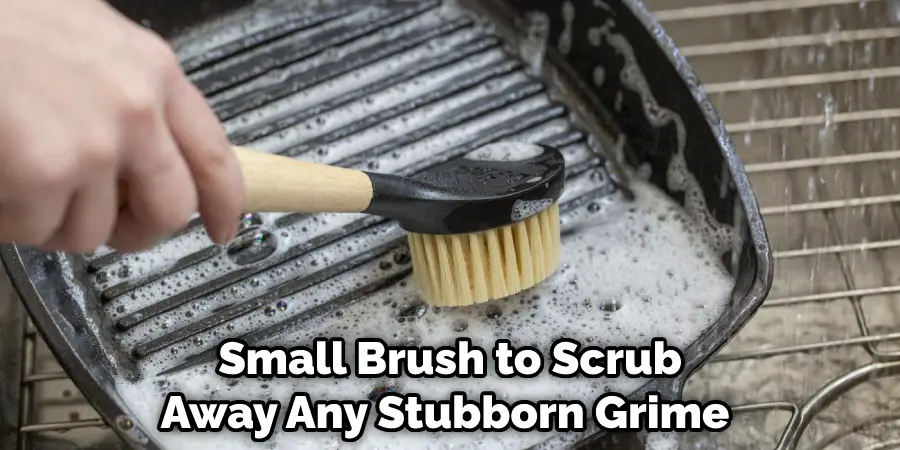
Use a mild dishwashing liquid and rinse thoroughly with warm water. Dry all surfaces with a soft, clean cloth to prevent water spots. If necessary, you can use a toothbrush or other small brush to scrub away any stubborn grime in hard-to-reach areas gently. Additionally, some roaster ovens have removable racks, which can be easily washed with soap and water. All parts should be completely dry before reassembling the appliance.
Final Words
Now that you know how to clean a roaster pan, you can cook confidently. With proper care, your roaster pan will last for many years. Remember always to follow the manufacturer’s instructions when cleaning your kitchen appliances.
If you don’t have time to hand wash your roaster pan, put it in the dishwasher. Be sure to use a mild detergent; the roaster pan will come out as clean as new. Do you have any tips for cleaning a roaster pan? Let us know in the comments below!
Professional Focus
Angela Ervin, a former interior designer turned blogger, specializes in kitchen design and renovations. Through her website, she blends her passion for cooking with design expertise, sharing practical and creative ideas. Known for balancing functionality and beauty, Angela’s insightful content has made her a trusted voice in home design and lifestyle.
About the Author
Angela Ervin, an experienced interior designer and blogger, combines her passion for kitchen renovations with storytelling. Living in Petersburg with her family, she enjoys cooking and testing her projects firsthand. Known for her humor and relatable style, Angela shares creative, functional design insights through her content, making her a trusted voice in home design.
Education History
University: Virginia Commonwealth University
Degree: Bachelor of Fine Arts (BFA) in Interior Design
- Angela’s education at VCU focused on mastering core interior design principles, including spatial planning, color theory, materials selection, and sustainable design practices.
- She gained hands-on experience through studio projects and collaborative design exercises, which honed her ability to create functional and aesthetically pleasing environments.
- Her coursework also emphasized problem-solving and practical applications of design, preparing her for real-world projects like her self-directed kitchen renovations.
- The program’s strong foundation in both technical skills and creative expression shaped Angela’s ability to seamlessly integrate form and function in her work.