


Haven’t you ever been drinking your morning coffee only to discover a chip has appeared on the side of your favorite mug? You probably don’t want to buy a whole new mug or just throw out the one you have now. Thankfully, fixing a chipped mug isn’t as hard as it may seem!
In this blog post, we guide you step-by-step through the process of repairing a chipped ceramic mug–no matter how deep or complex the crack may be.
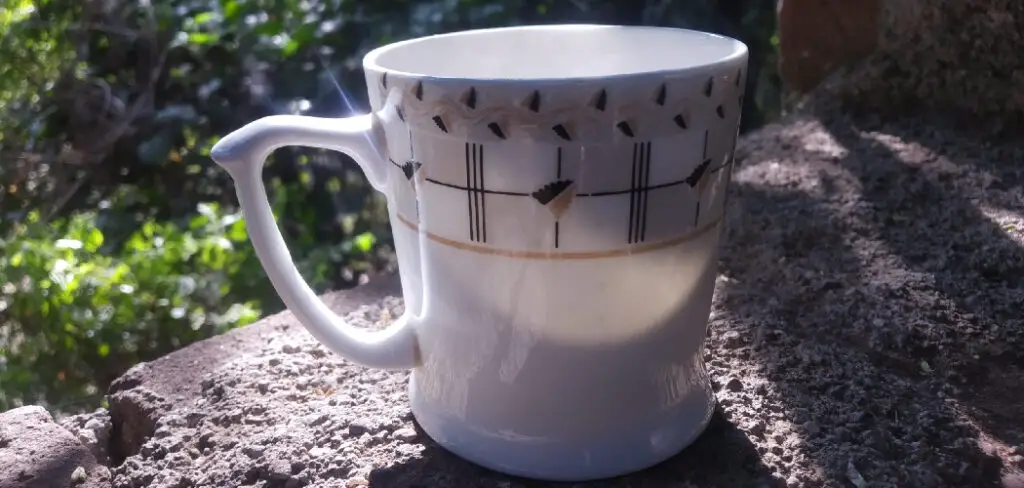
Let’s start by discussing why mugs get chips in them and then move on to revealing all our easy fixes for getting that good old mug back in action without fail. So keep reading to learn more about how to fix chipped mug.
Can You Fix Chipped Mug?
Fixing a chipped mug is possible, although it will depend on the chip size and material of the mug. For smaller chips, epoxy resin or glue can be used to stick broken pieces back together. Applying a few layers of paint may help conceal the chip and make the mug look as good as new.
For larger chips, you may be able to fill them in with clay or putty and then repaint them – however, professional repair may be more efficient than attempting a DIY fix. Ultimately, if given enough time and patience, it is possible to fix a chipped mug at home.
Why Should You Fix Chipped Mug?
Chipped mugs may appear to serve the same purpose; however, fixing a broken mug can be an incredibly satisfying experience. Likewise, the humble cup in your cupboard might seem unremarkable, but no two chips are alike, and repairing them makes it your own unique original.
It is also simple to repair a chipped mug with basic tools – all you need is a ceramic adhesive made specifically for the job. Taking time out of your day to fix any imperfections in what you have can have therapeutic benefits, not to mention that a completed project will make you feel proud of yourself every morning when you enjoy your favorite hot beverage in it.
7 Steps to Follow on How to Fix Chipped Mug
1. Gather Your Supplies
The first step in fixing a chipped mug is to gather your supplies. You will need a Mug Repair Kit, which can be purchased online or at a local hardware store. You will also need a clean cloth and a bowl of warm water.
2. Clean the Area
Once you have gathered your supplies, the next step is to clean the area around the chip. Use the cloth to wipe away any dirt or debris from the mug and the area around the chip.
3. Apply the Adhesive
Next, you will need to apply the adhesive that came with your Mug Repair Kit to the back of the chip. Be sure to follow the instructions on the adhesive packaging.
4. Place the Chip in Position
After applying the adhesive, you can place the chip back in position on the mug. Use your fingers to press down gently on the chip until it is firmly in place.
5. Allow to Dry
Once you have placed the chip back in position, you will need to allow it to dry for 24 hours before using the mug again. During this time, do not use or touch the mug so that the adhesive can be fully set.
6. Apply the Finishing Touch
After 24 hours, you can apply the finishing touch to your mug. You can use a sealant or glaze that is specifically designed for mugs to protect and seal the chip.
7. Enjoy Your Mug!
Once you have followed all of these steps, you can then enjoy your mug! Be sure to hand wash it gently so that the repair does not become damaged. With a little bit of TLC, your chipped mug can last you for years to come.
That’s it! You’ve now learned how to fix chipped mug. With the right supplies and knowledge, you can do it yourself in no time. Good luck! Remember, safety comes first when dealing with adhesive and glazes, so be sure to read all instructions before use.
Different Types of Chipped Mugs and How to Fix Them
Ceramic Mugs
If the chip on your ceramic mug is smaller than a quarter, it’s possible to fix it without any special supplies. First, ensure the edges of the break are smooth so they won’t cut you.
Then use super glue to fill in the chip. If it’s too deep, you may need to add a few layers of glue until it is even with the rest of the surface. Give each layer time to dry before adding another layer of glue. Once fully dried and cured, use sandpaper to remove any bumps or ridges left from the glue.
Glass Mugs
You can use clear nail polish as an adhesive for glass mugs with minor chips along the outer edge. First, make sure your work area is well-ventilated, and start by cleaning off any dust particles from around the chip with alcohol or vinegar.
Then apply several coats of clear nail polish over the crack until it’s filled in completely and smooth with no gaps visible between pieces. Allow each coat to dry before adding another layer. Once fully cured, check for any unevenness along the surface and use sandpaper if necessary.
Porcelain Mugs
When repairing porcelain mugs with small chips or cracks along their edges, you will need epoxy specifically formulated for porcelain repair and cotton swabs (Q-tips) for application purposes. Start by cleaning off any dust particles from around the chip with alcohol or vinegar before applying a thin layer of epoxy to the crack using a cotton swab.
Make sure that all pieces fit together snugly before applying more epoxy if needed until there are no gaps visible between pieces when put back together again. Allow time for curing before sanding down any excess residue around repaired areas if necessary.
Things You Need to Know Before Fixing Chipped Mug
Fixing a chipped mug can seem like a daunting task at first, but with the right tools, you can make your mug look as good as new. Before attempting to fix your damaged mug, it is important to know what type of material it is made of.
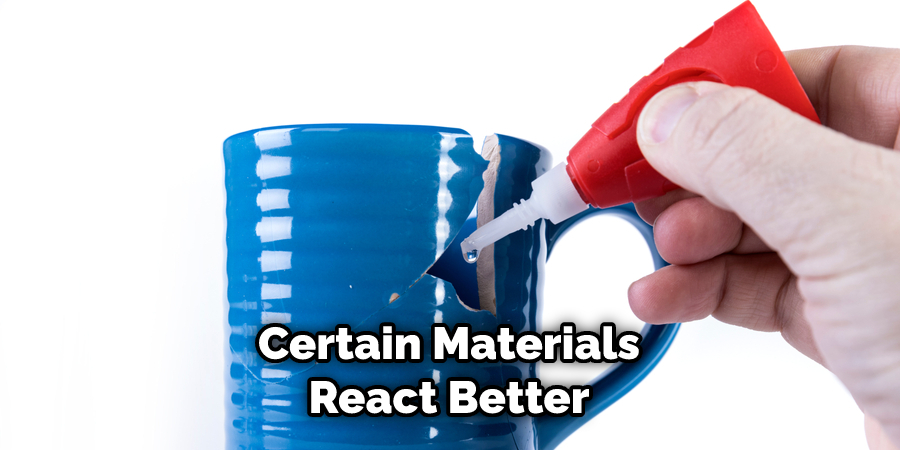
Certain materials react better to different types of glues and adhesives. For example, a Super Glue is best for materials like plastic, glass, and ceramic, while an epoxy adhesive works best on metallic mugs with ironstone clays. It’s also important to prepare the surface before any glue is applied; sandpaper will help scuff up the edges so that the glue will bond better and last longer.
Finally, applying the repair gel evenly on all chips can provide an invisible finish once it dries. Repairing a chipped mug isn’t difficult if you know what steps need to be taken beforehand!
Benefits of Fixing Chipped Mug
A chipped mug can be far more than a source of annoyance because it sits in your cabinet. By finding the right materials and taking the time to fix them, you can restore their beauty and use them again.
Not only will this help extend the life of the mug, but working on small projects like this one can be a great way to unwind and reduce stress levels.
Additionally, fixing something so trivial yourself is incredibly rewarding. It helps build self-confidence by knowing that you accomplished the task independently with the right tools to fix it.
Some Common Mistakes People Make When Trying to Fixing Chipped Mug
Trying to fix a chipped mug can be intimidating for any beginner, as the task itself requires specialized tools and knowledge. However, many novice craftsmen make a few common mistakes that can easily be avoided.
One common mistake is assuming that any type of adhesive will do. Glues have different properties, and when it comes to mugs, you need a material that is able to hold up to hot liquids and not react badly with them over time. Additionally, mugs need to be fitted perfectly; using too much glue isn’t only messy and causes minor misalignments.
When crafting with ceramics or other fragile materials, filing down any excess glue must be done carefully to prevent further damage to the piece. Proper fixes require precision and skill, so seeking out tips from experienced fixers is always recommended before attempting any sort of ceramic repairs yourself.
3 Ways to Prevent Chipped Mug
1. Use a Coaster.
This is the simplest way to prevent your mug from chipping. Using a coaster can prevent your mug from coming into contact with hard surfaces that might damage it. Coasters can also help absorb moisture, which can lead to mug damage.
2. Avoid Extreme Temperature Changes.
Sudden changes in temperature can cause your mug to expand or contract, leading to cracking or chipping. To avoid this, try to avoid putting your mug in the microwave or freezer. If you do need to heat or cool your mug, do so gradually to give it time to adjust to the new temperature.

3. Handle with Care.
This one seems obvious, but it’s worth repeating: handle your mug carefully! Don’t drop it or bang it against hard surfaces, as this can easily lead to chips or cracks. Likewise, when washing your mug, be gentle and avoid using abrasive scrubbers that might damage the surface.
Conclusion
Chipped mugs don’t have to be thrown away! With just a few simple materials like superglue, clear nail polish, or epoxy formulated specifically for porcelain repair, you can easily fix and restore broken mugs back into one piece again in no time!
So go ahead – save yourself some money by learning how to fix those chipped mugs instead of buying new ones! You’ll be glad you did! Thanks for reading our post about how to fix chipped mug.
You Can Check It Out to Get Fish Smell Out of Cast Iron
Professional Focus
Angela Ervin, a former interior designer turned blogger, specializes in kitchen design and renovations. Through her website, she blends her passion for cooking with design expertise, sharing practical and creative ideas. Known for balancing functionality and beauty, Angela’s insightful content has made her a trusted voice in home design and lifestyle.
About the Author
Angela Ervin, an experienced interior designer and blogger, combines her passion for kitchen renovations with storytelling. Living in Petersburg with her family, she enjoys cooking and testing her projects firsthand. Known for her humor and relatable style, Angela shares creative, functional design insights through her content, making her a trusted voice in home design.
Education History
University: Virginia Commonwealth University
Degree: Bachelor of Fine Arts (BFA) in Interior Design
- Angela’s education at VCU focused on mastering core interior design principles, including spatial planning, color theory, materials selection, and sustainable design practices.
- She gained hands-on experience through studio projects and collaborative design exercises, which honed her ability to create functional and aesthetically pleasing environments.
- Her coursework also emphasized problem-solving and practical applications of design, preparing her for real-world projects like her self-directed kitchen renovations.
- The program’s strong foundation in both technical skills and creative expression shaped Angela’s ability to seamlessly integrate form and function in her work.