


Are you trying to figure out how to fix Moen kitchen faucet handle? Have you recently noticed that when you turn it in, nothing happens? Don’t worry, a broken Moen kitchen faucet handle isn’t the end of the world.

In this blog post, we’ll be exploring exactly what’s involved in fixing the problem and how to do so efficiently and effectively with minimal effort. Whether you’re a DIYer tackling this project alone or have hired a professional for help, understanding these steps can make all the difference between having an avoidable issue and taking on an unnecessary headache!
Tools and Materials You Will Need to Fix Moen Kitchen Faucet Handle
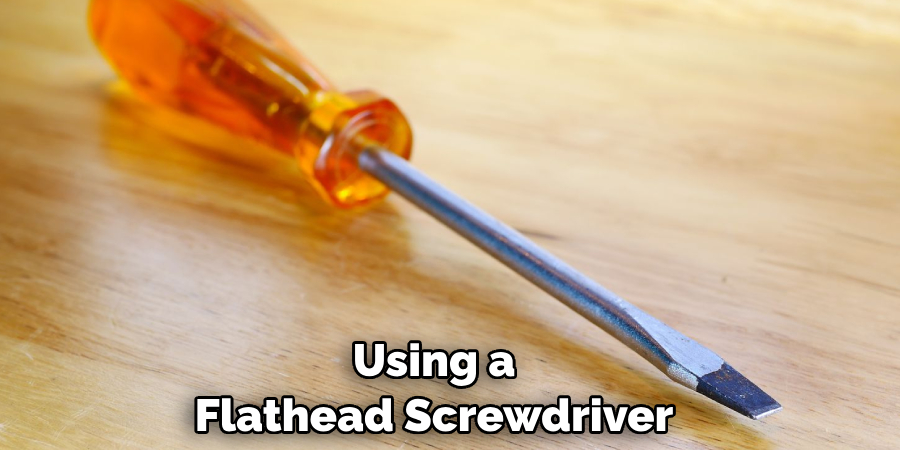
- Flathead screwdriver
- Phillips head screwdriver
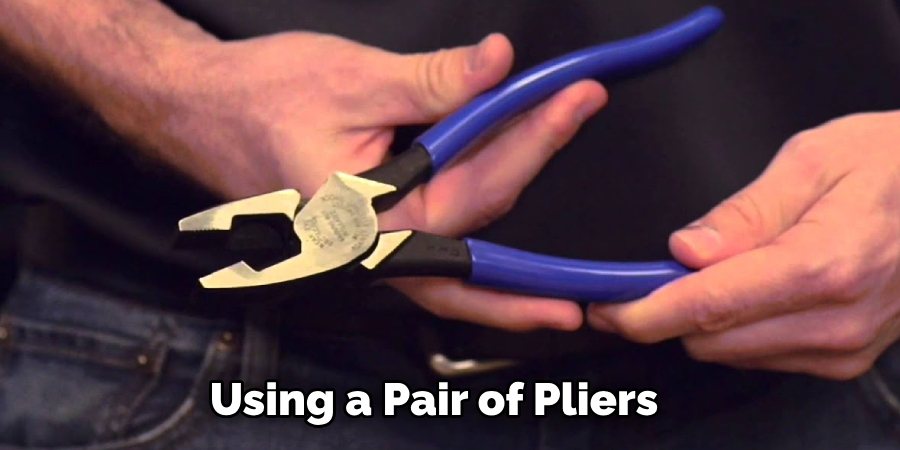
- Adjustable wrench or pliers
- Moen handle repair kit (available at most home improvement stores)
- Towel to protect the sink and countertop during repairs
- Hair dryer or heat gun (optional)
Step-by-Step Guidelines on How to Fix Moen Kitchen Faucet Handle
Step 1: Unscrew the Handle
Using a flathead screwdriver, loosen and remove the screw securing the faucet handle in place. Once the screw is removed, you should be able to pull off the handle easily. If not, use a pair of pliers or an adjustable wrench to gently pry it away from the stem. This will reveal the stem, which is connected to the valve.
Step 2: Remove the Stem
Once you’ve removed the handle, use a Phillips head screwdriver to unscrew and remove the stem. You may need to use some force for this part as it can be held in place by corrosion or debris. It is important to take note of how each piece fits together so you can put it all back together correctly. Use a towel to protect the sink and countertop in case pieces fall during this step.
Step 3: Clean the Valve Seat
Once you have removed the stem, it’s time to clean off the valve seat with a cloth or paper towel. This is important for getting rid of any debris that might be causing your Moen kitchen faucet handle to stick or not rotate properly. While cleaning, check for any corrosion that can be removed with a wire brush. If necessary, use a hair dryer or heat gun to loosen the corrosion.
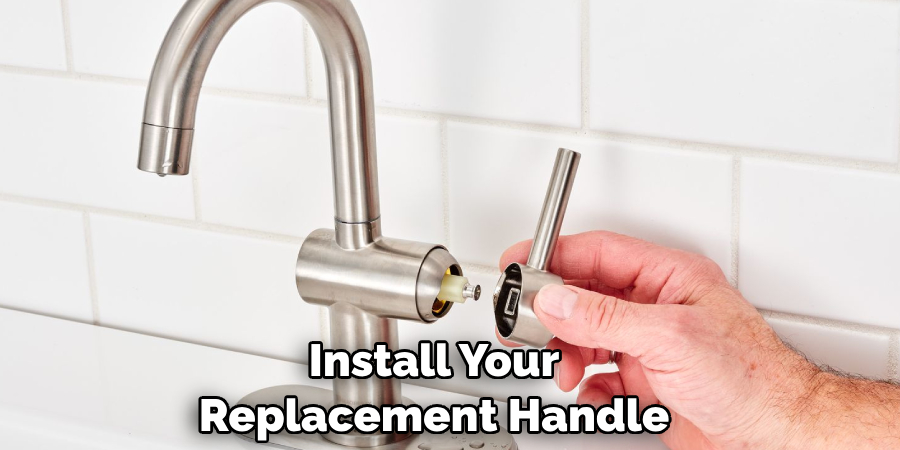
Step 4: Install the Replacement Handle and Stem
Now that the area is clean, you can install your replacement handle and stem. Start by putting the stem back into its hole in the valve. Make sure it’s firmly seated before tightening down the screws with a Phillips head screwdriver. Once secure, put the handle back on and tighten down the screw. If you have an O-ring, place it between the handle and stem before tightening everything into place.
Step 5: Test Out Your Fix
To make sure your fix was successful, test out the faucet handle by turning it in both directions. Make sure there is a smooth rotation, without any sticking or grinding. If all is good, you’re finished. Make sure to give your sink a quick clean to remove any debris from the repair process.
Congratulations, you’ve successfully fixed your Moen kitchen faucet handle! By following these step-by-step instructions, you can fix the issue with minimal effort and cost. With this knowledge in hand, you can now tackle other plumbing issues with confidence. Good luck!
Additional Tips and Tricks to Fix Moen Kitchen Faucet Handle
1. If the handle still won’t budge, try using penetrating oil to loosen the parts. If you don’t have any on hand, WD-40 is a great alternative.
2. You can also try using a pair of pliers or an adjustable wrench to grip and turn the handle. Be sure to use caution when doing this, as you don’t want to damage the handle or the faucet.
3. If all else fails, you can purchase replacement parts from a local hardware store or online retailer. Moen offers a wide variety of replacement handles and other components for their kitchen faucets.
4. If your handle is beyond repair, consider replacing the entire kitchen faucet. Moen offers a wide variety of stylish and reliable faucets that are sure to fit your needs.
5. If you’re feeling handy, you can always try replacing the handle yourself. While this may seem daunting at first, it’s actually quite simple – just follow the instructions included with your new handle. With a little patience and some basic tools, you should have no trouble replacing the handle on your Moen kitchen faucet.
6. Don’t forget to test your new handle by turning the water on and off several times to make sure it’s working as intended! If problems persist, contact an experienced plumber for assistance.
Following these tips and tricks should help you get your Moen kitchen faucet handle up and running again in no time. With a little time and effort, you can have a reliable sink fixture that will last for years to come. Good luck!
Precautions Need to Follow for Fixing Moen Kitchen Faucet Handle
1. Wear safety glasses and work gloves to protect your eyes and hands while doing the repair.
2. Take care not to damage the faucet in any way during the removal or installation of parts. If necessary, place a towel beneath the handle and tap it gently with a hammer to avoid scratching or damaging the surface.
3. Unplug the power source from the wall outlet before beginning any electrical work on the faucet.
4. Have a container ready to catch any water that may come out when disconnecting or attaching plumbing lines during the repair.
5. Turn off the water supply valves beneath the sink before starting work on the faucet.
6. Inspect all parts for wear or damage before installing replacement parts to ensure they meet the manufacturer’s specifications and are compatible with the faucet model.
7. Use caution when tightening nuts, bolts, and other mechanical components during installation; over-tightening can cause damage to the threads or components.
8. Once the repair is complete, turn on the water supply valves to check for leaks and test the faucet handle for proper operation before restoring power to the wall outlet.
Following these safety precautions will help ensure a successful Moen kitchen faucet handle repair and prevent any accidents or damage while doing so.
Frequently Asked Questions
Is Fixing a Moen Kitchen Faucet Handle Difficult?
Fixing a Moen kitchen faucet handle is not difficult if you have the right tools and follow the instructions in your user manual. It is important to take your time and handle all components with care to avoid damaging any parts.
Do I Need to Replace My Moen Kitchen Faucet Handle?
Not necessarily. If you are able to fix the issue, such as a broken handle or leaking faucet, you may not need to replace the handle. However, if the handle is severely damaged or corroded, a replacement part may be necessary.
Do I Need to Call a Professional Plumber for Help?
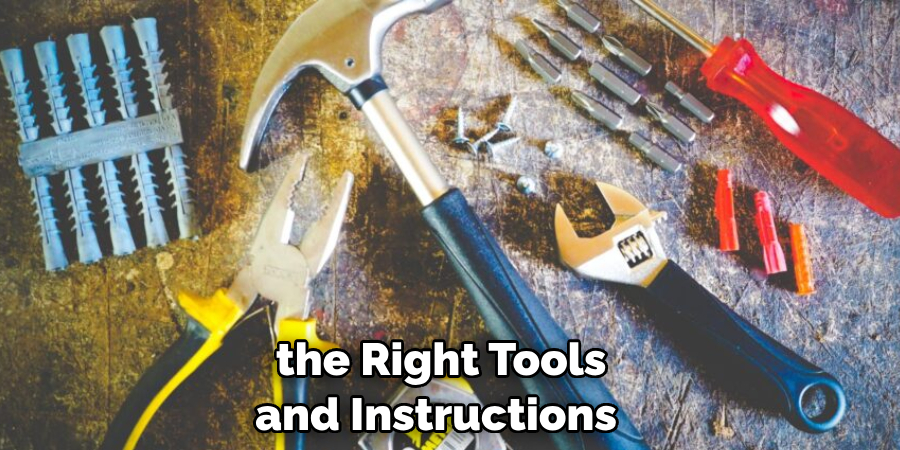
No. With the right tools and instructions, fixing a Moen kitchen faucet handle is something that you can do on your own. However, if you are uncomfortable or uncertain about the process, it is always best to call a professional plumber for assistance.
Can I Fix a Moen Kitchen Faucet Handle By Myself?
Yes. With the right tools and instructions, fixing a Moen kitchen faucet handle is something that you can do on your own. However, if you are uncomfortable or uncertain about the process, it is always best to call a professional plumber for assistance.
Does Moen Offer Any Warranty Coverage for Their Faucets?
Yes, Moen offers a limited lifetime warranty on most of their faucet products. This warranty covers any manufacturer defects in the product and can be used to help cover replacement parts or repair costs if needed. Check your user manual or contact Moen directly for more information about their warranty coverage.
What Are the Most Common Problem in Moen Kitchen Faucet Handles?
Moen kitchen faucet handles are prone to a variety of problems that can interfere with their function. The most common problems include loose, leaking, or stuck handles; difficulty operating the handle; and dripping water.
Conclusion
It is important to take preventative steps to ensure a long-lasting Moen kitchen faucet handle, such as tightening the handle every few months and replacing the parts as needed. If you are still having challenges or run into additional problems while trying to fix your Moen kitchen faucet handle, then please reach out to request professional assistance.
By following the steps outlined in this blog post, you should easily be able to learn how to fix moen kitchen faucet handle to function perfectly over time. Keep in mind that regular check-ups and maintaining clean bathroom conditions can help save on costs and give you peace of mind when it comes to managing your kitchen fixtures.
With just a little bit of effort, you can have smooth functioning of all the components in your home’s kitchen faucets! So don’t give up, find a solution and get it fixed today!
Professional Focus
Angela Ervin, a former interior designer turned blogger, specializes in kitchen design and renovations. Through her website, she blends her passion for cooking with design expertise, sharing practical and creative ideas. Known for balancing functionality and beauty, Angela’s insightful content has made her a trusted voice in home design and lifestyle.
About the Author
Angela Ervin, an experienced interior designer and blogger, combines her passion for kitchen renovations with storytelling. Living in Petersburg with her family, she enjoys cooking and testing her projects firsthand. Known for her humor and relatable style, Angela shares creative, functional design insights through her content, making her a trusted voice in home design.
Education History
University: Virginia Commonwealth University
Degree: Bachelor of Fine Arts (BFA) in Interior Design
- Angela’s education at VCU focused on mastering core interior design principles, including spatial planning, color theory, materials selection, and sustainable design practices.
- She gained hands-on experience through studio projects and collaborative design exercises, which honed her ability to create functional and aesthetically pleasing environments.
- Her coursework also emphasized problem-solving and practical applications of design, preparing her for real-world projects like her self-directed kitchen renovations.
- The program’s strong foundation in both technical skills and creative expression shaped Angela’s ability to seamlessly integrate form and function in her work.