


Cream cabinets can bring warmth and elegance to any kitchen or bathroom, but over time, they may develop an unsightly yellowish tint that can detract from their aesthetic appeal. This discoloration is often caused by a combination of factors, including exposure to sunlight, cooking oils, and even the natural aging of the finish.

Fortunately, there are effective strategies to restore the creamy, pristine appearance of your cabinets and banish that unattractive yellow hue. In this article, we will explore various techniques and tips on how to make cream cabinets look less yellow.
Whether you’re a homeowner seeking to revitalize your kitchen’s visual appeal or a DIY enthusiast looking for a satisfying project, these solutions will help you transform your cabinets, giving them a fresh, clean appearance that will breathe new life into your living space.
Say goodbye to those yellowed cabinets and hello to a refreshed and inviting kitchen or bathroom with these tried-and-true methods.
Importance of Addressing the Problem
When it comes to making cream cabinets look less yellow, it is important to address the root of the problem. There could be multiple issues that are creating this yellow hue, such as a lack of ventilation or too much direct sunlight.
If you can identify and address the underlying problem, then you may be able to achieve more successful results when attempting to make your cream cabinets look less yellow.
Additionally, it is also important to take into consideration the type of material that your cabinets are made of. Different materials may require different solutions, and since cream cabinets can be made from a variety of materials such as wood, painted laminate, or lacquer, you should make sure you know what material your cabinets are composed of before attempting any solutions.
Finally, you should make sure to always take the necessary precautions when applying any cleaning products or other solutions in order to avoid causing any damage to your cabinets. Taking your time and being careful is important when attempting this task, as it can be easy to accidentally cause further discoloration or damage if not done correctly.
Factors Contributing to Yellowing of Cream Cabinets
- Sunlight: One of the most common factors contributing to the yellowing of cream cabinets is exposure to sunlight. UV rays from the sun can cause wood to fade and discolor over time, transforming a once beautiful shade of cream into a dull yellow.
- Heat: High levels of heat in the kitchen can also cause cabinets to yellow. The heat causes the paint on the cabinets to break down, resulting in a faded and discolored look.
- Improper Cleaning: When cleaning cream cabinets, it is important to use the right products for the job. Using harsh cleaners or abrasive materials can strip away some of the paint from the cabinet surface, which will lead to yellowing.

10 Steps How to Make Cream Cabinets Look Less Yellow
1. Choose the Right Paint Color
The first step in making cream cabinets look less yellow is to choose the right paint color. A good rule of thumb is to choose a shade that is two or three shades lighter than the existing cabinet color.
This will help to neutralize any yellow tones and create a more neutral, uniform look. Additionally, if you are painting over an existing coat of paint, be sure to use a paint primer so that your new color will adhere properly.
2. Use a Primer
Using a primer before painting your cabinets is essential for achieving a flawless finish. Primers help to seal the surface and prevent any discoloration or staining from occurring. When selecting a primer, make sure it is designed for use on wood surfaces and that it is compatible with your chosen paint color. Apply one or two coats of primer to the cabinets and allow to dry completely before painting.
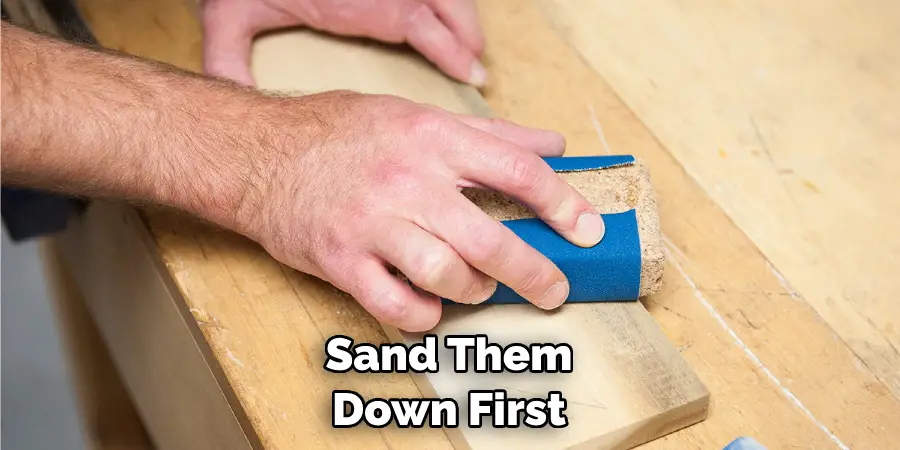
3. Sand the Cabinets
Before you begin painting your cabinets, it’s important to sand them down first. This will help remove any imperfections or irregularities in the surface and ensure that your paint adheres properly and evenly. Be sure to use fine-grit sandpaper and wipe away any dust after you’re finished sanding.
4. Clean the Cabinets
Once you have sanded down your cabinets, it’s time to give them a thorough cleaning before applying any paint or primer. Use a damp cloth and some mild soap to remove any dirt or grease from the surface of the cabinets, then dry thoroughly with another clean cloth before proceeding with painting.
5. Apply Paint in Thin Coats
When painting your cabinets, be sure to apply thin coats of paint rather than thick ones as this will help avoid drips or runs in the finish once dry. Allow each coat of paint to dry completely before adding additional coats until you achieve your desired effect. It may take several coats before you get an even finish without any yellow tones showing through so be patient!
6. Use High-Quality Paint Brushes
Using high-quality brushes when painting your cabinets can make all the difference in how they turn out in terms of both quality and longevity of finish. Investing in good brushes will ensure that you get even coverage of both primer and paint without leaving behind brush marks or streaks in the finish once dried.

7. Protect Your Work Area
Be sure to cover up nearby furniture and floors with plastic sheeting or drop cloths prior to beginning work on painting your cabinets as this will protect them from getting splattered with excess paint or primer during the application process. If you have animals or children in the home, be sure to keep them out of the work area as much as possible to avoid any accidents.
8. Allow Time for Drying
Once you have applied all necessary coats of both primer and paint, allow ample time for drying between each coat as well as when finished so that there are no issues with sticking when opening doors or drawers afterward.
Depending on the climate, humidity of the room, and type of paint used, drying times will vary. Consult with a specialist or check the labels to ensure that you know how long it should take before you can actually use your cabinets once more.
9. Apply Clear Coat Finish
Finally, if desired, apply one final clear coat layer over the entire cabinet surface once all other layers have dried completely. A clear coat finish can help to maintain the look of your cabinets for a longer time and protect them from further discoloration. It will also add extra shine to make the cabinets stand out even more.
Consider a protective topcoat with UV protection to preserve the color over time. Clear coats are easily applied with a foam brush and typically require only one layer, though some may require more. Allow the clear coat to dry for at least 24 hours before using the cabinets in order to ensure that it is completely set and secure.
10. Enjoy Your New Look
Once all steps have been completed correctly, enjoy looking at your newly refreshed cream cabinets which now look less yellow due to efforts taken! A few simple steps and a few materials are all that is needed to make a huge difference. Not only will they look better, but the effort put in and the time taken to clean them up will be greatly satisfying.
Things to Consider When Making Cream Cabinets Look Less Yellow
- Consider the Age: The older your cabinets are, the more yellow they will appear due to wear and tear. If you have newer cabinets, it is easier to make them look less yellow.
- Understand the Color Yellow: To achieve a successful color change, it’s important to understand what you’re starting with. Cream can easily turn yellow if exposed to the sun’s UV rays, so be sure to check for signs of discoloration or fading.
- Consider Painting: If you’re trying to make your cabinets look less yellow, painting is an option that can help you achieve a more neutral tone. Choose a paint color that will contrast with the yellow and cover it up completely.
- Change Up Your Lighting: Lighting can play a big role in how yellow your cabinets appear. If you have bright lights that give off a lot of yellow, try switching to more neutral bulbs or even LED lighting, which can help reduce the yellow hue.
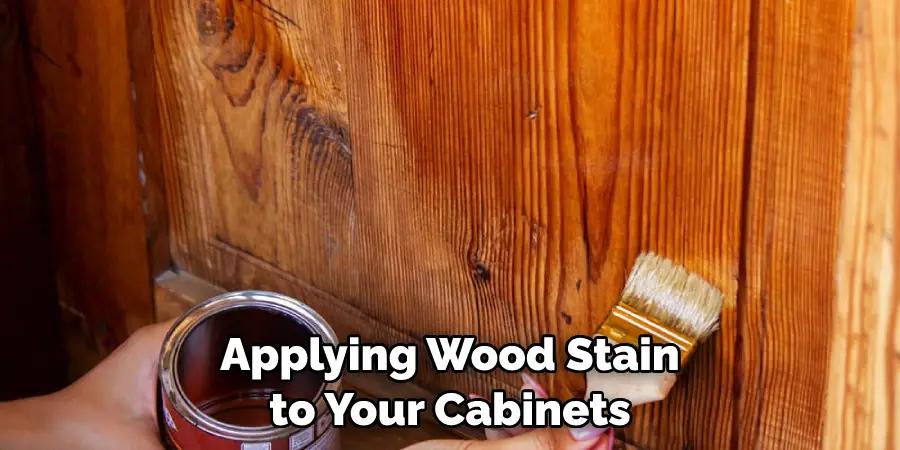
- Consider Wood Stain: Applying wood stain to your cabinets is another way to make them look less yellow and achieve a more natural tone. Select a stain that is darker than the current color and apply it evenly to all surfaces of the cabinets. Allow the stain to dry completely before applying a topcoat of clear sealer or finish.
Some Common Mistakes When Making Cream Cabinets Look Less Yellow
When attempting to make cream cabinets look less yellow, it’s important to avoid some common mistakes. One of the most frequent issues is not properly addressing the underlying cause of the yellowing. This could include anything from aging stains to sun exposure, and should be addressed before attempting a color change.
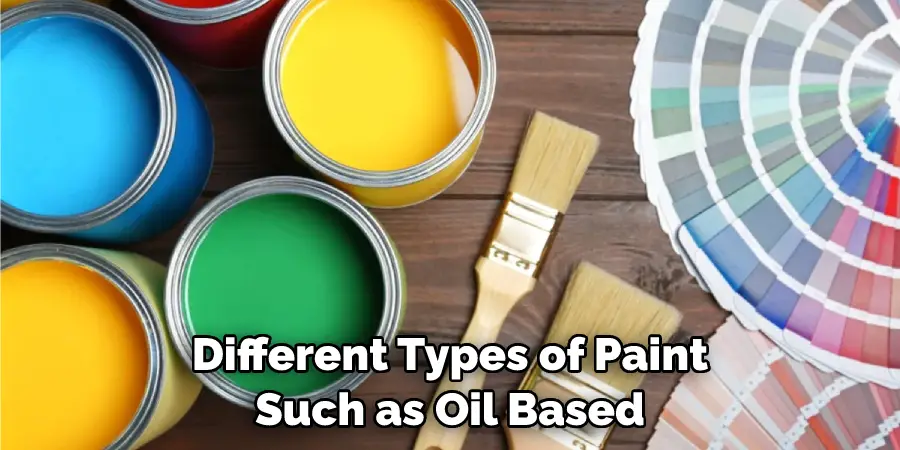
Another mistake that people make is assuming that one type of paint is the best solution. Different types of paint, such as oil-based, latex, and enamel, each have advantages and disadvantages that should be considered when selecting a product to use. Additionally, color choice matters dramatically; too dark or light a shade can make cabinets look drab or cheap.
To ensure an even coating on the cabinets, preparing the surface is a must. This includes sanding and priming the wood, so that no bubbles or other inconsistencies in the finish occur when applying the paint. If this step is skipped, it’s likely to show through after the main color has been applied.
Finally, taking into account the environment that will host the cabinets is also important. For instance, areas with high humidity may require a paint that is more resistant to moisture and other issues that could affect the finish.
Safety Precautions for Making Cream Cabinets Less Yellow
It is important to take the necessary safety precautions when making any changes to your kitchen cabinets. Make sure that you wear protective gloves and clothing while handling any chemicals or cleaning agents, and make sure that the area is well ventilated. Additionally, it is important to use caution when operating power tools such as sanders, polishers or drills.
Wear a dust mask if using any of these tools and always wear safety goggles. Lastly, be sure to keep small children and pets away from the work area while working on your cabinets. Additionally, if you are painting your cabinets, use a low VOC paint and always follow the manufacturer’s instructions on proper usage.
When it comes to making cream cabinets look less yellow, there are several options available. You can either refinish existing cabinets or purchase new ones that have a more neutral color. If you choose to refinish the existing cabinets, you can start by sanding them down using a power sander.
This will help to minimize the yellow tint of the wood and allow you to apply a fresh coat of paint or stain. If you choose to purchase new cabinets, look for neutral colors such as whites, grays, and beiges that will help to tone down any yellowish hue in your kitchen.

Conclusion
All in all, cream cabinets can easily be updated to look brighter, less yellow, and more modern. However, there is no one size fits all. Experimenting with different methods and supplies until you find the right combination that works best for your cabinets is key.
Don’t be intimidated by the painting process; it can be pesky but once you know what you’re doing it won’t seem so daunting.
Furthermore, enlisting a professional or trying out a kitchen cabinet refinishing business might be the solution you never knew you needed. After considering these approaches to how to make cream cabinets look less yellow, you are now equipped with some valuable insights and tips for tackling cream cabinets with confidence!
Professional Focus
Angela Ervin, a former interior designer turned blogger, specializes in kitchen design and renovations. Through her website, she blends her passion for cooking with design expertise, sharing practical and creative ideas. Known for balancing functionality and beauty, Angela’s insightful content has made her a trusted voice in home design and lifestyle.
About the Author
Angela Ervin, an experienced interior designer and blogger, combines her passion for kitchen renovations with storytelling. Living in Petersburg with her family, she enjoys cooking and testing her projects firsthand. Known for her humor and relatable style, Angela shares creative, functional design insights through her content, making her a trusted voice in home design.
Education History
University: Virginia Commonwealth University
Degree: Bachelor of Fine Arts (BFA) in Interior Design
- Angela’s education at VCU focused on mastering core interior design principles, including spatial planning, color theory, materials selection, and sustainable design practices.
- She gained hands-on experience through studio projects and collaborative design exercises, which honed her ability to create functional and aesthetically pleasing environments.
- Her coursework also emphasized problem-solving and practical applications of design, preparing her for real-world projects like her self-directed kitchen renovations.
- The program’s strong foundation in both technical skills and creative expression shaped Angela’s ability to seamlessly integrate form and function in her work.