
Kitchen cabinets can be a great way to add some extra storage to your kitchen, but they can also be a visual focal point in the room. No matter how often you clean your kitchen cabinets, they never seem to look quite as glossy as you want them to. You may have considered painting them, but that seems like a lot of work.

It is important to know how to make kitchen cabinets look glossy. Fortunately, there is an easy solution that will give your cabinets a glossy finish in just minutes: spray paint. Spray paint is affordable, easy to use, and produces great results. In this article, we’ll show you how to achieve a glossy finish with spray paint. Let’s get started!
Tools You Will Need
1. Primer
2. Sandpaper
3. Spray Paint
4. Drop Cloths (optional)
5. A Sprayer or Brush
4 Real Benefits of Making Kitchen Cabinets Look Glossy
1. Makes the Kitchen Look More Appealing
One of the primary benefits of making kitchen cabinets look glossy is that it makes the kitchen look more appealing. A glossy finish on cabinets can help to reflect light, making the space appear brighter and more open. Additionally, a high-gloss finish can give cabinets a modern look that can help to update the overall appearance of the kitchen.
2. Helps to Protect Cabinets from Damage
Another benefit of making kitchen cabinets look glossy is that it helps to protect them from damage. A high-gloss finish can act as a barrier against dirt, dust, and fingerprints, which can all lead to damage over time. Additionally, a glossy finish can help to make cleaning cabinets easier as it will allow dirt and grime to be wiped away more easily.

3. Increases the Value of the Home
Making kitchen cabinets look glossy can also increase the value of the home. A home with updated, well-maintained cabinets is more likely to sell for a higher price than a home with dull or damaged cabinets. If you are planning on selling your home shortly, making your kitchen cabinets look their best is a great way to increase their value.
4. Makes Cabinets More Durable
A high-gloss finish on kitchen cabinets can also make them more durable. This type of finish is more resistant to scratches and scuffs than a matte finish, meaning that your cabinets will retain their like-new appearance for longer. Additionally, a glossy finish is less likely to chip or peel over time, making it a good choice for high-traffic areas such as kitchens.
How to Choose the Right Paint for Your Kitchen Cabinets?
When it comes to painting kitchen cabinets, there are a few things to keep in mind. The most important thing is to choose a paint that is durable and easy to clean. A high-gloss enamel is a good option for cabinet doors, as it can withstand repeated cleaning. For the cabinet boxes, however, a semi-gloss or flat finish is best.
These finishes are less likely to show fingerprints and other smudges. Another thing to consider is the color of the paint. White and light colors are popular choices for kitchen cabinets, as they can help to make the space feel more open and airy. However, dark colors can also be used to create a cozy and intimate atmosphere. Ultimately, the best paint for kitchen cabinets is the one that fits your style and needs.
7 Steps Guide on How to Make Kitchen Cabinets Look Glossy
Step 1: Prepare the Cabinets

The first step in making kitchen cabinets look glossy is to prepare them. Start by using a damp cloth to wipe away any dirt or residue from the surface of the cabinet doors and drawers. Then use sandpaper to smooth out any bumps, dents, or scratches on the surface. Once you have thoroughly cleaned and sanded the cabinets, you are ready to apply primer.
Step 2: Apply Primer
Once the cabinets have been prepared, it’s time to apply primer. This will help create a smooth surface on which the paint can adhere and will also protect the wood from moisture damage. When applying primer, start at the top of each cabinet door and work your way down. Allow the primer to dry and repeat this step on each cabinet door and drawer.
Step 3: Sand Down the Surface Again
kitchens are one of the busiest rooms in our homes. Not only do we prepare meals there, but we also entertain guests and perform many other tasks. As a result, it’s important to have a kitchen that is both functional and inviting. One way to achieve this is by making sure that your kitchen cabinets are in good condition. If your cabinets are starting to look dull, you may be tempted to sand down the surface and varnish them again.

However, this is not always the best solution. Sanding down cabinets can damage the wood and make it more difficult to clean in the future. Instead, try using a high-quality furniture polish to give your cabinets a new lease on life. By taking this simple step, you can make your kitchen look more attractive and keep it functioning smoothly for years to come.
Step 4: Clean the Cabinets
Once you have sanded down the cabinets, it’s time to clean them again. Use a damp cloth or vacuum to make sure all dust has been removed from the surface. This is an important step in ensuring that your paint job will turn out the way you want it to. If you don’t clean properly, it can cause lots of issues. It can increase your expenses. So, make sure to clean that.
Step 5: Apply Drop Cloths
Applying a fresh coat of paint to your kitchen cabinets can brighten up the whole room. But before you start painting, it’s important to protect your countertops, floors, and walls from paint drips and spills. One way to do this is to use drop cloths. Drop cloths are available in a variety of materials, including plastic, tarpaulin, and canvas.
They come in various sizes, so you can choose one that covers the entire surface of your countertop or floor. When selecting a drop cloth, make sure to choose one that is durable and easy to clean. Once you’ve chosen the right drop cloth, be sure to smooth it out so there are no wrinkles or creases. This will help ensure an even finish for your cabinets. With a little preparation, you can easily give your kitchen cabinets a fresh, glossy look.
Step 6: Apply Paint
Now it’s time to start painting. Use a paintbrush or roller to apply the paint in even strokes, starting at the top of each cabinet door and working your way down. Allow the first coat to dry before applying a second coat if needed. You should maintain a wet edge while painting to ensure a smooth, even finish. There are many types of paints available, including acrylic, latex, and oil-based. Choose the paint that best suits your kitchen cabinets and make sure to follow the manufacturer’s instructions when prepping it.
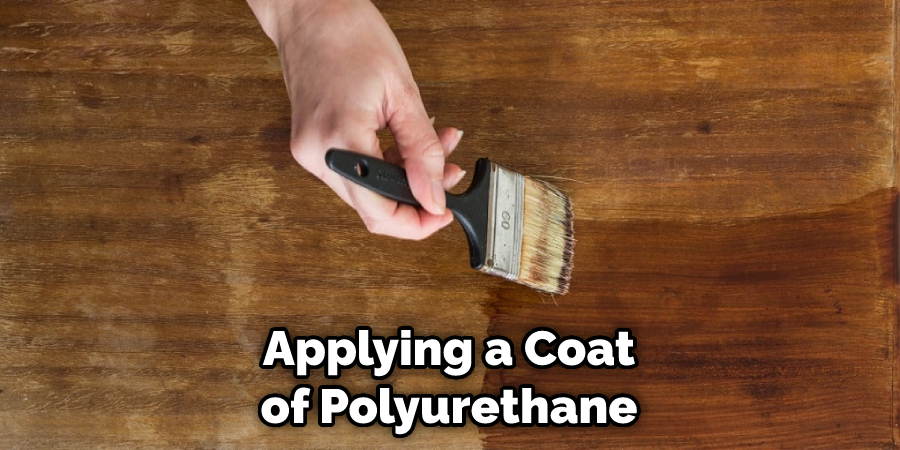
Step 7: Apply Polyurethane
After allowing the paint to dry, you may want to consider applying a coat of polyurethane. This will help to protect the surface and add an extra layer of shine. When applying polyurethane, start at the top and work your way down each cabinet door, making sure that you don’t miss any areas.
Enjoy your new look. Once you have finished painting and applying polyurethane, it’s time to enjoy the new look of your kitchen cabinets. With the right technique and materials, making kitchen cabinets look glossy can be a rewarding experience that will give your home an updated and polished appearance. Enjoy!
Frequently Asked Questions
How to Apply Polyurethane to Kitchen Cabinets?
Polyurethane is a type of finish that is used to protect the wood from scratches, stains, and water damage. When applied properly, it can give kitchen cabinets a glossy, protective coating that will last for years. However, polyurethane can be tricky to apply, and it is important to take care to avoid creating a tacky or uneven finish.
The first step is to sand the cabinets using fine-grit sandpaper. Next, wipe away any dust with a tack cloth or damp rag. Once the surface is clean and dry, apply a thin coat of polyurethane using a brush or roller designed for use with this product. Be sure to work in small sections and overlap each stroke to avoid leaving any bare spots. After the first coat has dried, apply a second coat using the same technique. Once the final coat has dried, you can enjoy your newly protected kitchen cabinets.
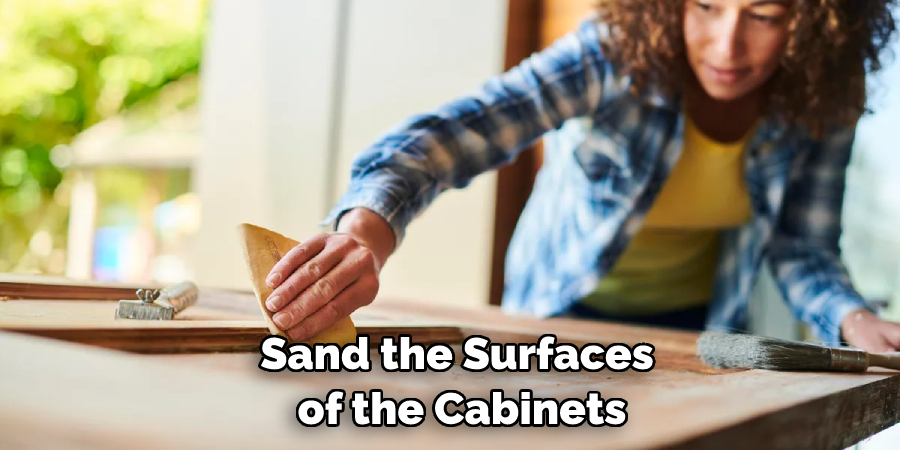
How to Get a Smooth, Even Finish on Your Cabinets?
The key to getting a smooth, even finish on your cabinets is all in the prep work. Before you start painting, sand the surfaces of the cabinets with fine-grit sandpaper to create a smooth base. If the cabinets are made of wood, be sure to wipe away any dust with a damp cloth before painting.
Next, apply a primer to help the paint adhere better and cover any blemishes on the surface. Once the primer is dry, begin painting with a brush or roller, working in small sections, and using even strokes. For best results, wait for each coat of paint to dry completely before adding the next. With a little patience and attention to detail, you can achieve a professional-looking finish on your cabinets.
Conclusion
Achieving a glossy finish for your kitchen cabinets is not as difficult as it may seem. You should carefully determine how to make kitchen cabinets look glossy. With the right tools and techniques, you can achieve this look in no time. By following the steps outlined in this blog post, you will be on your way to having beautiful, glossy kitchen cabinets that will make your kitchen look amazing.
Making your kitchen cabinets look glossy is a great way to add value to your home. There are a few different ways that you can make them look glossy, but the best way is to use high-quality paint. If you want to get the most value for your money, then you should invest in high-quality paint. Thanks for reading!
