


How to remove oven shelf supports might seem like a daunting task, but it’s a necessary step for deep cleaning or replacing these components due to wear and tear. Over time, oven shelf supports can accumulate grime, grease, and food particles, which can affect your oven’s performance and cleanliness.
This guide aims to provide a straightforward method for safely and effectively removing these supports, ensuring your oven remains a clean and efficient appliance in your kitchen. Whether you’re undertaking a thorough cleaning project or need to replace damaged shelf supports, follow these steps to ensure the process is smooth and hassle-free.
What is an Oven Shelf Support?
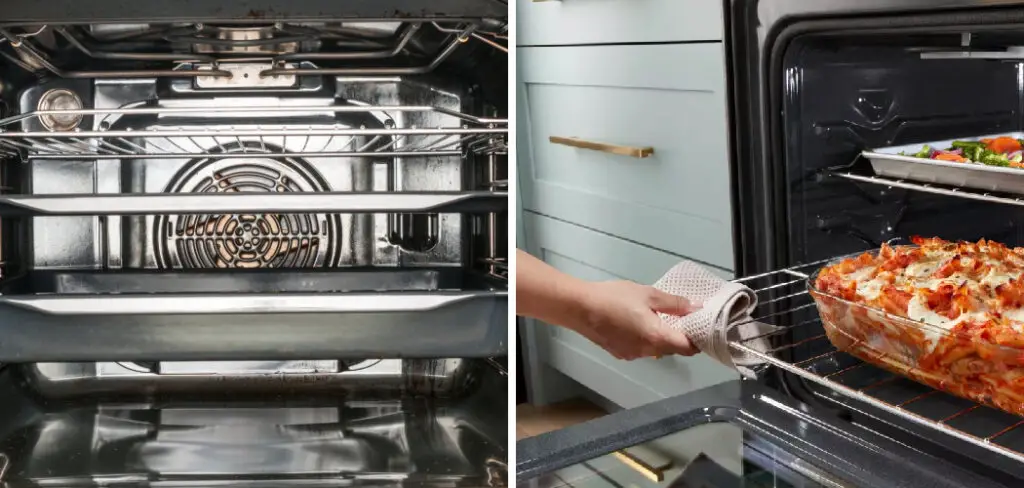
Before delving into the removal process, it’s essential to understand what an oven shelf support is and its purpose. An oven shelf support, also known as a rack support or shelf bracket, is a metal device that holds the shelves in place inside your oven.
These supports are usually located on the sides of the oven walls and provide stability for the shelves, allowing you to cook multiple dishes at once without worrying about them tipping over.
Over time, these supports can become loose or damaged, affecting the stability of your oven shelves and potentially causing accidents. Therefore, it’s vital to regularly inspect and maintain these components to ensure safe and efficient use of your oven.
The process of removing oven shelf supports may vary depending on the type and model of your oven, but the basic steps remain the same. Let’s take a look at how you can safely remove these supports without damaging your oven or injuring yourself.
Why Should You Remove Oven Shelf Supports?
As mentioned earlier, removing oven shelf supports is necessary for cleaning and maintenance purposes. Over time, these supports can accumulate grease, food particles, and other grime that can affect the performance of your oven.
By removing them and thoroughly cleaning them, you can ensure your oven remains in top condition.
Additionally, if any of the shelf supports are damaged or broken, removing them is necessary for replacing with new ones. Continuing to use a damaged support can result in further damage to your oven and pose a safety hazard.
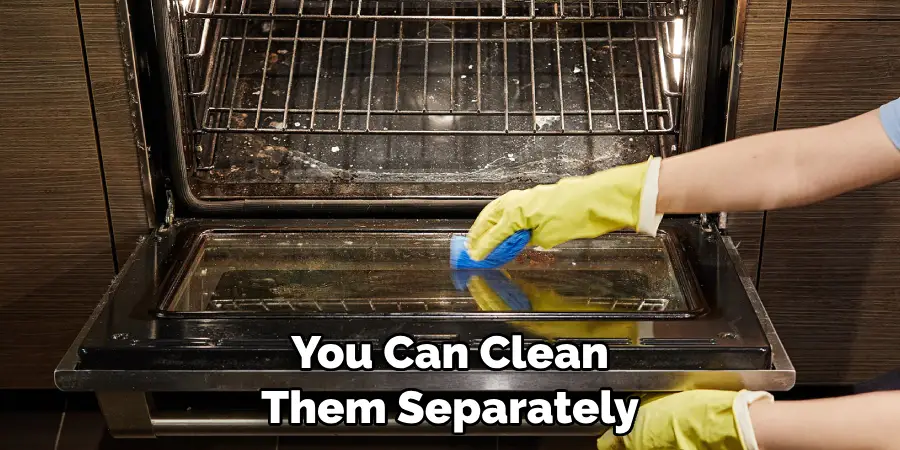
You may also need to remove the oven shelf supports if you’re deep cleaning your oven and need to access hard-to-reach areas. By removing these supports, you can clean them separately and ensure no leftover food or grime affects their functionality.
11 Step-by-step Guidelines on How to Remove Oven Shelf Supports
Step 1: Preparing Your Oven
Before starting the removal process, it’s crucial to ensure your oven is turned off and completely cooled down. This will prevent any accidental burns or injuries during the process.
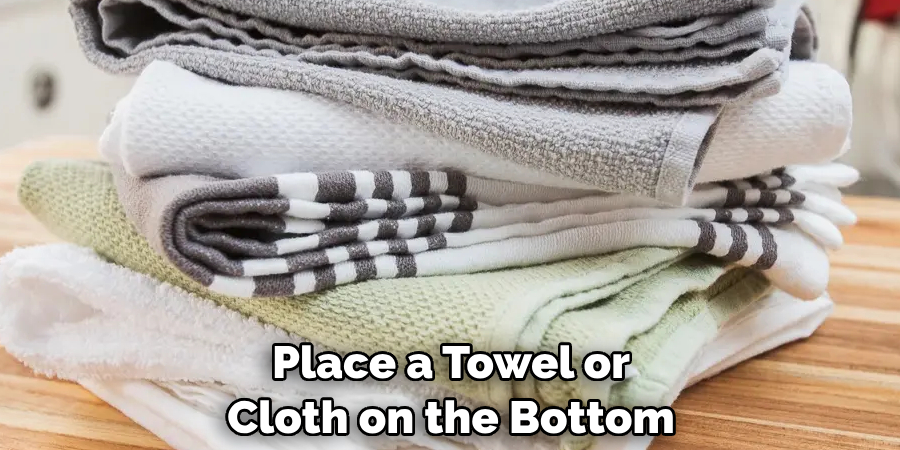
You may also want to remove any items on the oven shelves to make it easier to access the shelf supports. The last thing you want is for something to fall or spill while you’re handling the supports. You can also place a towel or cloth on the bottom of your oven to catch any debris that may fall during the removal process.
Step 2: Locate the Shelf Supports
The shelf supports are usually located on the sides of your oven walls, near the top. They are typically attached to small tabs or hooks and may have a plastic end cap covering them.
But, depending on your oven model, they may also be located near the bottom of the oven. It’s essential to identify where the supports are located before proceeding with the removal process. The exact location may also vary depending on the type of oven you have.
Step 3: Remove End Caps (If Present)
If your oven shelf supports have plastic end caps covering them, use a flathead screwdriver to gently pry the caps off. Be careful not to damage the end caps, as you may need to put them back on later. But, if you do happen to damage them, these end caps are easily replaceable and can be purchased at most appliance stores.
The end caps are usually attached to the support with small clips, so be sure to keep them in a safe place while you’re working. It’s recommended to remove both end caps before proceeding with the next steps.
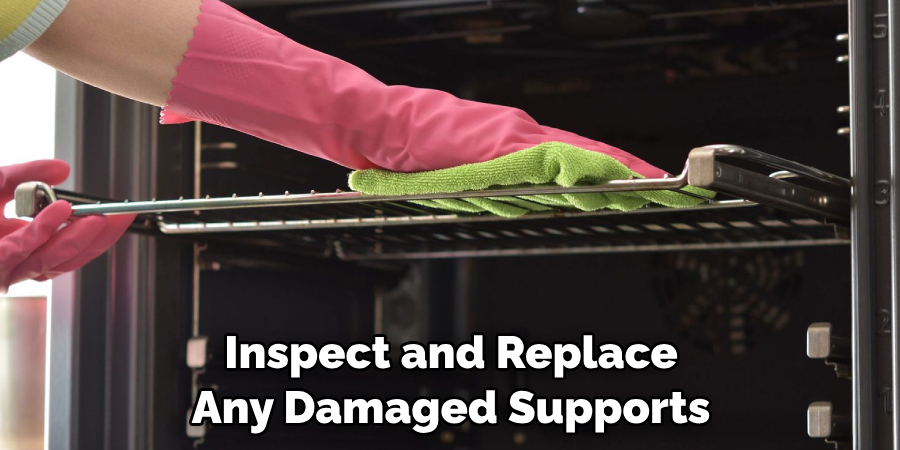
Step 4: Inspect the Supports
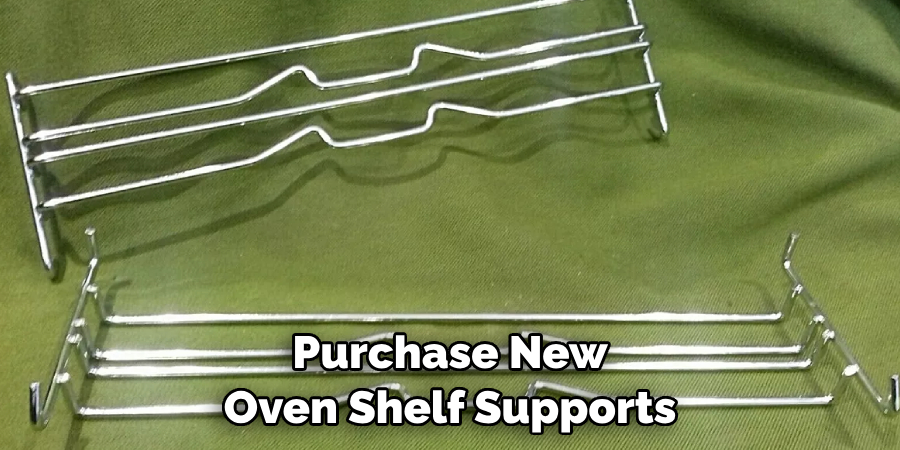
Before removing the supports, take a moment to inspect them for any visible damages or defects. This is especially important if you’re planning on reusing them after cleaning. If any of the supports are damaged or broken, it’s best to replace them with new ones.
You can purchase new oven shelf supports from most appliance stores or online retailers. It’s crucial to use the correct size and type of support for your oven model. Thrift stores and secondhand shops may also have compatible supports for a lower price. It’s best to have the new supports ready before proceeding with the next steps.
Step 5: Release the Supports
Most oven shelf supports are released by lifting them slightly and then pulling them towards you. Some models may require you to push them in a specific direction before they release.
Refer to your oven’s user manual if you’re unsure about how to release the supports on your specific model. The supports may also have a locking mechanism that you’ll need to disengage before they can be removed.
Step 6: Pull the Supports Out
Once the supports are released, gently pull them out of their slots in the oven walls. You may need to wiggle them back and forth a bit to remove any buildup or debris that may be holding them in place. Be gentle with the supports to avoid bending or damaging them.
But, if they are damaged or broken, you can remove them with more force. If you’re struggling to remove them, refer back to your oven’s user manual for further instructions. The supports may also be stuck due to old grease or grime buildup, in which case you’ll need to thoroughly clean them before they can be removed.
Step 7: Remove the Bottom Supports (If Present)
If your oven has bottom shelf supports, the process for removing them will be slightly different. These supports may require you to lift and pull them in a specific direction to release them from their clips.
Refer to your oven’s manual for the proper instructions. Once released, carefully remove them from the oven walls. You may also need to remove the oven bottom panel to access these supports.
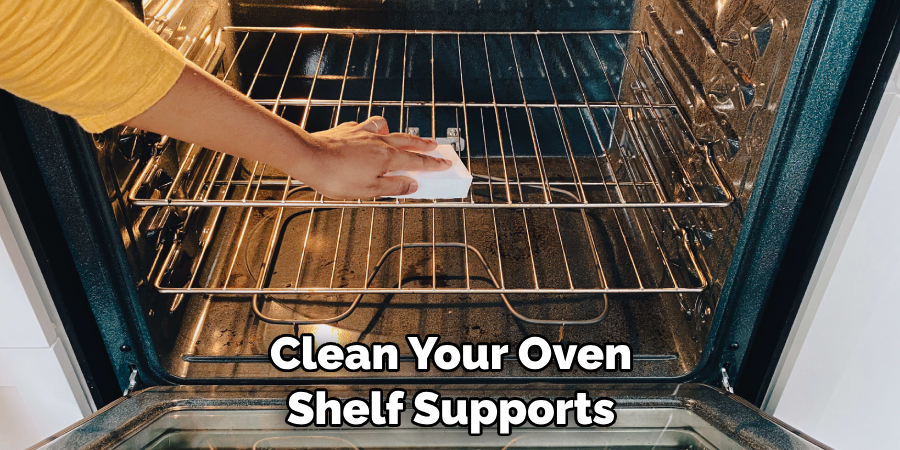
Step 8: Clean the Supports
Before returning the supports, it’s essential to clean them thoroughly to remove any built-up grime, grease, or food particles. You can use warm soapy water and a scrub brush to clean the supports. For tougher buildup, you can also use a degreaser or baking soda paste.
Be sure to rinse off all cleaning products and dry the supports completely before returning them to your oven. But, if the supports are damaged or broken, it’s best to replace them with new ones instead of cleaning and reusing.
Step 9: Clean the Oven Walls
While the supports are removed, take this opportunity to clean and wipe down the oven walls. You can use the same warm soapy water or degreaser solution as you used for the supports.
Be sure to get into all the hard-to-reach areas and corners of your oven. You may also want to place a towel or cloth on the bottom of your oven to catch any debris or water that may fall during the cleaning process.
Step 10: Return the Supports
Once the supports are clean and dry, carefully slide them back into their slots on the oven walls. Make sure they are properly aligned and seated in their clips. If your supports have a locking mechanism, be sure to engage it before letting go of the support.
Repeat the process with all the removed supports, including the bottom ones if present. Once all the supports are back in place, you can also return any plastic end caps that you removed earlier.
Step 11: Return Oven Shelves
Before turning your oven back on and using it, make sure to return any shelves or items that were removed before starting the removal process. Double-check that everything is aligned and securely in place.
Once you’ve completed these steps, your oven should be ready for use again. Remember to regularly clean and maintain your oven shelf supports to prevent any future buildup or damage. With proper care, your oven will continue to function efficiently for years to come!
Following these steps on how to remove oven shelf supports will not only help to keep your oven clean and functioning properly, but it can also prevent potential hazards such as ovens shelves collapsing or causing damage to your food. Regular maintenance of your oven shelf supports is essential for ensuring the longevity and safety of your oven.
Do You Need to Take Help From Professionals?
If you’re unsure about how to remove your oven shelf supports, or if you encounter any difficulties during the process, it’s always best to seek help from a professional. They have the necessary knowledge and experience to safely and effectively remove stubborn or damaged supports without causing harm to your oven.
Additionally, a professional can also inspect and replace any damaged supports or make recommendations for future maintenance. Don’t hesitate to seek professional help if you’re unsure or uncomfortable with the removal process. So, it’s always better to be safe than sorry when it comes to handling your oven and its components.
How Much Will It Cost?
The cost of removing oven shelf supports can vary depending on your location, the type and brand of your oven, and whether or not you need to purchase new supports.
On average, it can cost anywhere from $50 to $200 for professional support removal services. Purchasing new supports will also add to the overall cost, which can range from $10 to $30 per support. However, the cost of professional help and new supports can save you from potential damages or hazards in the future, making it a worthwhile investment.
You can also save some money by removing the supports yourself, but make sure to follow the proper steps and take precautions to avoid any accidents. And remember to regularly clean and maintain your oven shelf supports to prevent buildup and damage in the future, potentially saving you from costly repairs or replacements.
It’s also worth noting that some oven manufacturers offer warranties or service plans that cover maintenance and repairs, including support removal. So, if you have one for your oven, be sure to check the details of your warranty or plan before attempting to remove the supports yourself or hiring a professional. Taking advantage of these services can save you money in the long run.
Cleaning and Maintenance
Cleaning and maintaining your oven shelf supports should be done regularly to prevent any buildup or damage. Here are some tips for keeping them clean:
- Wipe down the supports with warm soapy water after each use.
- Use a degreaser or baking soda paste for tougher buildup.
- Avoid using abrasive materials, as they can scratch and damage the supports.
- Check and replace any damaged or broken supports as needed.
- Inspect the supports before and after each cleaning for any visible damages or defects.
- Use a soft cloth to dry the supports after cleaning or allow them to air dry completely before returning them to your oven.
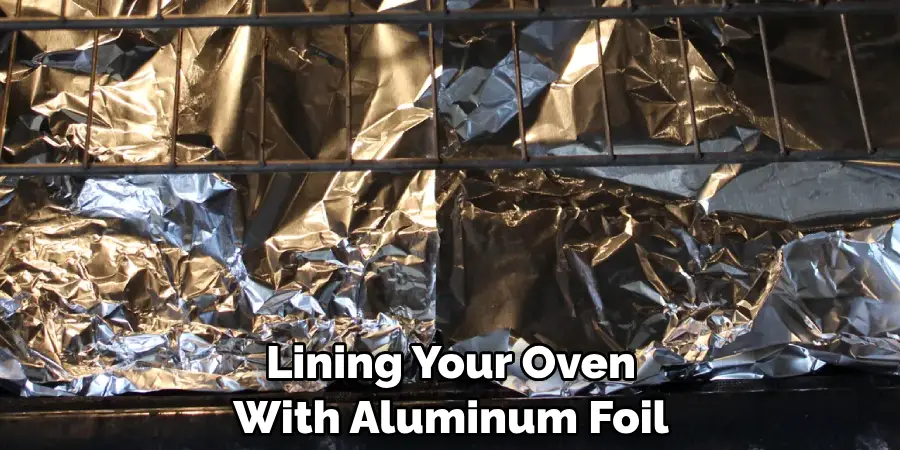
- Consider lining your oven with aluminum foil or a drip tray to catch any spills and prevent them from accumulating on the supports.
By regularly cleaning and maintaining your oven shelf supports, you can improve their lifespan and keep your oven functioning at its best.
Additionally, it’s essential to check your oven’s user manual for any specific instructions or recommendations on how to care for and maintain your specific model. So, make sure to include this task in your regular kitchen cleaning routine to ensure a safe and efficient cooking experience every time!
Troubleshooting and Seeking Professional Assistance
If you encounter any difficulties or damages while removing, cleaning, or returning your oven shelf supports, it’s crucial to seek professional assistance. Do not attempt to force or use excessive pressure on the supports if they are stuck or damaged. This can cause further damage and potentially harm yourself or your oven.
Also, be sure to check your oven’s warranty for any coverage on repairs or replacements. By seeking professional help, you can ensure the safe and proper maintenance of your oven shelf supports without any risks or damages.
With these steps and tips in mind, you can now confidently remove, clean, and maintain your oven shelf supports on your own. Enjoy cooking with a clean and functional oven for all your delicious meals! Happy cleaning!
Frequently Asked Questions
Q: How Often Should I Clean My Oven Shelf Supports?
A: It’s recommended to clean your oven shelf supports after each use and perform a thorough cleaning at least once a month. However, the frequency may vary depending on how often you use your oven and the type of food you cook.
You may need to clean them more frequently if you notice excessive buildup or spills. It’s also a good idea to inspect and clean the supports before and after each use, especially if you frequently cook greasy or messy foods.
Q: Can I Use Oven Cleaner on My Shelf Supports?
A: It’s best to avoid using oven cleaner on your shelf supports as it can be too harsh and damage the metal. Instead, opt for warm soapy water or a degreaser solution.
If you do decide to use oven cleaner, be sure to thoroughly rinse off the supports and dry them before returning them to your oven. The chemicals in oven cleaner can be toxic if ingested, so handle with caution and keep out of reach of children.
Q: Can I Put My Oven Shelf Supports in the Dishwasher?
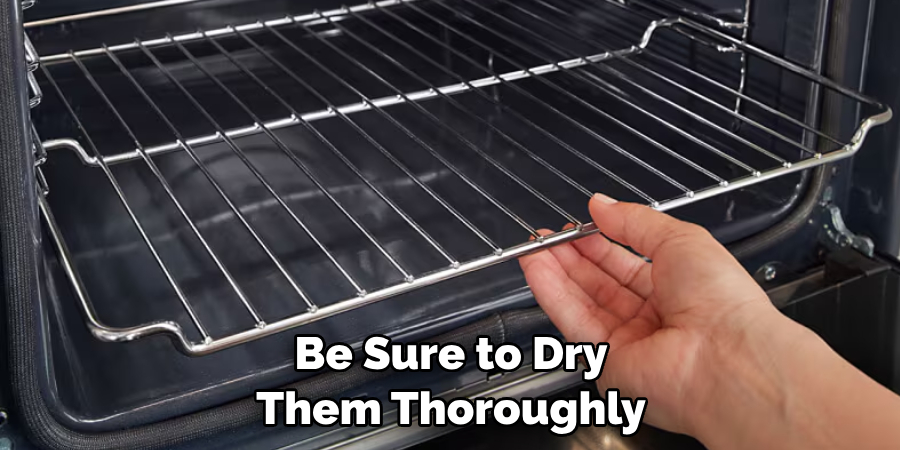
A: While some oven shelf supports may be dishwasher safe, it’s not recommended as the high heat and water pressure can cause them to become damaged or misshapen. It’s best to stick with hand washing them with warm soapy water or a degreaser solution.
Be sure to dry them thoroughly before returning them to your oven. The high heat from your oven can also cause any remaining water to evaporate and create steam, which can damage the supports.
Q: What Should I Do if My Oven Shelf Supports Are Damaged?
A: If you notice any damages, cracks, or bends on your oven shelf supports, it’s best to replace them as soon as possible. Damaged supports can not only affect the performance of your oven but also pose potential safety hazards.
Contact a professional technician for assistance with replacing damaged supports or check your warranty for coverage on replacements. Do not attempt to use damaged supports, and always prioritize your safety by seeking professional help.
Professional Focus
Angela Ervin, a former interior designer turned blogger, specializes in kitchen design and renovations. Through her website, she blends her passion for cooking with design expertise, sharing practical and creative ideas. Known for balancing functionality and beauty, Angela’s insightful content has made her a trusted voice in home design and lifestyle.
About the Author
Angela Ervin, an experienced interior designer and blogger, combines her passion for kitchen renovations with storytelling. Living in Petersburg with her family, she enjoys cooking and testing her projects firsthand. Known for her humor and relatable style, Angela shares creative, functional design insights through her content, making her a trusted voice in home design.
Education History
University: Virginia Commonwealth University
Degree: Bachelor of Fine Arts (BFA) in Interior Design
- Angela’s education at VCU focused on mastering core interior design principles, including spatial planning, color theory, materials selection, and sustainable design practices.
- She gained hands-on experience through studio projects and collaborative design exercises, which honed her ability to create functional and aesthetically pleasing environments.
- Her coursework also emphasized problem-solving and practical applications of design, preparing her for real-world projects like her self-directed kitchen renovations.
- The program’s strong foundation in both technical skills and creative expression shaped Angela’s ability to seamlessly integrate form and function in her work.