
Are you looking to remove and replace an old, worn-out screen from your grinder? With the right tools and a bit of know-how, this seemingly daunting task can become much easier. In this blog post, we’ll walk you through the process of removing a screen from your grinder step-by-step. We’ll also give some helpful tips on how best to ensure that the new screen is well-secured in place for optimal usage. So if you’re ready to ditch your worn-out grinder part, let’s get started!
If you want to get the most out of your grinder, it’s essential that you know how to remove and replace its screen. This often-overlooked maintenance task is integral in keeping your grinder running efficiently. Following a few simple steps can help keep things clean while ensuring safety throughout the process. Here, we’ll discuss exactly how to remove screen from grinder and provide tips for replacing it with ease. So read on to ensure your machine stays running smoothly!
Why You May Need to Remove Screen From Grinder?
There are many reasons why you may need to remove screen from your grinder. Such as:
1. To Clean and Maintain
One of the main reasons why you may need to remove the screen from your grinder is to clean and maintain it properly. This involves removing the screen, cleaning it thoroughly with a damp sponge or cloth, and then allowing it to dry completely before reassembling the grinder.
2. To Replace
In some cases, you may also need to remove the screen from your grinder in order to replace it. This can happen if the screen becomes damaged or worn out over time, or if there is a build-up of residue that prevents it from functioning properly.
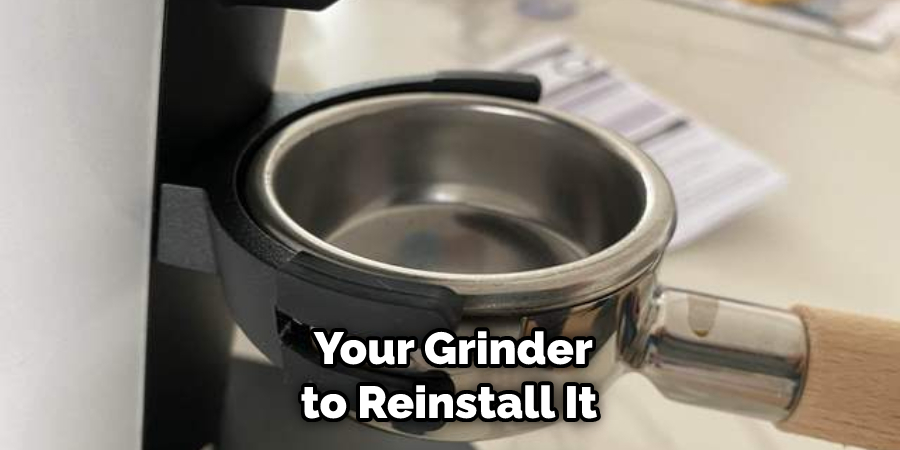
3. To Reinstall
In some cases, you may also need to remove the screen from your grinder to reinstall it. This may be necessary if you are replacing a worn-out screen with one of a different size or material. So if you want to remove the screen from the grinder, make sure you have the right replacements.
How to Remove Screen From Grinder in 6 Easy Steps
Step 1: Locate the Screen Grinder
The very first step is to locate the screen grinder itself. This part can typically be found at the bottom of your grinder and may be secured with a screw or bolt. Also, make sure that you have the right type of grinder for this task – some grinders may not feature a removable screen.
Step 2: Remove the Screw or Bolt
Once you have located the screen grinder, carefully remove any screws or bolts that are securing it in place. Be sure to keep track of these parts, as you will need to replace them later on.
Step 3: Unscrew the Screen from Grinder Body
Using a screwdriver or other tool that is appropriate for this task, carefully unscrew the screen from the grinder body. This can typically be done by twisting it back and forth gently until it comes free.
Step 4: Clean the Grinder Screen
Now that the screen has been removed, it’s time to give it a thorough cleaning. Use a soft cloth or brush to remove any residue or buildup from the surface of the screen. You may also want to consider using some kind of cleaning solution or solvent for this step as well.
Step 5: Reinsert the Screen and Secure
Once your screen is clean and completely dry, carefully position it back into place within the grinder body. Make sure that it has been properly aligned and secured with any necessary screws or bolts.
Step 6: Test Out Your Grinder
Before you use your grinder again, take a moment to give it a test run. Run a small amount of material through it to make sure that the screen is working correctly and does not have any noticeable holes or cracks.

Some Additional Tips And Tricks to Remove Screen From Grinder
1. Do Not Force
One of the most important things to remember when trying to remove a screen from your grinder is not to force anything. If you try to forcefully pull or push it out, you risk damaging the screen and potentially other components as well.
2. Use a Tool
To avoid stressing the screen and putting unnecessary pressure on it, many people recommend using a small tool to gently pry the screen out of the grinder. This can include anything from a flathead screwdriver to a thin kitchen utensil, such as a knife or fork.
3. Use Warm Water
Some people also recommend using warm water to loosen up any stuck bits that may be preventing you from removing the screen from your grinder. Simply soak the screen in warm water for a few minutes, and then try to gently remove it using the tools mentioned above.
4. Check for Damage
Before you reassemble your grinder, it’s also important to take a few moments to inspect the screen for any damage or possible tears that might have occurred during removal. If you notice any issues, you can replace the screen or potentially try to fix it if you have the skills and tools available.
Overall, removing a screen from your grinder is a relatively straightforward process that should only take a few minutes at most. By following these tips and using care and patience throughout the process, you can successfully remove the screen from your grinder and get it back up and running in no time.

Frequently Asked Questions
How Much Does It Cost to Remove a Screen From a Grinder?
There is no set cost for removing a screen from a grinder, as the total price will depend on several factors. Some of the key considerations include the size and type of grinder you have, as well as the complexity of the removal process. Additionally, labor costs may be involved, depending on the expertise of the technician who performs the work.
When trying to estimate the cost of removing a screen from a grinder, it is important to consider all of these factors. Some options for seeking out estimates include contacting local repair shops or checking online pricing guides. You may also want to ask around and get recommendations from other homeowners who have had a similar project done in the past.
Can I Do It Myself, or Should I Hire a Professional?
While it is possible to remove a screen from a grinder on your own, this may be a fairly complex process and may require specialized tools or expertise. As such, many homeowners choose to hire a professional to handle the work. If you decide to take on this task yourself, it is important to carefully read the manufacturer’s instructions and to be prepared for any potential complications that may arise.
What Are Some of the Potential Complications?
Some of the potential complications that may arise when removing a screen from a grinder include damage to the machine or injury to yourself. Additionally, you may encounter problems with reassembly if you do not have all of the necessary tools or expertise. To minimize these risks, it is important to carefully follow any instructions from the manufacturer and to only attempt this process if you feel comfortable and confident in your abilities.

Conclusion
In order to remove the screen from your grinder, you will need a few supplies. You will need a pair of pliers, a Phillips head screwdriver, and a flathead screwdriver. With these tools, you should be able to easily remove the screen from your grinder. Be sure to unplug your grinder before beginning this process.
There you have it – a complete guide on how to remove screen from grinder so you can get back to enjoying your smoking experience. Be sure to clean the screen regularly to avoid build-up and always handle with care to prolong its lifespan. Thanks for reading!