


When it comes to home improvement projects, replacing the floor under kitchen cabinets may not be at the top of your list. However, neglecting this task can lead to serious issues in the long run. Damaged floors can affect the overall aesthetic of your kitchen, compromise the structural integrity of your cabinets, and even create safety hazards.
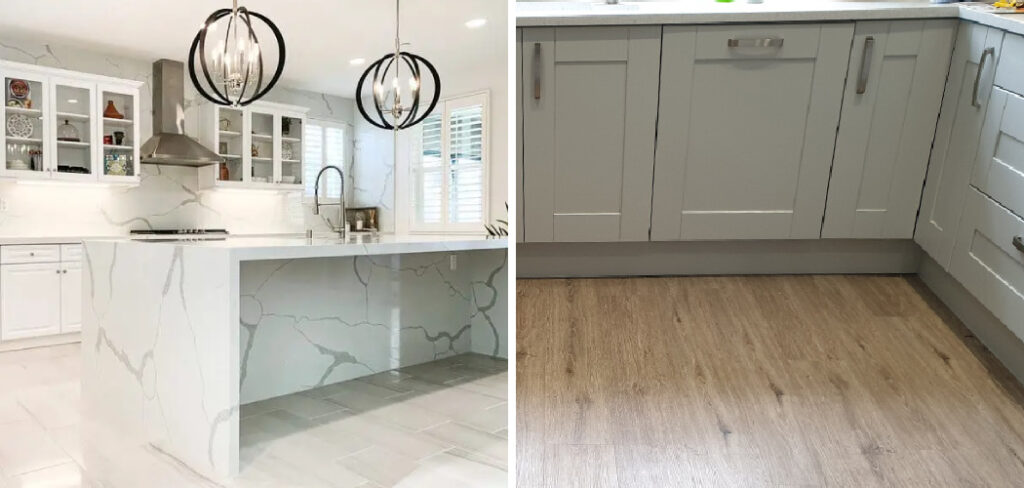
Replacing the floor under kitchen cabinets can be daunting, but with the right tools and techniques, it can be done easily. This guide provides step-by-step instructions on how to replace floor under kitchen cabinets.
Materials Needed
In addition to the tools, you will also need the following materials:
- New flooring material (such as hardwood, laminate, or vinyl)
- Underlayment (if applicable)
- Adhesive (if using tile flooring)
- Pry bar
- Hammer
- Circular saw
- Chisel
- Utility knife
- Measuring tape
- Safety glasses and gloves
12 Steps on How to Replace Floor Under Kitchen Cabinets
Step 1: Prepare the Area
Before diving into the project, it is important to prepare the area properly. This means removing all furniture and appliances from the kitchen, including the cabinets, if possible. It is also recommended that any exposed pipes or electrical wires be covered with protective material.
Step 2: Determine Type of Flooring
The first step in replacing the floor under kitchen cabinets is determining what type of flooring you want to install. This will depend on your personal preference, budget, and the existing flooring in your kitchen.
Step 3: Measure and Purchase Material
Measure the area where the new floor will be installed and purchase enough material to cover it. It is always a good idea to purchase a little extra material in case of mistakes or future repairs.
Step 4: Remove Existing Floor
Using the pry bar and hammer, carefully remove the existing flooring from under the cabinets. Be sure to wear safety glasses and gloves during this step.

Step 5: Cut Subfloor
Using a circular saw, cut along the edges of the cabinets to separate them from the subfloor. This will allow you to remove the old floor without damaging the cabinets.
Step 6: Remove Subfloor
Carefully remove the subfloor by prying it up with a pry bar. Dispose of any damaged or rotten pieces.
Step 7: Install Underlayment (if applicable)
If you are installing laminate or hardwood flooring, it is recommended to install an underlayment for added cushioning and soundproofing.
Step 8: Prepare Subfloor
Inspect the subfloor for any nails or screws that may be sticking out and remove them. Also, fill in any gaps or holes with wood filler and sand down any uneven areas.
Step 9: Lay New Flooring
Follow the manufacturer’s instructions to lay the new flooring material. Be sure to leave a small gap around the edges to allow for expansion.
Step 10: Adhere Tile Flooring (if applicable)
If you are installing tile flooring, use adhesive to secure the tiles. Follow the manufacturer’s instructions, and be sure to work in small sections at a time.
Step 11: Let Flooring Set
Allow the flooring material to be set according to the manufacturer’s instructions before moving on to the next step. This may take a few hours or even a day, depending on the type of flooring.
Step 12: Reinstall Cabinets
Once the new floor is set, it’s time to reinstall the cabinets. Carefully lift and place them onto the new floor, making sure they are level and secure.
Replacing the floor under kitchen cabinets may seem like a daunting task, but with the right tools and techniques, it can be done easily.
By following these 12 steps, you can give your kitchen a fresh new look while ensuring its structural integrity for years to come. Remember to take your time and follow safety precautions throughout the process.

9 Safety Measures to Keep in Mind
1) Wear Protective Gear
Always wear safety glasses and gloves when working with tools or materials. If you are using chemicals or adhesives, be sure to wear a mask.
2) Use Tools Properly
Familiarize yourself with the proper use of tools before starting the project. This will prevent accidents and ensure efficient work.
3) Keep the Work Area Clean
A clean work area reduces the risk of slips, trips, and falls. Be sure to clean up after each step and dispose of any debris properly.
4) Work in a Well-Ventilated Area
If using adhesives or chemicals, work in a well-ventilated area to avoid inhaling fumes. So, open windows and use fans to ensure proper ventilation.
5) Use Caution When Lifting Heavy Objects
Ask for assistance when lifting heavy objects, such as cabinets or flooring material. Improper lifting can result in back injuries.
6) Take Breaks
Take breaks throughout the project to avoid fatigue. This will help you stay focused and alert during the process.
7) Follow the Manufacturer’s Instructions
Always read and follow the manufacturer’s instructions when working with tools or materials. This will ensure safe and effective use.
8) Double Check Measurements
Measure twice and cut once. Double-checking measurements can prevent costly mistakes and ensure a precise fit.
9) Consult a Professional if Needed
If you are unsure about any step in the process or encounter unexpected issues, do not hesitate to consult a professional for advice. It is better to seek help than risk causing damage or injury.
By following these safety measures on how to replace floor under kitchen cabinets, you can ensure a safe and successful floor replacement project in your kitchen. Remember that safety should always be a top priority when working on any home improvement project.

8 Things to Avoid During Floor Replacement
1) Cutting Corners
Skipping important steps or using shortcuts can result in subpar work and potential safety hazards. It’s best to follow the proper procedures for optimal results.
2) Rushing Through the Project
Take your time when working on a floor replacement project. Rushing can lead to mistakes and accidents, making the overall process longer and more costly.
3) Using Old or Damaged Materials
It may be tempting to use old materials to save money, but this can compromise the durability and longevity of your new floor. It’s best to invest in quality materials for a long-lasting result.
4) Ignoring Safety Precautions
As mentioned earlier, safety should always be a top priority. Do not cut corners when it comes to safety measures, as it can result in serious injuries.
5) Not Preparing the Subfloor Properly
The subfloor is the foundation of your new flooring, and if it’s not prepared properly, it can lead to issues such as unevenness and squeaking. Take the time to prepare the subfloor before laying the new flooring.
6) Overlooking Expansion Gaps
Expansion gaps allow for the natural movement of flooring materials and prevent buckling or warping. Not leaving enough space around the edges can result in costly repairs down the line.
7) Failing to Assess Water Damage
If your old floor showed signs of water damage, it’s important to assess and address the root cause before installing a new floor. Otherwise, the same issue may occur again.
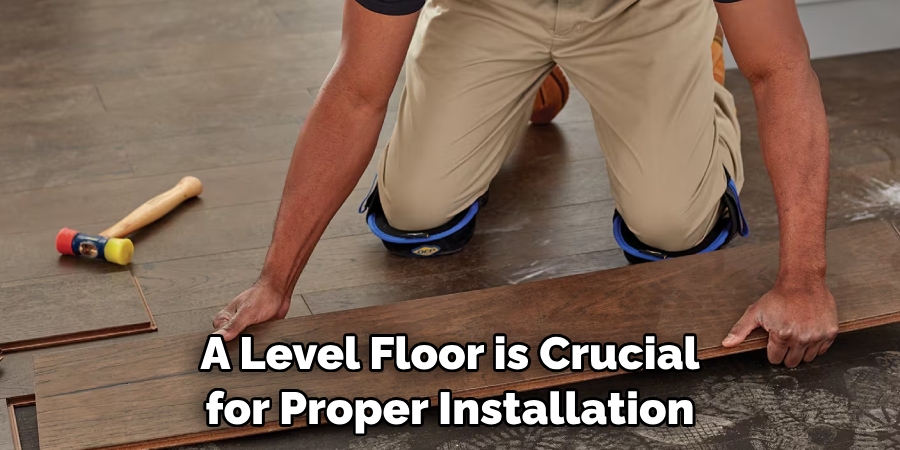
8) Neglecting to Check for Levelness
A level floor is crucial for proper installation of cabinets and appliances. Be sure to check for levelness before and after installing the new flooring material.
By avoiding these common mistakes, you can ensure a smooth and successful floor replacement project in your kitchen. Remember to take your time, follow safety measures, and seek professional help if needed.
8 Additional Tips for a Successful Floor Replacement
1) Plan Ahead
Create a detailed plan before starting the project, including budget, timeline, and materials needed. This will help you stay organized and on track throughout the process.
2) Remove Cabinet Doors
Removing cabinet doors can make it easier to work around them and prevent any damage during the process.
3) Label Cabinet Parts
If you do decide to remove cabinet doors, be sure to label the parts so you can easily reinstall them in the correct positions.
4) Choose Durable Flooring Materials
Consider durable options such as tile or hardwood for high-traffic areas like the kitchen. This will ensure longevity and save you from having to replace the floor again in the near future.
5) Allocate Extra Time for Unexpected Issues
It’s always best to give yourself extra time in case you encounter any unexpected issues or delays during the project.
6) Protect Your Countertops
Cover your countertops with a protective layer, such as cardboard or plastic, to prevent damage from tools or materials.
7) Test Fit Flooring Before Installing
Before permanently attaching the new flooring, do a test fit to make sure everything lines up properly and there are no issues with the layout.
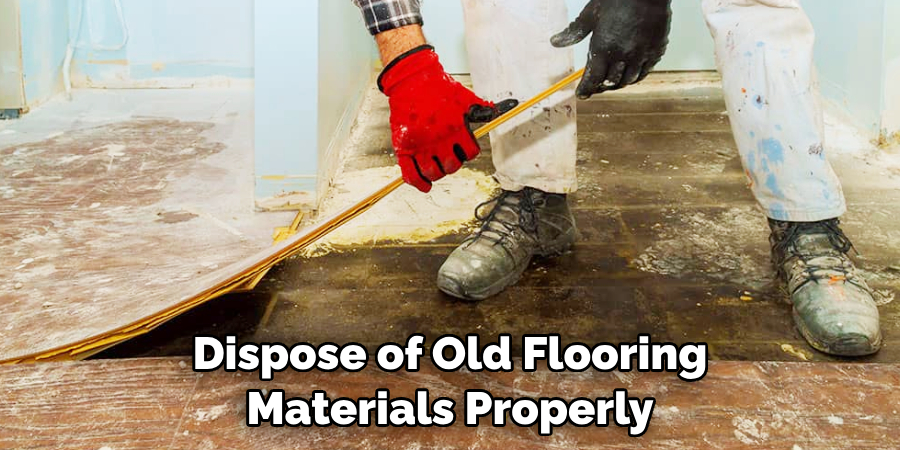
8) Properly Dispose of Old Materials
Be sure to dispose of old flooring materials properly, following any local disposal guidelines. This will prevent any potential hazards or harm to the environment.
By following these additional tips on how to replace floor under kitchen cabinets, you can ensure a successful and stress-free floor replacement project in your kitchen.
Remember to plan ahead, use durable materials, and take necessary precautions to protect your home and yourself during the process. With proper preparation and care, you can achieve a beautiful new floor that will last for years to come.
Frequently Asked Questions
How Long Does It Take to Replace a Kitchen Floor?
The time it takes to replace a kitchen floor depends on various factors, such as the type of flooring, the condition of the subfloor, and the size of the kitchen. On average, it can take anywhere from 1-3 days.
Can I Install New Flooring Over My Old Floor?
In most cases, it is not recommended to install new flooring over an old floor. This can lead to issues such as unevenness and squeaking. It’s best to remove the old flooring and properly prepare the subfloor before installing the new material.
Do I Need Special Tools for a Floor Replacement Project?
It depends on the type of flooring you are installing. Basic tools such as a saw, hammer, and measuring tape will be needed for most projects, but certain materials may require specialized tools.
Can I Replace My Kitchen Floor by Myself?
It is possible to replace a kitchen floor by yourself if you have the necessary skills and tools. However, it is recommended to seek professional help for more complex projects or if you are unsure about any step in the process. By following these safety measures and tips, you can successfully give your kitchen a fresh new look while ensuring its structural integrity for years to come.

Conclusion
A floor replacement project in your kitchen can be a daunting task, but with proper preparation and safety measures on how to replace floor under kitchen cabinets, it can also be a rewarding one.
Remember to take your time, follow instructions carefully, and consult professionals if needed. By doing so, you can achieve a beautiful and safe new floor for your kitchen. Now, go out there and tackle that home improvement project!
Professional Focus
Angela Ervin, a former interior designer turned blogger, specializes in kitchen design and renovations. Through her website, she blends her passion for cooking with design expertise, sharing practical and creative ideas. Known for balancing functionality and beauty, Angela’s insightful content has made her a trusted voice in home design and lifestyle.
About the Author
Angela Ervin, an experienced interior designer and blogger, combines her passion for kitchen renovations with storytelling. Living in Petersburg with her family, she enjoys cooking and testing her projects firsthand. Known for her humor and relatable style, Angela shares creative, functional design insights through her content, making her a trusted voice in home design.
Education History
University: Virginia Commonwealth University
Degree: Bachelor of Fine Arts (BFA) in Interior Design
- Angela’s education at VCU focused on mastering core interior design principles, including spatial planning, color theory, materials selection, and sustainable design practices.
- She gained hands-on experience through studio projects and collaborative design exercises, which honed her ability to create functional and aesthetically pleasing environments.
- Her coursework also emphasized problem-solving and practical applications of design, preparing her for real-world projects like her self-directed kitchen renovations.
- The program’s strong foundation in both technical skills and creative expression shaped Angela’s ability to seamlessly integrate form and function in her work.