


Like most homeowners, you probably take pride in your home and enjoy doing simple repairs and maintenance tasks yourself. However, one task that may need attention every few years or so is grout replacement around the kitchen sink. If you’ve ever had to replace grout around your kitchen sink, you know how daunting of a task it can be.
Not only is the processing time-consuming, but getting the grout just right can be a challenge.
In this blog post, we’ll walk you through the steps for how to replace grout around kitchen sink, so you can have a beautiful and functional kitchen once again. Keep your kitchen looking its best with fresh new grout! Read on for more information.
Why You Should Replace Grout Around Kitchen Sink?
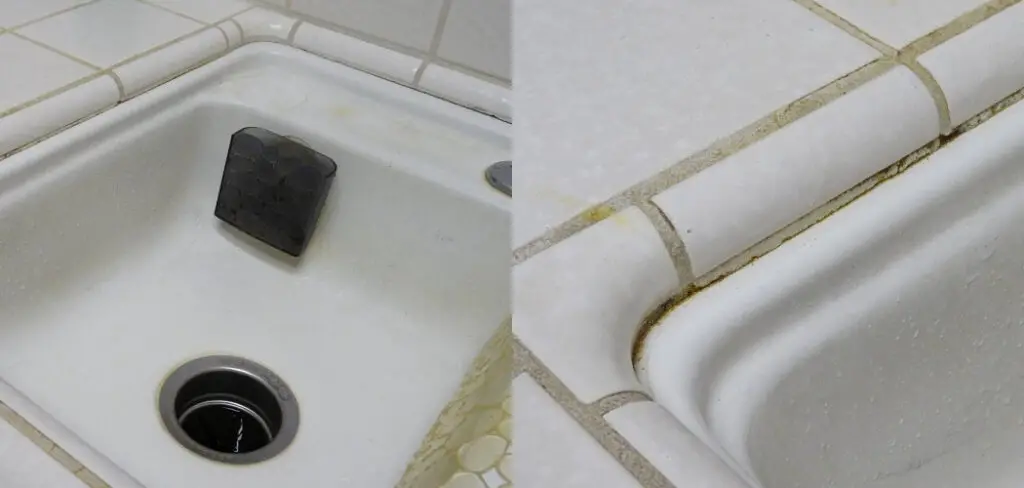
One of the most common places for water damage in the home is around the kitchen sink. This is because water is constantly being used and spilled in this area, which can cause the grout to break down over time.
Once the grout starts to break down, it can create cracks and gaps that allow water to seep through, leading to serious water damage. Replacing grout around the kitchen sink is a simple and inexpensive way to prevent water damage, and it’s a project that most homeowners can do themselves. Replacing grout around the kitchen sink will also help keep the area clean and new.
What You’ll Need
- Grout saw
- Sponge
- Bucket
- Water
- Grout float
- Tile sealer (optional)
- Caulk gun (optional)
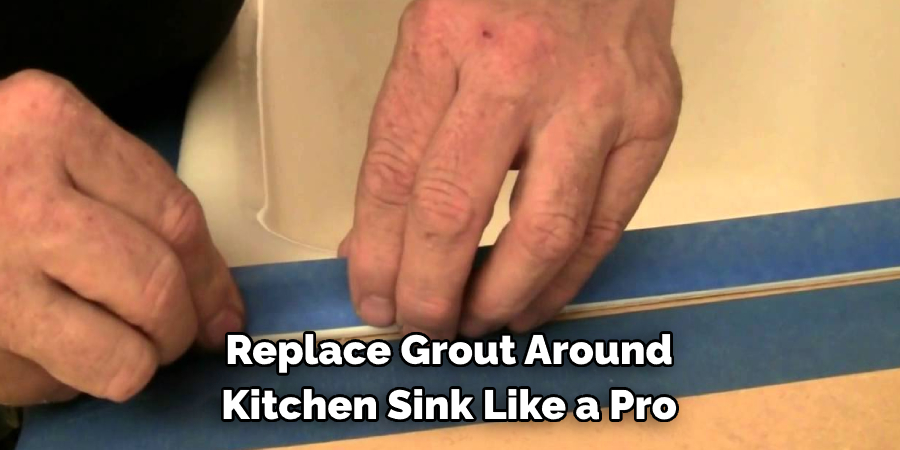
Step by Step Guide: How to Replace Grout Around Kitchen Sink
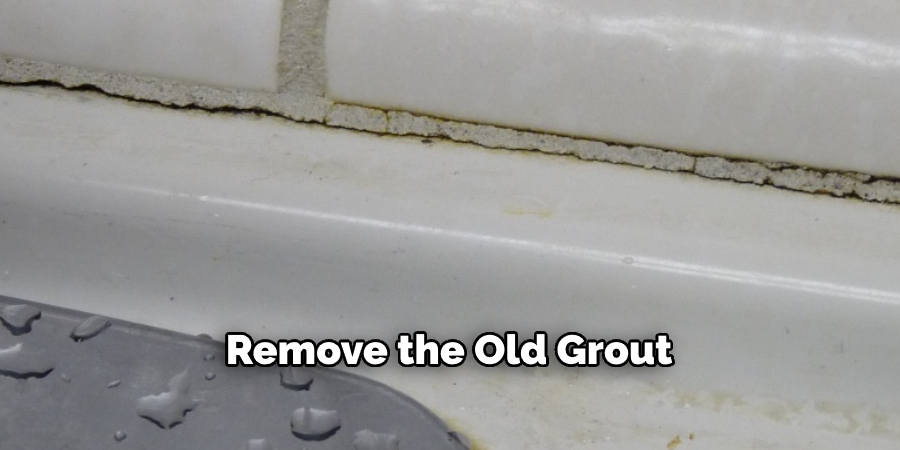
Step 1: Remove the Old Grout.
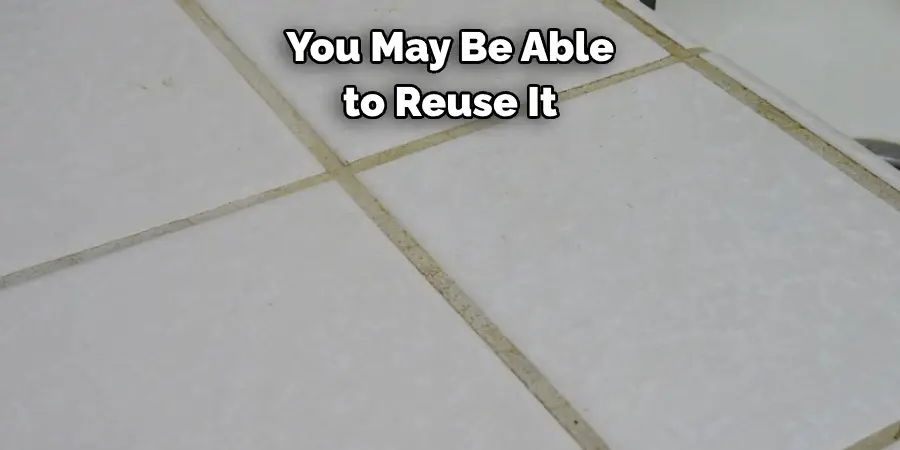
Use a utility knife or grout saw to remove the old grout from around the sink. Be sure to get all of the old grout out of the way so the new grout will have a clean surface to adhere to. If your old grout is in good condition, you may be able to reuse it.
Step 2: Clean the Surface.
Once all of the old grout has been removed, use a damp cloth to clean the surface around the sink. This will remove any dirt or debris accumulated on the surface. If your sink is made of porcelain, use a non-abrasive cleaner to avoid scratching the surface.
Step 3: Cut Away Any Silicone Caulking.
If there is any silicone caulking around the sink, use a utility knife to cut it away. This will ensure that the new grout will adhere properly to the surface. If your sink is made of stainless steel, you may not need to remove the caulking. When in doubt, consult with a professional before proceeding.
Step 4: Pour a Cup of Powdered Grout.
Mix a small amount of powdered grout with water using a small cup or bowl. Follow the instructions on the grout package to determine the correct ratio of water to grout. If your grout is too dry, it won’t be easy to work with and will not adhere properly. Likewise, if your grout is too wet, it won’t be easy to work with and will not adhere properly.
Step 5: Apply the New Grout.
Use a putty knife or grout float to apply the new grout around the sink. Be sure to force the grout into all the cracks and crevices to adhere properly. Once the grout is applied, use a damp sponge to smooth it out and remove any excess. Allow the new grout to dry for at least 24 hours before using the sink. Replacing the grout around your kitchen sink is a quick and easy way to freshen up the look of your kitchen.
Step 6: Dampen a Sponge With Clean Water.
After the grout has had time to dry, use a damp sponge to clean off any haze that may have formed on the surface. Once the surface is clean, your new grout will be ready for use. If you are not sure how to replace grout around your kitchen sink, consider hiring a professional to do the job for you.
Replacing grout is a simple task that should not take more than a few minutes to complete. With the right tools and materials, you can easily replace the grout around your kitchen sink in no time.
With these simple steps, you should now know how to replace grout around kitchen sink like a pro!
You Can Check it Out to How to Clean Air Fryer Basket With Baking Soda
Some Helpful Tips and Suggestions
1. Use a utility knife or grout saw to remove the old grout from around the sink. Be sure to get all of the old grout out of the way so the new grout will have a clean surface to adhere to.
2. Use a damp cloth to clean the surface around the sink. This will remove any dirt or debris that may be on the surface.
3. Apply the new grout around the sink. Be sure to smooth it out so that there are no air pockets.
4. When applying the grout, use a grout float. This will help to smooth out the grout and avoid any unevenness.
5. Allow the grout to dry for at least 24 hours before using the sink. This will ensure that the grout is completely set and will not lose.
6. Once the grout is dry, use a damp cloth to remove any excess grout from the surface.
Few Things You Should Know Before Replacing Grout Around Kitchen Sink
Here’s what you need to know about replacing grout around your kitchen sink.
1. Choose the Right Type of Grout:
There are two main types of grout: sanded and unsanded. Sanded grout is stronger and more durable, making it ideal for areas with a lot of traffic or moisture. Unsanded grout is more flexible and easier to work with, making it a good choice for smaller projects or areas that don’t see as much wear and tear.
2. Make Sure You Have All the Tools Available:
Replacing grout is a relatively simple task, but you will need a few tools to get the job done right. You’ll need a utility knife, a putty knife, and grout saw. You’ll also need a bucket, sponge, and some rags. Make sure you have all of these items on hand before you begin.
3. Cut Aways Some Good Grout Around:
Use your utility knife to cut away some of the good grout around the area you’ll be working on. This will give you a clean surface to work with and make it easier to remove the old grout. If your sink is made of porcelain, be extra careful not to scratch the surface.
4. Use Plastic Wrap to Protect Surrounding Areas:
To avoid making a mess, use some plastic wrap to protect the areas around the sink that you’ll be working on. This will help keep any grout or other materials from getting on surfaces you don’t want. Make sure that the wrap is tight so that nothing can leak through.
How Often You Should Replace Grout Around Kitchen Sink?
If you’re like most people, you probably don’t think about your grout very often. You may not even know what grout is. Grout is the material used to fill the spaces between tiles. It’s usually made of cement, sand, and water. Over time, grout can become cracked, stained, and discolored. It can also harbor mold and mildew. If your grout is in good condition, you probably don’t need to replace it. But if it’s cracked, stained, or otherwise damaged, you’ll need to replace it.
The best way to do this is to hire a professional tile installer or grout specialist. They have the tools and experience necessary to remove the old grout and install new grout without damaging your tiles. If you’re ambitious, you can try replacing the grout yourself. Just know that it’s a dirty, tedious, and potentially difficult job. You’ll also need to buy special tools, including a grout saw and a grout float.
Can Grout Be Replaced Without Removing Tile?
The simple answer is yes; grout can be replaced without removing tile. However, the process is a bit more involved than applying new grout over the old. First, the old grout must be removed. This can be done with a grout saw or a rotary tool fitted with a grout removal attachment. Next, the joints must be cleaned of all debris and dust. Again, a vacuum cleaner with a small attachment can be used for this purpose.
Once the joints are clean, new grout can be applied. Be sure to use a waterproof grout, as kitchen sink areas are susceptible to moisture. Apply the grout with a rubber float, working it into the joints, and smooth it off with the float. Wipe away any excess grout with a damp sponge. Allow the grout to dry for at least 24 hours before sealing it. Use a good-quality grout sealer to protect the grout from staining and discoloration.

Conclusion
Replacing grout around the kitchen sink is a necessary task that should be completed every few years to maintain the appearance and function of your kitchen sink. There are several ways to replace the grout, but we have outlined the most common and simple method. Replacing grout is messy, so make sure you have all your supplies ready before getting started.
With the right tools and some patience, you can have your sink looking like new again in no time. We hope this guide on how to replace grout around kitchen sink has been helpful and that you can successfully complete this project on your own. If not, feel free to reach out to a professional tile installer or grout specialist for assistance.
You Can Check it Out to Prevent Mold in Kitchen Cabinets
Professional Focus
Angela Ervin, a former interior designer turned blogger, specializes in kitchen design and renovations. Through her website, she blends her passion for cooking with design expertise, sharing practical and creative ideas. Known for balancing functionality and beauty, Angela’s insightful content has made her a trusted voice in home design and lifestyle.
About the Author
Angela Ervin, an experienced interior designer and blogger, combines her passion for kitchen renovations with storytelling. Living in Petersburg with her family, she enjoys cooking and testing her projects firsthand. Known for her humor and relatable style, Angela shares creative, functional design insights through her content, making her a trusted voice in home design.
Education History
University: Virginia Commonwealth University
Degree: Bachelor of Fine Arts (BFA) in Interior Design
- Angela’s education at VCU focused on mastering core interior design principles, including spatial planning, color theory, materials selection, and sustainable design practices.
- She gained hands-on experience through studio projects and collaborative design exercises, which honed her ability to create functional and aesthetically pleasing environments.
- Her coursework also emphasized problem-solving and practical applications of design, preparing her for real-world projects like her self-directed kitchen renovations.
- The program’s strong foundation in both technical skills and creative expression shaped Angela’s ability to seamlessly integrate form and function in her work.