


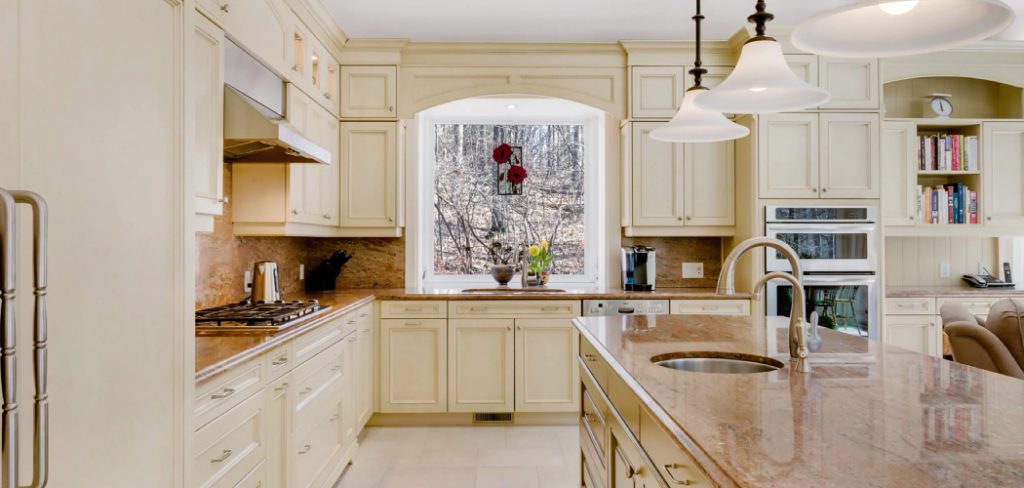
When it comes to renovating your kitchen, sanding the cabinets is an essential step that can significantly enhance their appearance and longevity. Whether you’re updating a dated finish or preparing the surface for a fresh coat of paint or stain, proper sanding can make a tremendous difference in the final outcome.
This guide will walk you through the necessary tools, techniques, and tips for how to sand kitchen cabinets, ensuring a smooth and professional finish. Before you begin, it’s important to set up your workspace, gather the right supplies, and understand the steps involved to achieve the best results.
Why Sanding Kitchen Cabinets is Important
Sanding kitchen cabinets is a crucial aspect of any renovation project, primarily because it lays the groundwork for a lasting and flawless finish. The process of sanding helps remove old paint, varnish, or stains, creating a smooth and even surface that enhances the adhesion of new coatings. This not only boosts the aesthetic appeal of the cabinets but also extends their lifespan by ensuring that paint and finishes are applied uniformly.
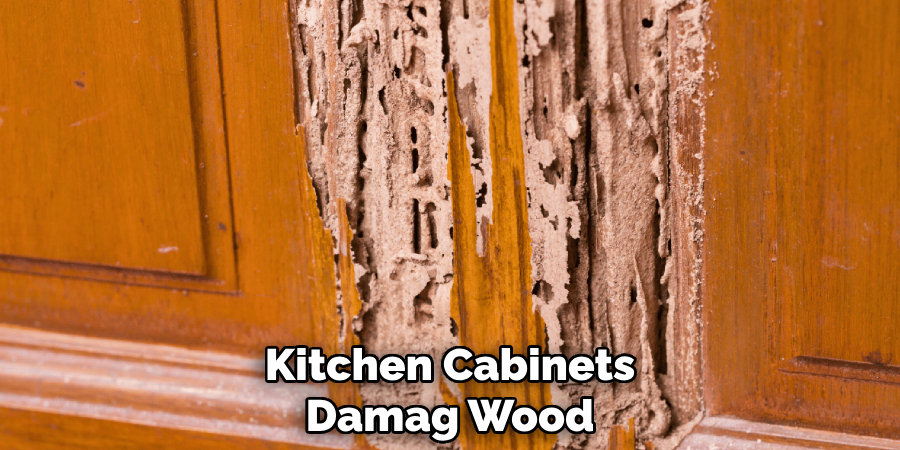
Additionally, sanding can reveal small imperfections, such as dents or scratches, which can then be addressed before applying the final coat. Ultimately, investing time and effort into properly sanding kitchen cabinets results in a more durable and visually pleasing renovation.
Benefits of Sanding Kitchen Cabinets
Sanding kitchen cabinets offers a multitude of benefits that make it a worthwhile step in any renovation journey. Firstly, it enhances the adhesion of new paint or stain, ensuring a smooth and uniform application that not only looks professional but also lasts longer. A well-sanded surface prevents peeling and chipping, reducing the need for frequent touch-ups. Moreover, sanding helps expose any hidden damage, such as minor scratches or dents, allowing you to address them before they become more significant issues.
This attention to detail contributes to a higher quality finish and maintains the cabinets’ structural integrity. Additionally, sanding can often remove ingrained stains or blemishes that might affect the overall aesthetics of your kitchen. In summary, sanding is not just about aesthetics; it’s about preserving the durability and functionality of your kitchen cabinets for years to come.

10 Methods for How to Sand Kitchen Cabinets
- Gather the Right Tools: Ensure you have all necessary tools before starting. This includes sandpaper of varying grits, a sanding block or electric sander, dust masks, and safety goggles.
- Remove Cabinet Doors and Hardware: Take off all cabinet doors, drawers, and hardware. This allows you to sand every surface evenly and prevents damage to the hardware.
- Clean the Surface Thoroughly: Before sanding, clean the cabinets to remove grease and grime. This helps the sandpaper grip the surface better and prevents clogged sandpaper.
- Choose the Appropriate Grit Sandpaper: Start with a coarser grit, such as 80-100, to remove old finishes or rough textures. Then move to a finer grit, such as 150-220, for a smooth finish.
- Sand with the Grain: Always sand in the direction of the wood grain to prevent scratches and achieve a smoother finish.
- Use a Sanding Block or Sander for Large Surfaces: For flat, wide areas, use a sanding block or an electric sander to ensure even pressure and coverage.
- Hand Sand in Detailed Areas: Use folded sandpaper for intricate moldings or corners where a block or sander cannot reach.
- Check Your Progress: Regularly assess the surface to ensure no spots are missed and the texture remains consistent throughout.
- Clean Between Sanding Stages: After each sanding stage, wipe down the surface with a tack cloth or vacuum to remove dust and debris before switching sandpaper grits.
- Finish with a Final Inspect and Touch-Up: Once the sanding is complete, inspect the cabinets for any remaining blemishes. Make any necessary touch-ups with finer sandpaper for an impeccable finish.
Maintenance and Upkeep
After investing time and effort into sanding and refinishing your kitchen cabinets, maintaining them is crucial to preserving their fresh appearance and structural integrity. Start by establishing a cleaning routine that involves wiping down the cabinets with a soft, damp cloth regularly to prevent the buildup of dust and grease. Avoid using harsh chemicals or abrasive cleaners, as these can damage the finish. Instead, opt for gentle, cabinet-friendly cleaning solutions that protect the wood while effectively removing dirt.
In addition to regular cleaning, inspect your cabinets periodically for signs of wear, such as chips or scratches, and address them promptly with touch-up paint or stain. Keeping your kitchen environment dry and well-ventilated also helps prevent moisture-related issues. Consider applying a coat of protective sealant every few years to enhance durability and reinforce the finish. By following these maintenance practices, you will ensure your kitchen cabinets remain beautiful and functional for years to come.
Tips for Achieving the Best Results
Achieving the best results when sanding kitchen cabinets requires attention to detail and a methodical approach. Start by ensuring your workspace is well-organized and free of obstructions, which helps prevent accidents and allows you to focus on the task at hand. Wear the appropriate safety gear, including dust masks and safety goggles, to protect yourself from dust and debris. The choice of sandpaper is crucial—ensure it is suitable for your cabinet material and the type of finish you aim to achieve.
Always sand with the grain of the wood to avoid scratches, and apply consistent pressure throughout the process. To avoid streaks, regularly clean your sandpaper or change it when it becomes clogged. After sanding, thoroughly clean the cabinets to remove all dust particles before applying any new paint or stain. Practicing patience and taking the time to sand every corner and crevice will contribute significantly to a flawless finish. Remember, the key to success lies in preparation, precision, and care in execution.
Alternative Methods and Tips
While traditional sanding techniques are effective, there are alternative methods that can simplify the process and yield excellent results. One such method is chemical stripping, where a paint or finish stripper is applied to the surface to remove old layers without the physical effort of sanding. This can be particularly useful for cabinets with intricate details where sanding might be challenging. However, it’s essential to follow the manufacturer’s instructions and use protective gear, as these chemicals can be harsh and toxic.
Another alternative is using a power sanding machine, which can significantly speed up the process for large, flat surfaces. These machines provide a uniform finish, but care must be taken to avoid excessive pressure, which could damage the wood. For those looking for eco-friendly options, there are water-based strippers and non-toxic sanding aids available that limit exposure to hazardous substances.
When selecting an alternative method, consider the material of your cabinets and the finish you aim to achieve. Ensuring compatibility will help prevent damage and ensure the desired look is accomplished. Additionally, it’s vital to perform a spot test in an inconspicuous area to gauge the outcome before applying the method to the entire surface. Combining various techniques might also be beneficial, such as using a stripper for hard-to-reach areas and manual sanding for finishing touches, guaranteeing precision and thoroughness.
Things to Consider When Choosing Finishes
When selecting finishes for your kitchen cabinets, various factors need careful consideration to ensure you achieve the desired aesthetics and durability. Firstly, contemplate the overall style and color scheme of your kitchen. The finish should complement existing decor and create a cohesive look. Consider the type of finish you want, such as paint, stain, or lacquer, and how it aligns with the look and feel you’re aiming for. Additionally, assess the durability of the finish—kitchen cabinets are subject to frequent use, so opting for a robust, easy-to-clean surface is vital for long-lasting results.
Think about maintenance requirements, too; some finishes might necessitate more upkeep than others. Time and skill level should also be taken into account; certain finishes may require more complex application techniques or extended drying times. Furthermore, if environmental impact is a concern, look into eco-friendly options with low VOCs (volatile organic compounds). By weighing these considerations, you can make informed decisions that enhance both the aesthetic and functional aspects of your kitchen cabinets.
Common Mistakes to Avoid
When sanding and refinishing kitchen cabinets, it’s essential to be aware of common pitfalls that can compromise the quality of your work. One significant mistake is neglecting proper preparation. Skipping steps such as cleaning the cabinets thoroughly before starting or failing to remove all previous finishes can lead to poor adhesion of new paint or stain. Using the wrong grit of sandpaper can also cause problems—too coarse can leave deep scratches, while too fine might not effectively remove the old finish. Another frequent error is applying too much pressure when sanding, which can result in uneven surfaces or create undesirable dips in the wood.

Conclusion
Revamping your kitchen cabinets through sanding and refinishing is a rewarding endeavor that can dramatically enhance the beauty and functionality of your space. By adhering to the best practices and alternative methods discussed, you can achieve a professional-level finish that rejuvenates your kitchen without the expense of a full remodel. Proper preparation, the right choice of materials, and careful execution are paramount in delivering a result that not only looks stunning but also endures the test of time. Thanks for reading, and we hope this has given you some inspiration on how to sand kitchen cabinets!
Professional Focus
Angela Ervin, a former interior designer turned blogger, specializes in kitchen design and renovations. Through her website, she blends her passion for cooking with design expertise, sharing practical and creative ideas. Known for balancing functionality and beauty, Angela’s insightful content has made her a trusted voice in home design and lifestyle.
About the Author
Angela Ervin, an experienced interior designer and blogger, combines her passion for kitchen renovations with storytelling. Living in Petersburg with her family, she enjoys cooking and testing her projects firsthand. Known for her humor and relatable style, Angela shares creative, functional design insights through her content, making her a trusted voice in home design.
Education History
University: Virginia Commonwealth University
Degree: Bachelor of Fine Arts (BFA) in Interior Design
- Angela’s education at VCU focused on mastering core interior design principles, including spatial planning, color theory, materials selection, and sustainable design practices.
- She gained hands-on experience through studio projects and collaborative design exercises, which honed her ability to create functional and aesthetically pleasing environments.
- Her coursework also emphasized problem-solving and practical applications of design, preparing her for real-world projects like her self-directed kitchen renovations.
- The program’s strong foundation in both technical skills and creative expression shaped Angela’s ability to seamlessly integrate form and function in her work.