


How to turn off oven light may seem like a trivial task, but it is an essential aspect of oven maintenance and energy conservation. The oven light is a small, but integral component that allows you to view your dishes as they cook, eliminating the need to open the oven door and thereby preventing heat loss.

However, when left on unnecessarily, it can lead to wasted energy and potential bulb burnout, requiring replacement. This guide will walk you through the simple steps to turn off your oven light, whether it be for cleaning purposes, energy saving, or bulb maintenance.
What is an Oven Light?
An oven light is a small, typically halogen bulb located on the inside of your oven. It is designed to illuminate the interior of the oven, making it easier for you to see your food as it cooks.
Some ovens also have a switch or button that allows you to turn off the light manually. The oven light is an essential feature that can aid in cooking and baking, but it should be turned off when not in use to conserve energy.
You may also find that your oven has a light switch or button on the control panel, allowing you to turn off the light without having to open the oven door. This is particularly useful when trying to conserve energy or during self-cleaning cycles.
It is important to note that some ovens have a safety feature that automatically turns off the light when the oven door is open. This prevents potential burns from the hot bulb and also ensures the light is not continuously left on.
Reasons to Turn Off Oven Light
There are a few reasons why you may want to turn of your oven light:
Energy Conservation:
Turning off the oven light when not in use can help reduce energy consumption and save money on utility bills.
Maintenance:
If your oven light bulb needs to be replaced, turning off the light when not in use can extend the life of the bulb. This is especially important for halogen bulbs, which have a shorter lifespan compared to other types of bulbs.
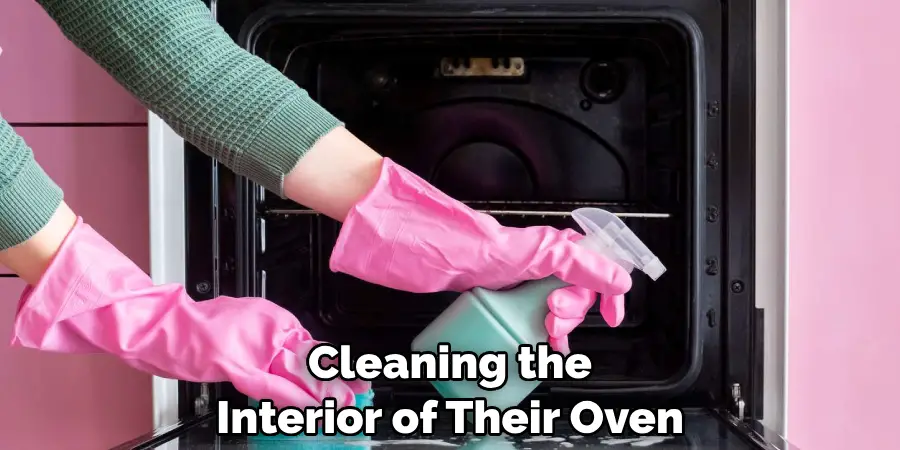
Cleaning:
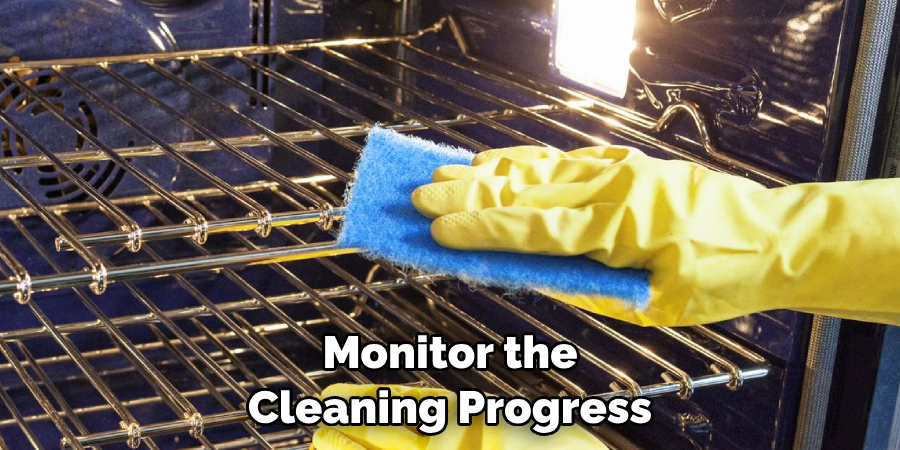
Many people prefer to turn off the oven light when cleaning the interior of their oven, as it can be distracting or make it difficult to see any dirt or residue. Turning off the light also allows you to see any areas that may need extra attention during cleaning.
11 Step-by-step Guidelines on How to Turn Off Oven Light
Step 1: Locate the Oven Light Button or Switch
This is typically found on the control panel, near the oven settings. You may need to refer to your oven’s manual if you are having trouble finding it. It may also be helpful to consult with the manufacturer’s website for a visual guide.
But, if your oven does not have a designated button or switch to turn off the light, you can still manually turn it off by following the remaining steps. It is important to note that some ovens may require you to press and hold the button or switch for a few seconds before the light turns off.
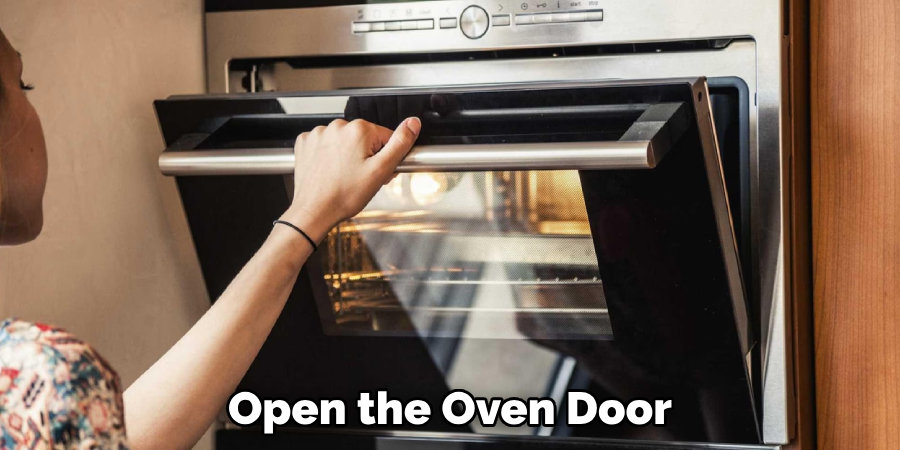
Step 2: Open the Oven Door
Before attempting to turn off the light, make sure the oven is not in use and has cooled down. Then, carefully open the oven door. It is important to use caution when opening the door, as some ovens may still be hot even if they are not in use. You can also wear oven mitts or use a towel to protect your hands.
Step 3: Check for Safety Feature
As mentioned earlier, some ovens have a safety feature that automatically turns off the light when the door is open. If this is the case for your oven, you do not need to manually turn off the light. You can proceed to close the oven door and skip the remaining steps.
But, if the light remains on, continue following the steps. The safety feature can also be overridden by pressing and holding the oven light button or switch for a few seconds. You can consult your oven’s manual for specific instructions.
Step 4: Locate and Remove the Bulb Cover
Once you have opened the oven door, locate the bulb cover. It is usually located near or behind the back wall of the oven. The cover may be clear or made of glass, making it easy to identify.
Some ovens may also have a latch or clip that needs to be released before the cover can be removed. You can refer to your oven’s manual for more specific instructions. The cover protects the bulb from any spills or moisture that may occur during cooking.
Step 5: Remove the Old Bulb
Once the bulb cover has been removed, you can access the old bulb. Carefully remove it from its socket by gently twisting and pulling it out. Be careful not to touch the bulb with your bare hands, as this can cause it to prematurely burn out.
You can use gloves or a cloth to handle the bulb. The old bulb can be disposed of according to your local regulations. It is also recommended to replace the bulb with a new one if necessary.
Step 6: Clean the Bulb Cover
Before replacing the old bulb, take this opportunity to clean the bulb cover. Use warm water and mild detergent to remove any buildup or residue from cooking. You can also us a soft cloth or sponge to avoid damaging the cover.
Once cleaned, dry the cover completely before replacing it. The cover should be completely dry to avoid any potential damage or shorting out the new bulb. But, if you are replacing the bulb with a new one, you can skip this step.
Step 7: Prepare the New Bulb
If you are replacing the old bulb with a new one, make sure it is compatible with your oven and follows any wattage recommendations. You can also refer to the manufacturer’s website or manual for specific instructions on how to handle and install the new bulb.
Again, it is important not to touch the bulb with your bare hands. The oils from your skin can cause the bulb to burn out faster. You can use gloves or a cloth to handle the new bulb. It may also be helpful to have someone assist you with holding the oven door open while you replace the bulb.

Step 8: Install the New Bulb
Carefully insert the new bulb into the socket, making sure it is securely in place. You may need to gently twist and push the bulb until it clicks into place. If you encounter any resistance or difficulty, refer to your oven’s manual for specific instructions.
Once the bulb is installed, you can proceed to replace the cover. But, if you are not replacing the bulb and only turning off the light, skip to Step 10.
Step 9: Replace the Bulb Cover
Align the cover back in its original position and secure it with any latches or clips that may be present. If your oven does not have a designated button or switch to turn off the light, this is where you can manually turn off the light.
You can either press and hold the button or switch for a few seconds until the light turns off, or you can close the oven door to activate the safety feature. Although the light may turn off, it is still recommended to replace the cover for safety purposes.
Step 10: Close the Oven Door
Once you have completed all necessary steps, carefully close the oven door. Make sure it is securely closed before proceeding. The door should be latched properly for the oven to function correctly.
If you encounter any issues with closing or latching the door, refer to your oven’s manual for troubleshooting tips. It is also recommended to double-check that the oven is turned off. But, if you are only turning off the light, you can proceed to use your oven as normal.
Step 11: Regular Maintenance
To avoid any future issues with your oven light, it is essential to regularly clean and maintain it. You can follow the same steps outlined above whenever the light needs to be replaced or turned off.
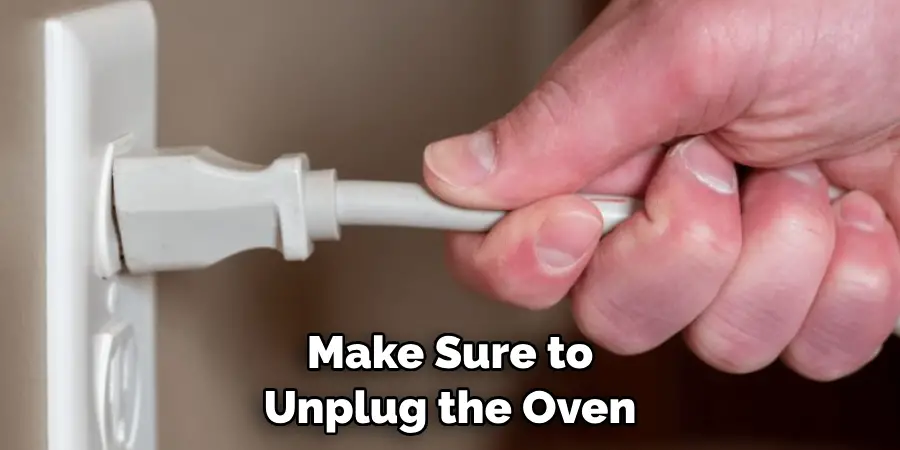
It is also recommended to clean the bulb cover and socket periodically to prevent any buildup or residue that can affect the light’s performance. Additionally, make sure to unplug the oven before performing any maintenance or cleaning tasks.
Understanding how to turn off your oven light and perform regular maintenance can help prolong its lifespan and ensure safe usage. It is always important to consult your oven’s manual for specific instructions and safety precautions, as different models may have varying features and functions.
By following these steps and taking proper care of your oven, you can continue to enjoy using it for all your cooking needs. Happy cooking!
Exploring Alternative Solutions
In addition to the steps outlined above, there are also alternative solutions that can help turn off your oven light or replace the bulb:
Use a Flashlight:
If you do not have access to replacement bulbs or if the light is not working, you can use a flashlight to illuminate the inside of your oven while cooking.
Contact Manufacturer:
If you encounter any difficulties with turning off your oven light or replacing the bulb, you can contact the manufacturer for assistance. They may be able to provide further troubleshooting steps or send a technician to help.
Install an LED Light Bulb:
LED light bulbs are known for their longevity and energy efficiency. If you find yourself frequently replacing your oven’s light bulb, consider installing an LED bulb as a long-term solution. They are more durable and can last up to 3 times longer than traditional incandescent bulbs.
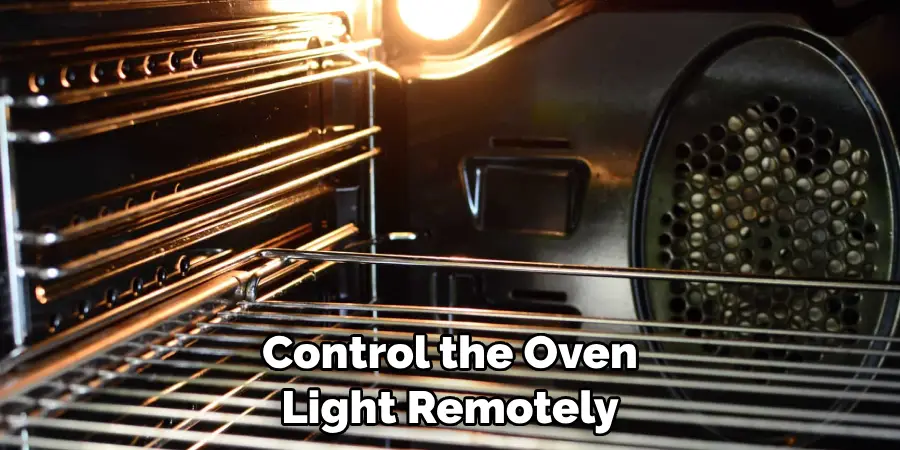
Use a Smart Oven:
Some newer models of ovens come equipped with smart features, including the ability to control the oven light remotely through a smartphone app or voice assistant. This can be a convenient option for those who struggle with accessing the oven’s controls or have limited mobility. However, it may require additional setup and may not be available on all oven models.
Additional Tips
- Make sure to turn off the oven and unplug it before performing any maintenance or cleaning tasks.
- Check your oven’s manual for specific instructions and safety precautions before attempting to replace the light bulb.
- Regularly clean and maintain your oven to ensure safe and optimal usage.
- Use gloves or a cloth when handling light bulbs to avoid damage or shorting out the bulb.
- Consider alternative solutions such as using a flashlight or contacting the manufacturer for assistance if you encounter difficulties with turning off your oven light.
- Explore energy-efficient options such as LED light bulbs or smart ovens for a long-term solution. Overall, it is important to prioritize safety and consult the manufacturer’s instructions for proper usage and maintenance of your oven’s light.
- As always, if you are unsure or uncomfortable with performing any of the steps outlined, it is best to seek professional assistance.
- Happy cooking and stay safe! Finally, thank you for reading this guide. We hope it has been helpful in assisting you with turning off your oven light or replacing the bulb. Remember to always prioritize safety and consult your oven’s manual for specific instructions. Happy cooking!
Frequently Asked Questions
Q: Why is It Important to Turn Off the Oven Light?
A: Turning off the oven light when not in use can help save energy and prolong the lifespan of your oven’s light bulb. The constant exposure to heat and moisture can cause the bulb to burn out faster, so turning it off when not in use can help prevent frequent replacements.
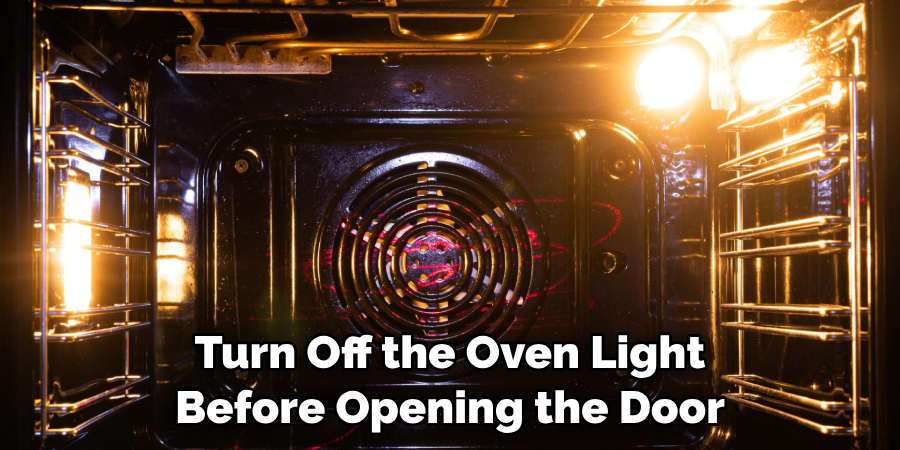
You should also turn off the oven light before opening the door to avoid escaping heat and maintain proper cooking temperatures.
Q: Can I Replace My Oven Light Bulb with Any Type of Bulb?
A: It is important to refer to your oven’s manual for specific recommendations on compatible light bulbs. Using the wrong type of bulb can cause safety hazards or affect the oven’s performance.
It is best to use the recommended wattage and type of bulb for your specific oven model. It is also recommended to avoid touching the bulb with your bare hands, as this can cause it to burn out faster. The oils from your skin can damage the bulb’s surface and affect its performance.
Q: How Often Should I Replace My Oven’s Light Bulb?
A: This can vary depending on usage, but it is recommended to replace the bulb every 6-12 months or as needed. Regularly checking and replacing the bulb can help ensure proper lighting for cooking and prevent any issues with the oven light.
If you notice any flickering or dimming of the light, it may be a sign that it needs to be replaced. Overall, regular maintenance is key to keeping your oven light functioning properly. So, keep an eye out for any signs that may indicate it’s time for a replacement.
Q: Can I Turn off the Oven Light While Cooking?
A: It is generally recommended to keep the oven light on while cooking, as it can help you monitor your food without having to open the door and let heat escape. However, if you prefer to turn off the light for personal reasons or if it is distracting during cooking, make sure to turn it back on before opening the oven door.
You can also use a kitchen timer or set an alarm to remind you to turn off the light after cooking. Overall, it is a matter of personal preference and does not affect the functionality of your oven. Just remember to be cautious and follow proper safety measures when turning off the oven light while cooking.
Q: Can I Turn off the Oven Light During a Self-Cleaning Cycle?
A: It is recommended to keep the oven light on during a self-cleaning cycle as it can help you monitor the cleaning progress without having to open the door. However, if you prefer to turn off the light for personal reasons or if it is distracting, make sure to turn it back on before opening the door.
It is also important to follow the specific instructions in your oven’s manual for a self-cleaning cycle, as turning off the light may affect the cleaning process and safety precautions.
Final Thoughts
Knowing how to turn off your oven light or replace the bulb is a simple but essential skill for every home cook. By following the steps outlined above and exploring alternative solutions, you can ensure safe and efficient usage of your oven for years to come. Remember to always prioritize safety and consult the manufacturer’s manual for specific instructions.
Professional Focus
Angela Ervin, a former interior designer turned blogger, specializes in kitchen design and renovations. Through her website, she blends her passion for cooking with design expertise, sharing practical and creative ideas. Known for balancing functionality and beauty, Angela’s insightful content has made her a trusted voice in home design and lifestyle.
About the Author
Angela Ervin, an experienced interior designer and blogger, combines her passion for kitchen renovations with storytelling. Living in Petersburg with her family, she enjoys cooking and testing her projects firsthand. Known for her humor and relatable style, Angela shares creative, functional design insights through her content, making her a trusted voice in home design.
Education History
University: Virginia Commonwealth University
Degree: Bachelor of Fine Arts (BFA) in Interior Design
- Angela’s education at VCU focused on mastering core interior design principles, including spatial planning, color theory, materials selection, and sustainable design practices.
- She gained hands-on experience through studio projects and collaborative design exercises, which honed her ability to create functional and aesthetically pleasing environments.
- Her coursework also emphasized problem-solving and practical applications of design, preparing her for real-world projects like her self-directed kitchen renovations.
- The program’s strong foundation in both technical skills and creative expression shaped Angela’s ability to seamlessly integrate form and function in her work.