

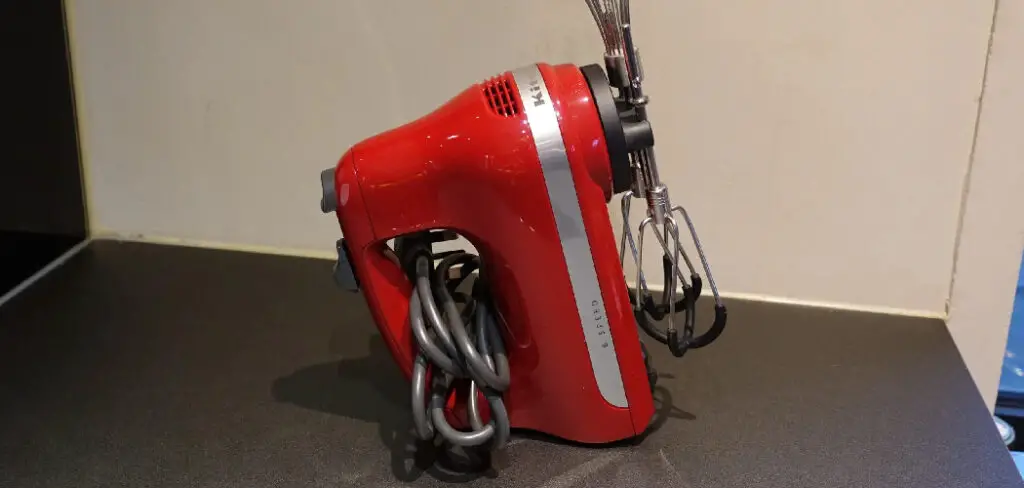
Moving can be an extremely chaotic, overwhelming experience, leading to feelings of stress and exhaustion. One of the most difficult aspects is figuring out how to carefully transport all your belongings, especially bulky items like appliances! For example, packing a Kitchen Aid mixer requires extra care if you want it to arrive at its new home safely and in one piece.
To ensure your valuable item is moved without damage, we’ve researched the best tips for packing a Kitchen Aid mixer to move, so you don’t have to worry about it when relocating. Keep reading this article to learn exactly how to pack a kitchenaid mixer for moving – step by step!
Can You Pack a Kitchenaid Mixer for Moving?
Packing up a Kitchenaid mixer for a move may seem intimidating, but with the right approach, it can be done much easier than you think. Start by removing any removable parts, such as the bowl and beaters. Next, wrap each part separately in bubble wrap. Then, wracking the paper ensures it is secure and won’t move around during transit.
When packing the remaining pieces together, be sure to use plenty of packing material to fill in any spaces so that nothing rubs against each other during the journey. With careful preparation, your Kitchenaid mixer should survive its journey unscathed and remain in perfect working order for years to come.
Why Should You Pack a Kitchenaid Mixer for Moving?
When moving to a new home, it is essential to remember all of the necessary kitchen items and gadgets to make your kitchen complete. A Kitchenaid mixer should be high on your list; these mixers have been an invaluable tool in homes for years and are known for their exceptional power, efficiency, and quality.
In addition to being able to whip up delicious batters for cakes, cookies, or breads with ease, many Kitchenaid mixers come with multiple attachments that allow you to grind meat, juice fruits and vegetables, spiralize zucchini noodles, or even extrude homemade pasta.
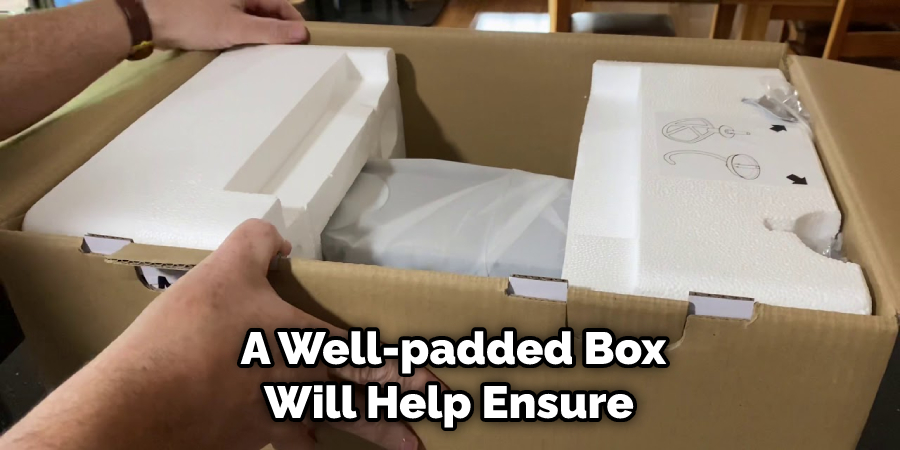
Packing the Kitchenaid mixer into a well-padded box will help ensure that it remains safe during transit, and this indispensable item will be ready for use as soon as you arrive at your new home.
7 Steps to Follow on How to Pack a Kitchenaid Mixer for Moving
Step 1: Remove Attachments
The first step is to remove any attachments from your KitchenAid mixer. This includes any beaters, whisks, dough hooks, or other attachments that came with the machine. Make sure to store these components in a separate box and clearly label each one.
It’s also important to wrap these parts individually in bubble wrap or to pack paper before they go into their own box—this will help protect them during transit.
Step 2: Clean & Cover Your Mixer
Next, give your mixer a good cleaning before wrapping it up for the journey ahead. Be sure to use only gentle cleaners and warm water to avoid damaging any parts of the appliance or its finish.
Once your mixer has been thoroughly cleaned and dried off, cover it with a layer of bubble wrap to protect it from any potential jostling while being moved around inside the truck or storage container. You may also want to use packing paper or foam sheets if you have access to them as extra layers of protection.
Step 3: Secure Your Mixer In A Box
Now that your mixer is clean and covered in protective material, you’ll want to find an appropriately sized box for transport. Make sure that the box is sturdy enough so that your KitchenAid won’t shift around during transit—you don’t want its weight toppling over the sides of the box!
Also, be sure not to overfill the box; leave some room so that you can add additional layers of padding (like packing peanuts or bubble wrap) on top of your mixer once it’s nestled securely inside its new home away from home.
Step 4: Add Padding
Once your mixer is situated in the box, add some more padding around it. This can include shredded paper, packing peanuts, or even foam sheets. Make sure to fill any gaps between the sides of the box and your appliance so that it won’t slide or jostle during transit.
Step 5: Seal & Label Your Box
When you’re finished packing everything up, be sure to seal the box securely with tape. Also, make sure to clearly label it with a marker or printed labels so that whoever is handling your belongings when they arrive at the destination will know how to handle them appropriately.

Step 6: Load Up Your Truck
Now that your KitchenAid is all packed up, it’s time to load it onto the moving truck. Make sure that you place the box in an area of the vehicle where it won’t jostle around during transit, and be sure to secure any straps or ropes properly so that nothing shifts during the drive.
Step 7: Unpack & Enjoy
Once you arrive at your new home, unpack your KitchenAid mixer carefully, following similar steps as before. Once everything is unpacked and settled in its rightful place, you can enjoy delicious baking treats once again!
That’s it! You’ve now learned how to pack a KitchenAid mixer for moving. Be sure to follow these steps carefully, and you’ll be ready for your next big move in no time!
Things You Need to Know Before Packing a Kitchenaid Mixer for Moving
The Kitchenaid mixer is a baker’s best friend, so if you’re packing up your kitchen for a move, you’ll want to ensure it’s safe. Before packing it away, make sure you unplug the mixer and let it cool down. Then give it a good clean with warm soap and water, or if necessary, some white vinegar and baking soda.
Don’t forget to dry off the bowl, attachments, and other components before putting them in the box. Make sure to keep all the parts together, use plenty of bubble wrap or packing paper for protection, then securely tape up your box, ensuring that nothing gets damaged on its way to your new home.
Benefits of Packing a Kitchenaid Mixer for Moving
Moving away from a beloved home brings about a wide range of emotions. When the process can seem tedious, packing your KitchenAid Mixer will provide a sense of peace and ease. This incredible multipurpose kitchen tool makes moving much easier and saves time packing other bulky items.
With the KitchenAid Mixer already packed, it takes a few moments to have reliable use of it in its new home. For those who enjoy baking or cooking, not having to buy a replacement mixer upon arriving at their new residence is also an immensely beneficial perk.
Not only does a Packer save time but also energy and resources as well, proving that having it ready for the big move is highly advantageous for any mover!

6 Common Mistakes People Make When Trying to Packing a Kitchenaid Mixer for Moving
1. Not Using Packing Peanuts
One of the most common mistakes people make when packing a Kitchenaid mixer is not using packing peanuts. Packing peanuts are small pieces of Styrofoam that help to fill empty spaces and prevent your items from shifting during transport. Without packing peanuts, your mixer could get damaged during the move.
2. Not Wrapping the Mixer in Bubble Wrap
Another mistake people make is not wrapping the mixer in bubble wrap. Bubble wrap is a type of plastic that helps to protect your items from scratches and other damage. By wrapping your mixer in bubble wrap, you can help to ensure that it arrives at your new home in one piece.
3. Not Using Packing Tape
Another common mistake is not using packing tape. Packing tape is used to secure boxes and keep them closed during transport. Without packing tape, your box could come open, and your mixer could fall out and become damaged.
4. Not Labeling the Box
Another mistake people make when packing a Kitchenaid mixer is not labeling the box. When you label the box, you can help to ensure that it ends up in the right room at your new home. Labeling the box can also help you remember what is inside of it when you are unpacking later.
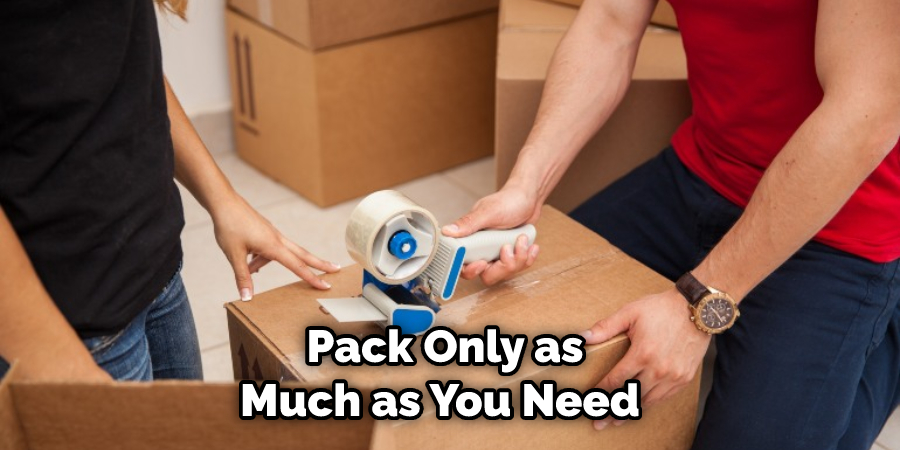
5. Overpacking the Box
One final mistake people make when packing a Kitchenaid mixer is overpacking the box. Overpacking the box can cause the bottom of the box to collapse, damaging your mixer. To avoid this, be sure to pack only as much as you need and leave some empty space at the top of the box.
6. Not Assembling the Mixer Before Moving
Another mistake people make is not assembling the mixer before moving day. Assembling the mixer before moving day can help to ensure that all of the parts are accounted for and that nothing gets lost during the move
Conclusion
Moving can be overwhelming, but with careful preparation, you can make sure all your fragile items arrive safe and sound at their new destination—including your precious kitchenaid mixer!
With these steps in mind, you’ll be able to pack up this beloved appliance with ease properly! Good luck with your move! Thanks for reading our post about how to pack a kitchenaid mixer for moving.
