
If you’re looking to give your kitchen or bathroom cabinets a fresh new look, one of the first steps is often to remove the existing glaze. Glazed cabinets, with their unique finishes, can add character and depth to your space, but there comes a time when you might want to change the style or simply start anew.
Removing the glaze from cabinets can be a daunting task, but with the right guidance and tools, it’s a manageable DIY project that can yield impressive results.
This article will walk you through the essential steps and techniques for how to remove glaze from cabinets, whether they’re made of wood, laminate, or any other material. By the end of this guide, you’ll be well-equipped to breathe new life into your cabinets, creating a blank canvas for your desired finish and style transformation.
Why Removing Glaze from Cabinets May Be Necessary
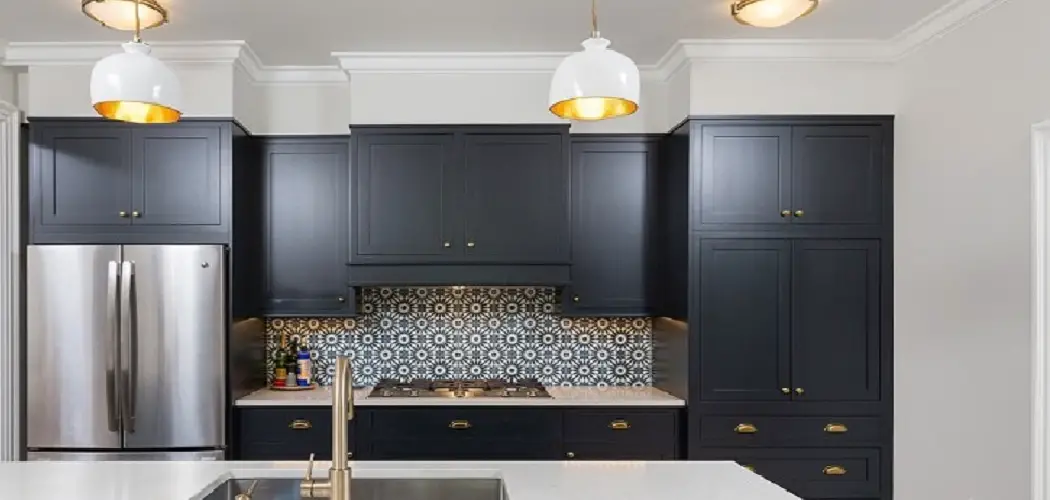
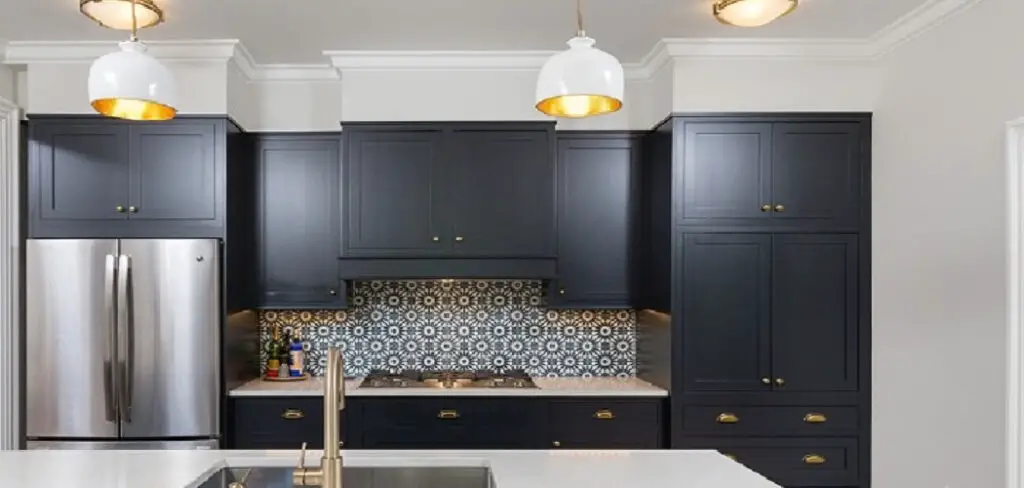
Having glazed cabinets can add a touch of elegance and sophistication to any kitchen or bathroom. However, there may come a time when you want to change the look of your cabinets and remove the glaze.
There are several reasons why you might consider removing the glaze from your cabinets. One reason could be that the current glaze is outdated or no longer suits your style. Another reason could be that the glaze has become chipped, cracked, or discolored over time and needs to be refreshed. Or perhaps you simply want to create a more modern and sleek look for your cabinets.
Regardless of the reason, removing glaze from cabinets is a task that requires some time and effort but can ultimately give you the desired results. In this document, we will discuss the various methods and techniques for removing glaze from cabinets to help you achieve your desired look.
Benefits of Glaze Removal
Like many other home renovation projects, removing glaze from cabinets can be time-consuming and messy. However, the benefits of this process far outweigh any potential inconveniences. Here are some advantages of removing glaze from cabinets:
- Restore the natural beauty of wood: Glazed cabinets often have a shiny finish that can hide the true character and beauty of the underlying wood. By removing the glaze, you can expose the natural grain and color of the wood, adding warmth and depth to your cabinets.
- Update outdated kitchen styles: Glazed cabinets were popular in the past, but as design trends change, they can make a kitchen look dated. Removing the glaze can give your cabinets a more modern and timeless look.
- Better color customization: Glaze can limit your options for repainting or refinishing cabinets. By removing the glaze, you have a blank canvas to work with and can choose any color or finish that suits your personal style.
- Cost-effective solution: Instead of replacing cabinets, which can be expensive, removing the glaze is a more budget-friendly option to update the look of your kitchen.
- Increases home value: A well-maintained and modern kitchen is a major selling point for potential buyers. By removing the glaze from your cabinets, you can increase the overall value of your home.
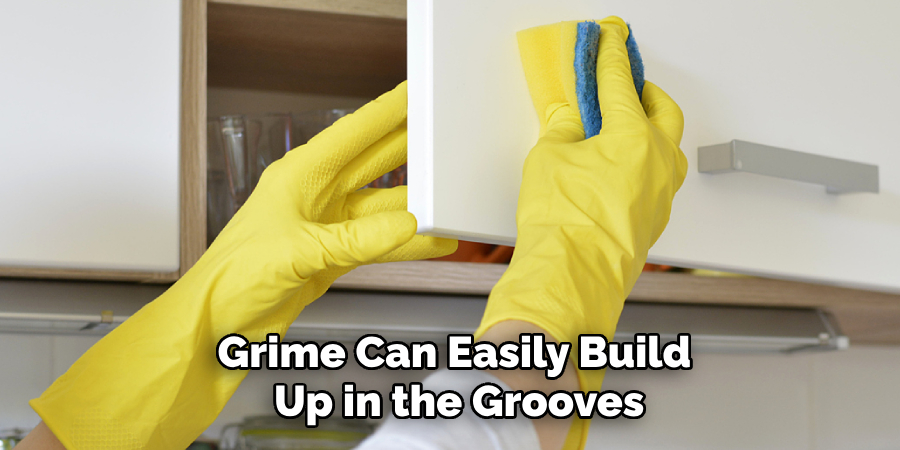
- Easier maintenance: Glazed cabinets can be more difficult to clean and maintain as dirt and grime can easily build up in the grooves and crevices of the glaze. Removing the glaze can make cleaning and upkeep much easier.
- Allows for repair and restoration: Glazed cabinets that have been damaged or chipped may not be easily fixed if the glaze is still intact. By removing the glaze, you can properly address any imperfections and restore your cabinets to their original condition.
10 Methods How to Remove Glaze from Cabinets
1. Sanding
Sanding is one of the most effective ways to remove glaze from cabinets. To start, make sure to use a fine-grit sandpaper and wear protective gear such as gloves and a dust mask. Begin by lightly sanding the surface of the cabinet, then gradually work your way up to a more aggressive grit until the glaze has been removed. Once finished, be sure to wipe down the cabinet with a damp cloth to remove any dust or debris left behind from sanding.
2. Chemical Stripper
Chemical strippers are another popular method for removing glaze from cabinets. To use, apply an even coat of the chemical stripper over the surface of the cabinet and let it sit for several minutes before wiping off with a clean cloth.
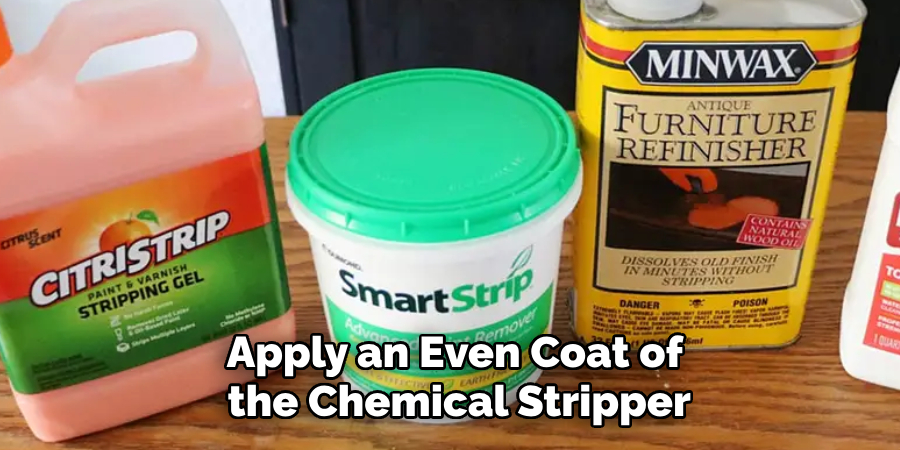
Be sure to wear protective gear such as gloves and goggles when using this method, as chemicals can be hazardous if mishandled. Additionally, be sure to read all instructions on the product label before using it on your cabinets.
3. Heat Gun
A heat gun can also be used to remove glaze from cabinets. To start, set your heat gun at low or medium heat and hold it approximately six inches away from the surface of the cabinet while slowly moving it around in a circular motion until you see the glaze begin to bubble up and come off. Be sure to wear protective gear such as gloves when using this method, as high temperatures can cause burns if mishandled.
4. Scraping
Scraping is another effective way to remove glaze from cabinets without damaging them in any way. To do this, you’ll need either a plastic putty knife or an old credit card that you don’t mind potentially scratching up in order to scrape off any excess glaze that may have built up on your cabinets over time. Be sure not to use too much force when scraping, as this could damage your cabinets further than necessary.
5. Power Washer
Using a power washer is also an effective way of removing glaze from cabinets without damaging them in any way. To do this, set your power washer at low pressure and hold it at least six inches away from your cabinet while slowly moving it around in a circular motion until you see the glaze begin to come off.

Make sure not to get too close to your power washer or use too much pressure, as this could cause serious damage to your cabinets if mishandled.
6. Acetone
Acetone is another popular method for removing glaze from cabinets that work best on acrylic finishes only; never use acetone on wood surfaces! To start, pour some acetone onto a clean cloth or cotton ball and gently rub over the affected area until desired results are achieved; be careful not to scrub too hard or leave acetone on for too long, as this could cause discoloration or other damage! Afterward, wipe down the area with a damp cloth followed by a dry cloth for best results!
7. Mineral Spirits
Mineral spirits are also great for removing stubborn spots of glazing left behind after other methods have been used; however, they should not be used on wood surfaces due to either!
To start, simply pour some mineral spirits onto a clean cloth or cotton ball, then gently rub over the affected area until desired results are achieved; just like with acetone, make sure not to scrub too hard or leave mineral spirits on for too long; otherwise, discoloration might occur! Afterward, wipe down the area with a damp cloth followed by a dry cloth for best results!
8. Rubbing Alcohol
Rubbing alcohol is yet another great option that works well on both wood and acrylic finishes; however, it should never be used on lacquered surfaces! Simply pour some rubbing alcohol onto a clean cloth or cotton ball, then gently rub over the affected area until desired results are achieved; again make sure not to scrub too hard or leave rubbing alcohol on for too long otherwise, discoloration might occur! Afterward, wipe down the area with a damp cloth followed by a dry cloth for best results!
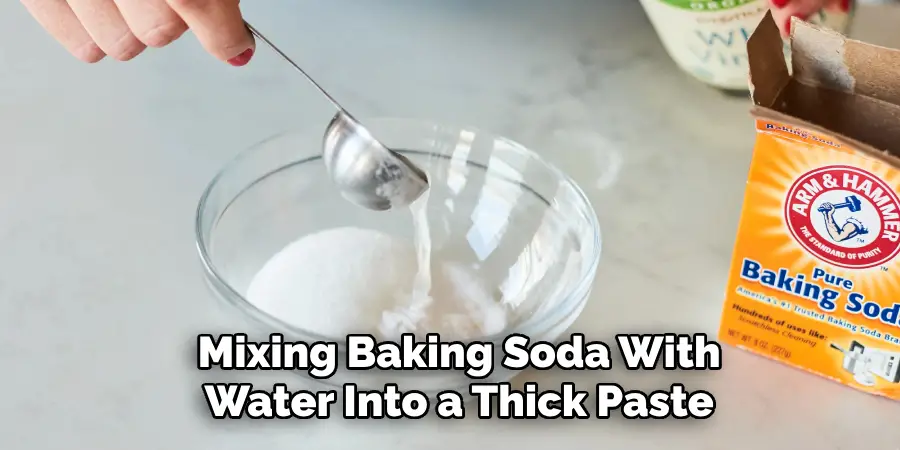
9. Baking Soda Paste
Baking soda paste is an excellent natural alternative when trying to remove stubborn spots of glazing left behind after other methods have been used; however, it should never be used on lacquered surfaces!
Start by mixing baking soda with water into a thick paste, then apply directly onto the affected area, leaving overnight if necessary before wiping away the excess paste with a damp cloth followed by a dry cloth afterward – baking soda paste will help lift away unwanted residue without causing any discoloration whatsoever making it the perfect choice when dealing with delicate materials like wood & acrylics alike!
10. Steel Wool Pad
Steel wool pads are also a great option when looking into how to remove stubborn stains & marks left behind after other methods have been used; however, they should only be used on wood surfaces that are heavily stained!
To start, simply wet a steel wool pad with water and gently rub over the affected area until desired results are achieved; make sure not to scrub too hard or use too much pressure otherwise, scratches might occur! Afterward, wipe down the area with a damp cloth followed by a dry cloth for best results!
Things to Consider When Removing Glaze from Cabinets
When it comes to removing glaze from cabinets, there are a few important things to keep in mind. Whether you are looking to completely change the look of your cabinets or just refresh their appearance, the process of removing glaze can be time-consuming and requires careful consideration.
Here are some key factors to consider when tackling this project:
- The type of glaze used: There are different types of glazes that can be used on cabinets, including water-based and oil-based options. It’s important to know what type of glaze was initially applied to your cabinets so you can use the appropriate removal method.
- The condition of your cabinets: Before starting the removal process, it’s important to assess the current condition of your cabinets. If they are already damaged or in poor shape, removing the glaze may cause further damage.
- Time and effort required: Removing glaze from cabinets is not a quick and easy task. It requires time, effort, and attention to detail in order to achieve the desired results. Make sure you have enough time set aside for this project before starting.
- Proper tools and materials: In order to successfully remove glaze from cabinets, you will need the right tools and materials. This may include sandpaper, chemical strippers, and other supplies specific to the type of glaze being removed.

Conclusion
To recap, removing glaze from cabinets can be a daunting task if you don’t know how to do it properly. But with the right tools and skills, it doesn’t have to be that way! With all of these tips on how to remove glaze from cabinets, you should now be able to tackle the job with confidence.
Remember, safety always comes first when it comes to any kind of DIY project – whether it’s clearing a clogged drain or refinishing your cabinets. And finally, remember that glazing your cabinets is an art form – take your time and take pride in the results when you’ve completed the job! Now go seize the day and get rid of that glaze on your cabinetry – you’ve got this!
