
Are you lost on how to set clock on samsung smartthings oven? No need to worry, as it’s actually quite simple! With this guide, you will be able to quickly and easily navigate through the menu operations of your new oven.
From adjusting time zones and setting alarms for reminders, this tutorial can help make sure that your kitchen space is constantly up-to-date with no hassles. So keep reading if you want to learn more about how to Set Clock on Samsung Smart Things Oven

Step-by-Step Guidelines on How to Set Clock on Samsung Smart Things Oven
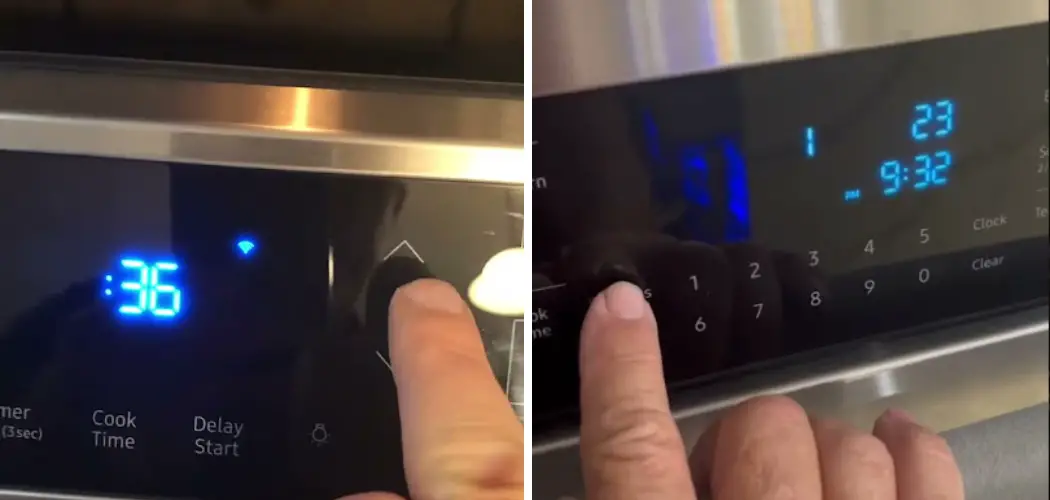
Step 1: Press the “Menu” Button:
The first thing that you need to do is press the “Menu” button. This will bring up a series of options on your oven’s display screen. You can select the “Clock” option from here. If you can’t find the Menu button, check your oven’s manual for instructions. Usually, it is located somewhere on the front panel.
Step 2: Set the Time Zone:
After selecting the clock option, you will then be able to choose your time zone and adjust it according to your location. This is important in order for your oven to accurately record the current time. Also, if you ever move or travel, you can always come back and adjust the time zone in order for your oven to keep up with you.
Step 3: Adjusting Time and Date:
Once you have set the time zone, you can now start adjusting the current date and time. This allows you to program reminders or alarms that will notify you when certain tasks are due. It also helps make sure that all of your kitchen appliances are running accurately. While adjusting the date and time, make sure that all of your entries are accurate.
Step 4: Select the “Save” Button:
Once you have adjusted all of the settings that you need, select the “Save” button to make sure that all of your changes have been implemented into your oven’s clock settings.
By pressing this button, you can rest assured knowing that all of your preferences have been properly saved and that your oven is up-to-date with the current time.
And there you have it! That’s all there is to know about how to set the clock on a Samsung smart things oven. With these simple steps, you will be able to get the most out of your new appliance and make sure that all of your kitchen appliances are running accurately.
So what are you waiting for? Get started now and start setting up your oven’s clock settings!
Additional Tips and Tricks to Set Clock on Samsung Smartthings Oven
1. To set the clock manually, press “Clock” and then enter the new time and date using the up/down arrows. After making your changes, select “OK” to save them.
2. If you want to change the oven’s temperature display from Fahrenheit to Celsius or vice versa, simply press down on the power button and select the option from the menu.
3. To use a kitchen timer, press “Timer” and then follow the instructions on-screen. You can set up to three timers at one time, and each will appear in order from left to right when you view them on the oven’s display.
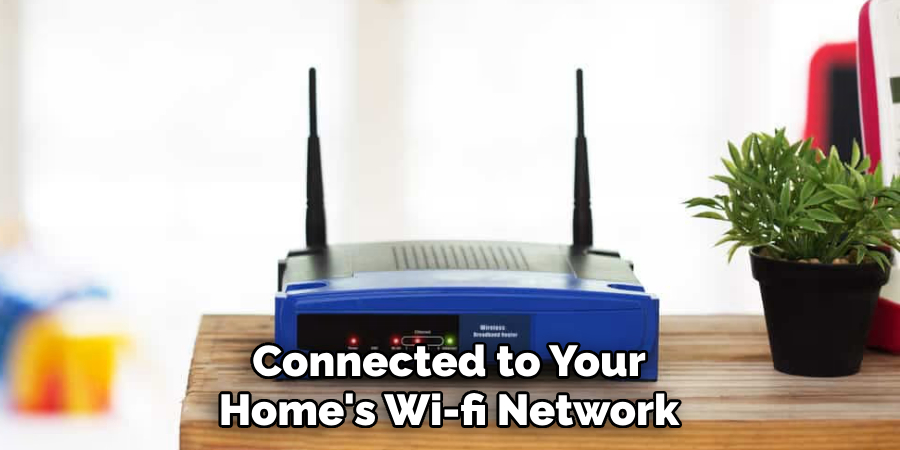
4. If your SmartThings oven is connected to a Wi-Fi network, it can automatically update the clock when daylight savings time begins or ends. To enable this feature, press “Settings” and then select “Daylight Savings Time” from the menu.
5. If you ever forget what time your oven is set to, simply look at the display screen – the current time and date will be easy to spot.
6. Finally, keep in mind that if you turn off the oven completely, the clock and other settings will revert back to their defaults.
To avoid this, just press “Power” to put the oven into standby mode when you’re finished using it.
This should ensure that all your settings are kept intact and ready for when you’re ready to use the oven again.
Things You Should Consider to Set Clock on Samsung Smartthings Oven
1. Make sure you have the necessary equipment and materials such as the SmartThings Oven and a smartphone/tablet with the SmartThings app installed.
2. Check that your oven is connected to your home’s Wi-Fi network, which can be done via the SmartThings app.
3. Gather any user manuals or instructions for your oven, as well as the SmartThings app.
4. Familiarize yourself with the features and controls of your oven, such as the clock settings and any related options like alarms.
5. Check that you have enough time to set up and configure the clock on your oven before you plan to use it.
6. Make sure to have the correct date and time when setting up your oven clock, as this will ensure that all of your alarms are set correctly.
7. Have a few backups in case you run into any issues during the setup process – like having an extra power source (like a separate outlet) for powering your oven or having access to an alternative device for controlling the oven.
8. Have someone else nearby to help you in case you get stuck or need assistance during setup – like a family member or friend who is familiar with operating SmartThings products.
Following these considerations and steps will help ensure that you are able to set up the clock on your Samsung Smartthings Oven quickly and easily, without any issues!
Common Mistakes in Setting Clock on Samsung Smart Things Oven
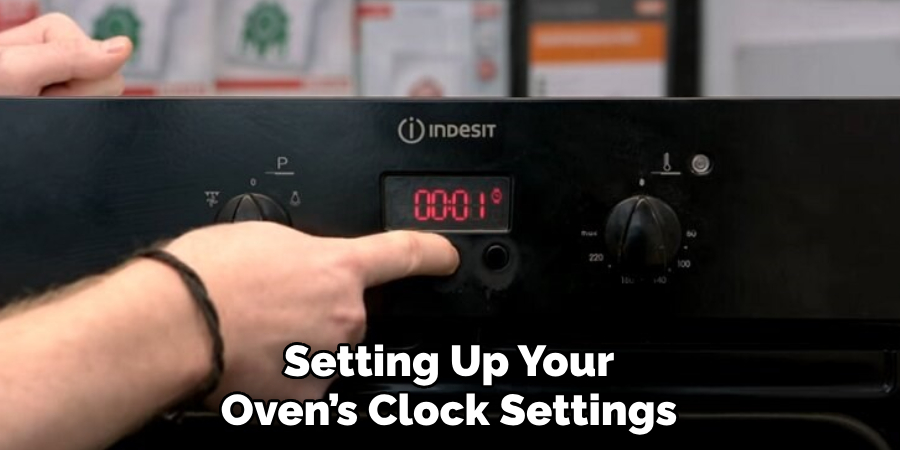
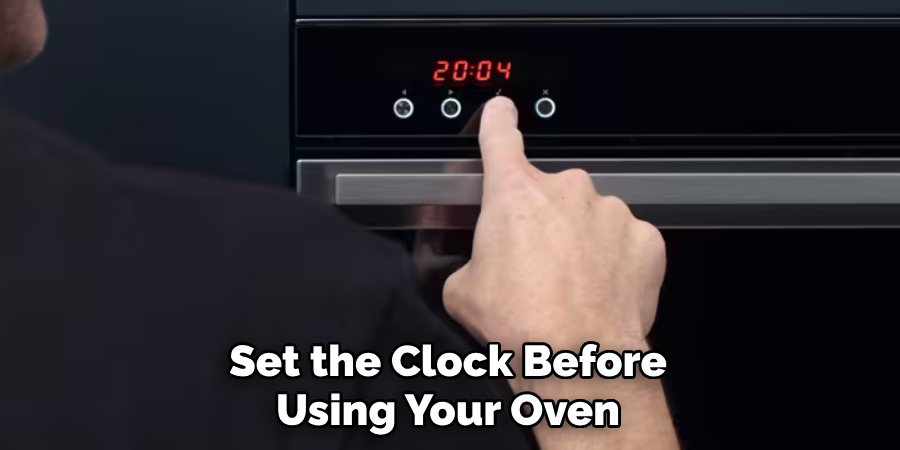
1. Not Setting the Clock at All:
One of the most common mistakes when setting the clock on a Samsung Smartthings oven is simply not setting it at all. This can cause problems later down the line if you forget what time your oven is set to, or if you need to reset it for any reason. Make sure that you always set the clock before using your oven.
2. Setting the Clock to an Incorrect Time:
Another mistake that can occur when setting the clock on a Samsung Smartthings oven is setting it to an incorrect time. This is easily done if you enter in the wrong numbers, or enter them in the wrong order. Make sure that you double-check your selection before pushing the “set” button.
3. Not Setting the Clock to Automatically Update:
The Samsung Smartthings oven comes with an option where you can set the clock to automatically update itself when Daylight Savings Time occurs. If you do not take advantage of this feature, your clock will be off by an hour during those times of the year. Be sure to adjust your settings accordingly.
4. Not Being Familiar With the Interface:
In order to successfully set the clock on your Samsung Smartthings oven, it’s important to be familiar with the interface and what each button does. If you are unfamiliar with how to use the oven’s settings, take some time and read through the user manual or watch some tutorials online.
By following these simple tips, you can ensure that your Samsung Smartthings oven is always set to the correct time and avoid any potential problems down the line.
Frequently Asked Questions
How Do I Adjust the Time on My Samsung Smartthings Oven?
To adjust the time on your Samsung Smartthings oven, press and hold down the Clock button until the display blinks. Use the arrow keys to set the current hour, minute, year, month, and day. When you are finished setting the clock, press and hold the Clock button again to save your settings.
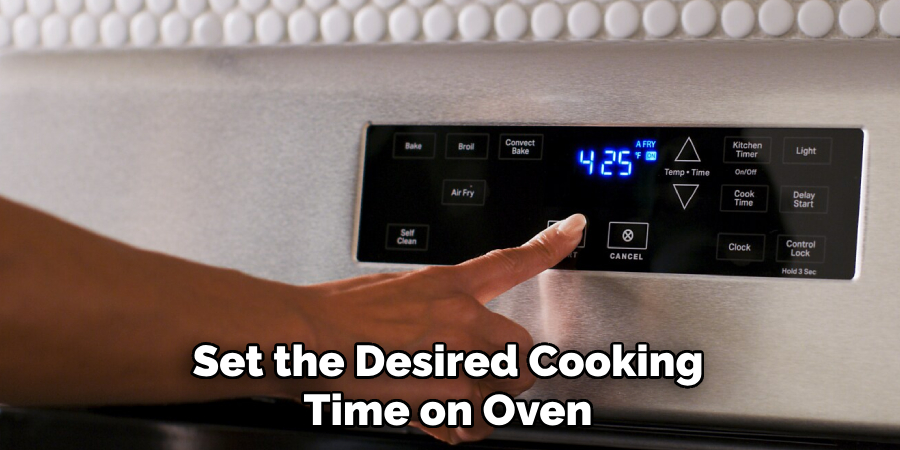
How Do I Set the Timer on My Samsung Smartthings Oven?
To set the timer for your Samsung Smartthings oven, press and hold the Time/Cook button until the display blinks. Use the arrow keys to set the desired cooking time and temperature. When finished, press and hold the Time/Cook button again to save your settings.
How Do I Set the Clock on My Samsung Smartthings Oven?
To set the clock on your Samsung Smartthings oven, press and hold down the Clock button until the display blinks. Use the arrow keys to set the current hour, minute, year, month, and day. When you are finished setting the clock, press and hold the Clock button again to save your settings.
Can I Set Multiple Timers for My Samsung Smartthings Oven?
Yes, you can set multiple timers on your Samsung Smartthings oven. To do so, press and hold the Time/Cook button until the display blinks. Use the arrow keys to select which timer to use and then set the desired cooking time and temperature. When finished, press and hold the Time/Cook button again to save your settings. You can repeat this process for each timer you wish to set.
Conclusion
By following the instructions we have provided, you should now have no problem learning how to set clock on Samsung SmartThings oven. There is no feeling quite like mastering useful kitchen tasks and knowing that your appliance is now working to its full potential.
Whether it’s baking a cake for a special occasion or just heating some leftovers comfortably for the family, you’ll be sure to appreciate having learned how to use this control feature.
Be sure to continue familiarizing yourself with the various components of your SmartThings oven – there are undoubtedly other features you can take advantage of as well! Put your newfound knowledge to good use today and get cooking in style!
