


Are you looking for a way to seal your beadboard backsplash? Sealing it can help protect it from water and other liquids, preventing discoloration and damage.
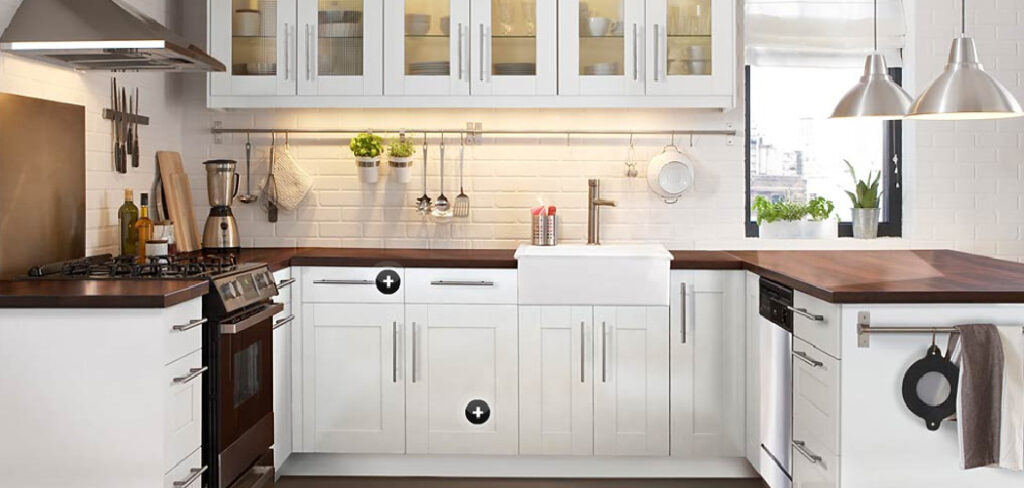
If you’re looking for a quick and easy way to give your kitchen a makeover, consider installing a beadboard backsplash. Beadboard is a wood paneling type with small, round indentations running along its surface.
It’s available in several different finishes, making it a versatile choice for any kitchen style. Best of all, installing a beadboard backsplash is a relatively easy DIY project.
Beadboard is popular for backsplashes because it’s affordable, durable, and easy to install. In this article, we will show you how to seal beadboard backsplash. Follow these simple steps, and your beadboard backsplash will look great for years to come!
Why Should You Seal Beadboard Backsplash?
One of the main reasons to seal your beadboard backsplash is to protect it from water and other liquids. This can help prevent stains and damage, which can ruin the look of your kitchen over time.
Additionally, sealing your beadboard backsplash will help keep it looking new for longer, making it a worthwhile investment. Overall, sealing your beadboard backsplash is an easy and effective way to keep your kitchen looking great for years to come. To get started, simply follow the steps outlined below.
What Will You Need?
To seal your beadboard backsplash, you will need the following supplies:
- A clean, lint-free cloth or sponge
- A quality sealant for kitchen surfaces, such as polyurethane or shellac
- Tape and painter’s tape (if needed)
- Safety goggles and gloves (optional)
Once you have gathered your materials, you are ready to seal your beadboard backsplash.
10 Easy Steps on How to Seal Beadboard Backsplash
Step 1: Clean the Surface of Your Beadboard Backsplash
Before you begin sealing your beadboard backsplash, it is important to clean the surface thoroughly. This will help ensure that all dirt and debris are removed, so your sealant can effectively protect the paneling. Be careful not to use any harsh or abrasive cleaning products, as they can damage the surface of your beadboard.
Step 2: Apply Your Sealant
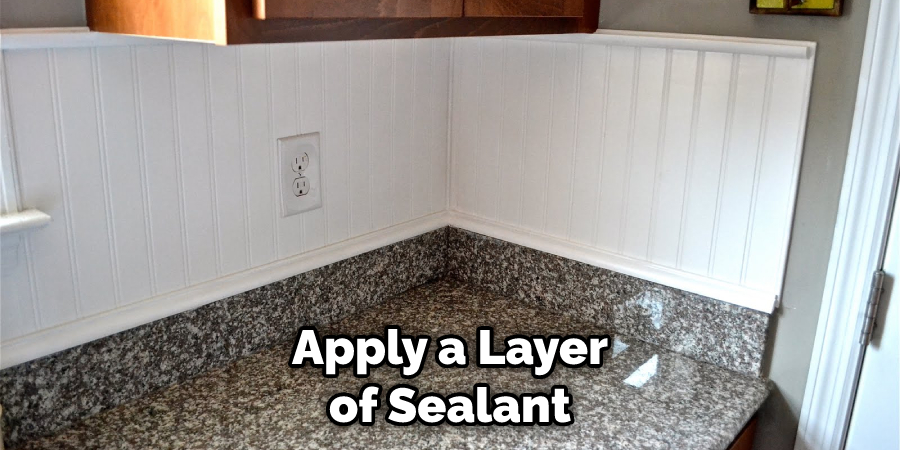
Next, apply a layer of sealant evenly across the entire surface of your beadboard backsplash. You may want to consider using painter’s or another type of tape to create neat and straight lines if desired. You can use a clean, lint-free cloth or sponge to apply the sealant and ensure that it is evenly distributed.
Step 3: Let the Sealant Dry Completely
Once you have applied your sealant, allow it to dry completely before moving on to the next step, depending on how thick your coating is and how humid the room is. This may take anywhere from 1 hour to 24 hours or more.
Step 4: Apply a Second Coat
Repeat step 2 if you feel that your beadboard backsplash still needs more protection. You can add additional coats as needed until the surface feels smooth and dry to the touch. Make sure to allow plenty of time for each coat to dry completely before moving on.
Step 5: Remove Your Tape
Once you are satisfied with how your sealant looks and dries, carefully remove any tape you used for neat lines or straight edges. Be sure to do this carefully, so you don’t damage your newly-sealed beadboard backsplash. If you notice any areas needing additional sealing, repeat the steps above.
Step 6: Cure the Sealant
Some sealants require a period of “curing” to harden or set completely. If necessary, follow the manufacturer’s guidelines on how long you should wait before using your backsplash again. Otherwise, you are ready to enjoy your beautifully-sealed beadboard backsplash!
Step 7: Wash Splashed Surface
Once your newly-sealed beadboard backsplash is fully cured, make sure to clean any surfaces that could be splashed by water or other liquids. This can help prevent staining and extend the life of your new kitchen feature! So, be sure to keep your backsplash clean and free of spills to get the most out of your investment.
Step 8: Maintain Your Beadboard Backsplash
To keep your beadboard backsplash looking fresh and beautiful for years to come, it is important to maintain it regularly. Simply clean the surface with a damp cloth or sponge and reapply sealant when needed to keep your kitchen looking great.
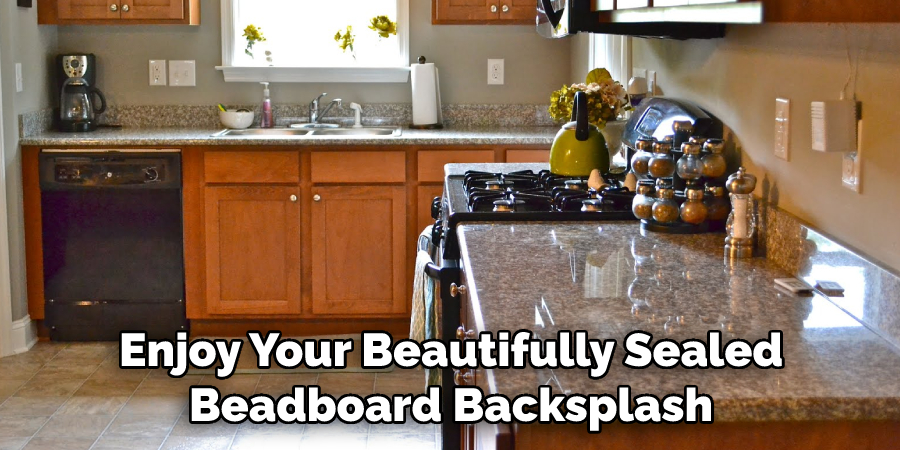
Step 9: Enjoy Your Beautiful Beadboard Backsplash!
As you can see, sealing your beadboard backsplash is a quick and easy process that will help protect this valuable kitchen feature for years to come. So what are you waiting for? Start sealing your kitchen today and enjoy your beautiful new beadboard backsplash!
Step 10: Store Any Remaining Sealant and Supplies
To keep your beadboard backsplash looking shiny and new for as long as possible, be sure to store any remaining sealant or supplies carefully once you are done using them. This will help ensure that you can use them again when needed without much hassle.
Whether you are looking to update an old kitchen backsplash or simply want to protect an existing one from wear and tear, sealing your beadboard backsplash is a great way to achieve the look and functionality you desire.
So why wait? Start sealing your kitchen today and enjoy all the benefits of this simple yet effective home improvement project!
5 Additional Tips and Tricks
1. Use caulking to seal the seams between pieces of the beadboard.
2. Inspect the backsplash regularly for any signs of damage or moisture, and repair any issues immediately.
3. Use a clear sealant or primer to protect the beadboard from stains and moisture.
4. Consider lining your backsplash with an adhesive tile board or other protective material, especially if you are planning on using harsh cleaning products in your kitchen.
5. If you are installing your backsplash yourself, read all the instructions carefully before getting started to ensure that you have all of the necessary tools and materials for a successful installation.
With the right preparation and careful attention to detail, you can create a beautiful and durable beadboard backsplash that will last for years to come.
5 Things You Should Avoid
1. Using Excess Adhesive:
When applying your beadboard backsplash, be sure to use only enough adhesive needed to seal the edges and keep it in place. Using too much adhesive can cause it to bubble and peel, which will ruin the overall look of your backsplash.
You Can Check It Out Vent a Range Hood on an Interior Wall
2. Not Prepping Your Surface Properly:
Before you even begin installing your beadboard backsplash, it’s important to ensure the surface is clean and free from any debris or other materials that may interfere with its installation. This means thoroughly wiping down the area before applying the strips of backsplash material.
3. Cutting Corners on Measurements:
For your beadboard backsplash to fit properly, you must take accurate space measurements and cut your strips accordingly. Be sure not to skimp on this step, as doing so will likely result in an uneven or misaligned backsplash that looks sloppy and unprofessional.
4. Use Improper Tools and Materials:
Try to install them yourself without the proper tools and materials. Installing a beadboard backsplash can be quite challenging, especially if you’re working with a large space or complex shapes.
5. Seal Before Final Installation:
Not sealing or priming your backsplash before final installation. Finally, once your beadboard backsplash is installed, seal it thoroughly with a quality sealant or primer.
A beadboard backsplash may be the perfect option if you’re looking for an easy and cost-effective way to add visual interest and texture to your kitchen or bathroom space. With its clean, classic look and durable material, this backsplash is beautiful and practical, making it the perfect choice for homeowners who want to elevate their home’s style without breaking the bank.
Is Beadboard Water Resistant?
Although beadboard is designed to be durable and water resistant, how well it holds up over time will depend on several factors, such as the type of sealant or primer you use, how well you prep your surface before installation, and how frequently you clean and maintain the backsplash.
To ensure optimal water resistance and durability, it’s best to work with a professional installer who can help you choose the right materials for your specific space and provide expert installation tips that will keep your backsplash looking great for years to come.
You Can Check It Out Install Range Hood on Vaulted Ceiling
Conclusion
Sealing your beadboard backsplash is a quick and easy process that will protect it from kitchen spills and make clean up a breeze. In just a few minutes, you can have a beautiful, protective sealant on your beadboard that will keep it looking great for years to come.
That’s it! You’ve now learned how to seal beadboard backsplash in your kitchen. By following these simple steps, you can give your kitchen an updated look that will last for years to come.
Hopefully, this information has helped you learn how to seal your beadboard backsplash so that you can enjoy it for years to come. Whether you’re looking for a classic, timeless look or something more on-trend and modern, a beadboard backsplash is a perfect way to update your kitchen affordably and stylishly. So what are you waiting for? Get out there and start sealing your beautiful new backsplash today!
Professional Focus
Angela Ervin, a former interior designer turned blogger, specializes in kitchen design and renovations. Through her website, she blends her passion for cooking with design expertise, sharing practical and creative ideas. Known for balancing functionality and beauty, Angela’s insightful content has made her a trusted voice in home design and lifestyle.
About the Author
Angela Ervin, an experienced interior designer and blogger, combines her passion for kitchen renovations with storytelling. Living in Petersburg with her family, she enjoys cooking and testing her projects firsthand. Known for her humor and relatable style, Angela shares creative, functional design insights through her content, making her a trusted voice in home design.
Education History
University: Virginia Commonwealth University
Degree: Bachelor of Fine Arts (BFA) in Interior Design
- Angela’s education at VCU focused on mastering core interior design principles, including spatial planning, color theory, materials selection, and sustainable design practices.
- She gained hands-on experience through studio projects and collaborative design exercises, which honed her ability to create functional and aesthetically pleasing environments.
- Her coursework also emphasized problem-solving and practical applications of design, preparing her for real-world projects like her self-directed kitchen renovations.
- The program’s strong foundation in both technical skills and creative expression shaped Angela’s ability to seamlessly integrate form and function in her work.