
Have you been wanting to update your kitchen cabinets but don’t want to spend the money for a complete renovation? Contact paper is a quick, easy, and inexpensive way to give your cabinets a fresh new look. Keep reading for a step-by-step guide on how to put contact paper on cabinets with grooves.

What is a Contact Paper?
Contact paper is a self-adhesive decorative paper that can be used to cover surfaces, such as cabinets, shelves, drawers, and countertops. It comes in a variety of colors, patterns, and textures, making it perfect for customization and personalization. You can find contact paper at most hardware stores, home improvement stores, and online retailers.
Can You Put Contact Paper on Cabinets with Grooves?
If you’re looking for a quick and easy way to give your kitchen a makeover, you may be wondering if you can put contact paper on cabinets with grooves. The answer is yes! Contact paper is a great way to update the look of your kitchen without spending a lot of money.
With a few simple tools and a little bit of patience, you can easily apply contact paper to cabinets with grooves. Here’s what you need to know:
First, select a contact paper that matches the style of your kitchen. There are many different designs and colors available, so take some time to browse around until you find the perfect one. Next, use a measuring tape to measure the width and height of each cabinet door. Then, use a utility knife to cut the contact paper to size.
Be sure to cut it slightly larger than the door itself so that there is room for error. Once the contact paper is cut to size, peel off the backing and align it with the edge of the cabinet door. Slowly smooth it out as you go, using a credit card or another flat object to remove any air bubbles.
Once all of the doors are covered, stand back and admire your handiwork! You’ll be amazed at how such a simple project can completely transform the look of your kitchen.
Why Should You Put Contact Paper on Cabinets with Grooves?
If you have cabinets with grooves, you may be wondering whether or not it’s worth it to put contact paper on them. There are a few reasons why you might want to consider this. First, contact paper can help to protect the finish on your cabinets. Grooves tend to collect dirt and dust, which can then be difficult to clean out.
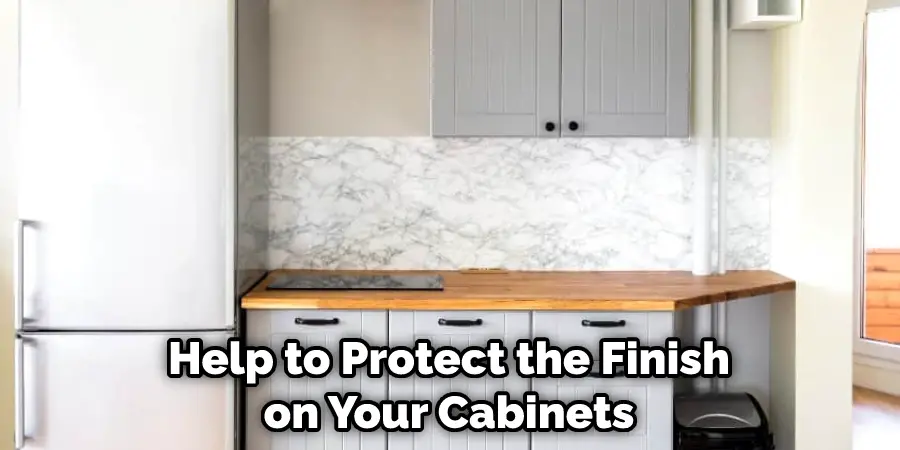
By covering the grooves with contact paper, you can reduce the amount of time you spend cleaning your cabinets. Second, contact paper can give your cabinets a new look. If you’re tired of the way your cabinets look, a quick and easy way to change things up is to use contact paper.
You can find contact paper in a wide range of colors and patterns, so you’re sure to find something that suits your style. Finally, contact paper is relatively inexpensive. If you’re looking for a budget-friendly way to update your cabinets, this is definitely an option to consider.
Tools and Materials Needed
Contact Paper (Choose a Design That You Love!):
First and foremost, you’ll need contact paper to complete this project. Choose a design that matches your kitchen’s style and color scheme.
Measuring Tape:
A measuring tape will help you get accurate measurements of your cabinet doors so that the contact paper fits perfectly.
Utility Knife:
A utility knife is essential for cutting the contact paper to size. Be sure to use a sharp blade for clean cuts.
Credit Card or Other Flat Object:
A credit card or other flat object can be used to smooth out the contact paper and remove any air bubbles as you apply it to the cabinet doors.
Cleaning Supplies:
Before applying the contact paper, it’s important to thoroughly clean your cabinets. Use a gentle cleaner and a soft cloth to wipe down the surfaces and remove any dirt, grease, or residue.
Steps to Follow on How to Put Contact Paper on Cabinets with Grooves
Step One: Measure and Cut the Contact Paper to Size
Begin by measuring the width and height of each cabinet door. Once you have these measurements, add an extra inch or two to each so that you have some wiggle room.
Cut the contact paper to size using scissors or a utility knife. If you are using a utility knife, be sure to use a straightedge as well so that you have clean, straight lines. You can also use a cutting mat for added precision.
Step Two: Apply the Contact Paper
Start in one corner of the cabinet door and slowly peel back the backing of the contact paper as you apply it to the surface. If you are using a squeegee, run it over the top of the contact paper as you go to help avoid any air bubbles.
If you don’t have a squeegee, simply use your hands to smooth out any bubbles as you go. Repeat this process for each cabinet door. It may take some time and patience to ensure that the contact paper is applied evenly and smoothly.
Step Three: Trim off any Excess Paper
Once all of the cabinet doors are covered with contact paper, use a utility knife or scissors to trim off any excess around the edges. Be sure to go slowly and carefully so that you don’t accidentally cut into the contact paper or the cabinets’ surface.
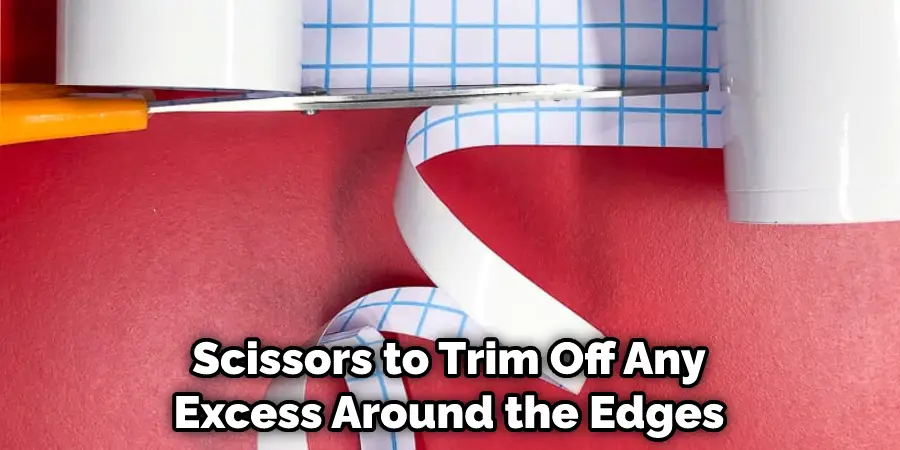
You can also use a straightedge or ruler to guide your cuts and ensure straight lines. It’s okay if the edges aren’t perfect, as they will likely be hidden by the cabinet frames.
Step Four: Fit the Contact Paper into Grooves
Be sure to measure how deep the grooves are on your cabinets, then cut the contact paper accordingly. Start by applying a single strip of contact paper over each groove and using your fingers or a squeegee to smooth out any air bubbles. Continue this process until all of the grooves are filled with contact paper.
It’s important to take your time and be patient with this step, as it can be a bit tricky to get the contact paper to lay perfectly flat in the grooves. But once you’re done, it will give your cabinets a seamless and polished look.
Step Five: Fill any Gaps
If there are any gaps between the contact paper and the cabinets’ surface, use a thin strip of contact paper to fill them in. Again, use your fingers or a squeegee to smooth out any air bubbles as you go. This will ensure that your cabinets have a cohesive and professional appearance.
You can also use a small amount of glue or double-sided tape to secure the contact paper in place if necessary. It’s important to make sure that the contact paper is securely attached so that it doesn’t peel or shift over time.
Step Six: Trim and Smooth Out Edges
Using a utility knife or scissors, carefully trim the edges of the contact paper where it meets the frame of the cabinets. Use a squeegee or credit card to smooth out any remaining air bubbles and ensure that the edges are fully adhered.
If necessary, you can also use a small amount of glue or double-sided tape to secure the edges in place, making sure that they are fully sealed.
Step Seven: Repeat on all Cabinet Doors
Repeat steps three through six on all of your cabinet doors until each one is covered with contact paper. Be sure to take your time and work carefully to ensure a professional-looking finish. You can also take breaks in between doors to prevent fatigue and keep your hands steady.
It’s important to note that the more intricate your cabinet design is, the longer this process may take. But it will be worth it once you see the final result.
Step Eight: Smooth out any Remaining Air Bubbles
Once all of your cabinet doors are covered with contact paper, go back and use a squeegee or credit card to smooth out any remaining air bubbles. Be sure to work from the center outwards, applying pressure as you go.
If there are stubborn air bubbles that won’t smooth out, use a small pin or needle to carefully poke a hole in them and then smooth them out with your fingers or a squeegee.
Step Nine: Add Finishing Touches
Now that your cabinets are covered with contact paper, it’s time to add any finishing touches. You can use a decorative trim or washi tape around the edges of the cabinet doors for added visual interest. Or, you can leave them as is for a clean and modern look.
You can also swap out the hardware on your cabinets for a fresh, new look. Just be sure to properly measure and align the holes before installing the new hardware.
Step Ten: Enjoy Your New Look
Once you’re finished with all of the steps, take a step back and admire your newly covered cabinets. They will have a fresh and updated look without the cost or hassle of completely replacing them.
Not only is this a great way to update your cabinets, but it’s also a fun and creative DIY project. So have fun with it and enjoy the satisfaction of completing a project yourself!
That’s it! You’ve now learned how to put contact paper on cabinets with grooves. With a little bit of patience and the right materials, you can easily update your kitchen or bathroom in just a few simple steps!
Things You Need to Know Before Putting Contact Paper on Cabinets with Grooves
Before you can enjoy the new look of your kitchen cabinets, there are a few things you need to know about applying contact paper. First, it’s important to clean the surface of your cabinets thoroughly before applying the paper. Any dirt or grease will prevent the paper from adhering properly.
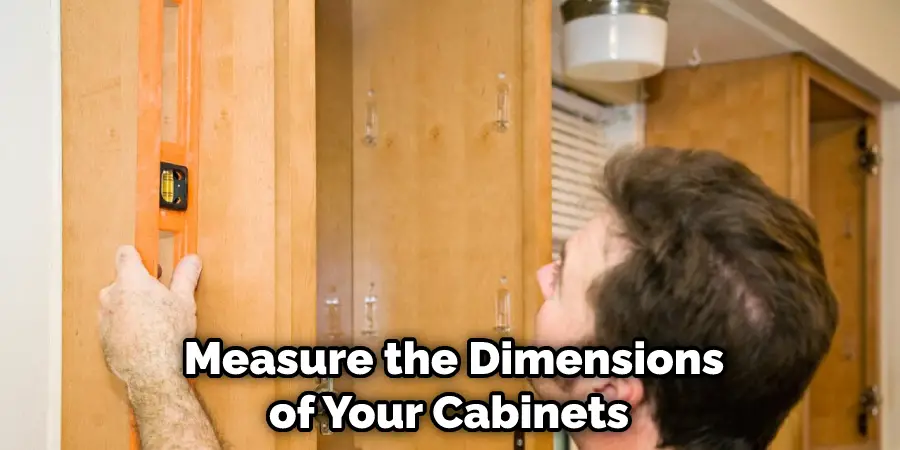
Next, you’ll need to measure the dimensions of your cabinets and cut the paper to size. It’s better to err on the side of too large rather than too small, as you can always trim off any excess. Once the paper is cut to size, you’ll need to apply it to the cabinets.
Start at one end and smooth out any bubbles as you go. Once the paper is in place, use a utility knife to trim off any excess around the edges. With a little time and effort, you can enjoy a whole new look for your kitchen – without spending a fortune!
5 Benefits of Putting Contact Paper on Cabinets with Grooves
1. It’s Inexpensive
One of the primary benefits of using contact paper on cabinets with grooves is that it is an inexpensive way to update the look of your kitchen. Contact paper is much less expensive than new cabinets, and it can give your kitchen a whole new look.
2. It’s Easy to Install
Another benefit of using contact paper on cabinets with grooves is that it is very easy to install. You can simply measure the dimensions of your cabinets and cut the contact paper to size. Then, you just need to peel off the backing and stick the paper into place.
3. It Protects the Cabinets
Another benefit of using contact paper on cabinets with grooves is that it can help protect the cabinets from wear and tear. The paper acts as a barrier between the cabinet and whatever is placed inside of it, which can help to prolong the life of your cabinets.
4. It’s Easy to Clean
Another benefit of using contact paper on cabinets with grooves is that it is very easy to clean. The paper can simply be wiped down with a damp cloth if it gets dirty.
5. It’s Removable
A final benefit of using contact paper on cabinets with grooves is that it is removable. If you ever get tired of the look of the paper, or if you want to change up the look of your kitchen, you can simply peel off the paper and start anew.
Some Common Mistakes People Make When Trying to Putting Contact Paper on Cabinets with Grooves
Trying to put contact paper on cabinets with grooves can be tricky- but there are a few common mistakes people make that can make the process even more difficult.
First, be sure to measure the contact paper before cutting it to size. It’s important to get a precise measurement so that the paper fits snugly in the groove and doesn’t leave any gaps.
Second, when cutting the contact paper, be sure to use a sharp knife so that you get a clean cut. Otherwise, the paper may tear or fray, making it more difficult to apply evenly. Finally, when applying the contact paper, take your time and use a smoothing tool to avoid bubbles or wrinkles.
With a little patience and care, you can put contact paper on cabinets with grooves without any trouble.

Frequently Asked Questions:
Q: Can I Put Contact Paper on Cabinets With Curved Grooves?
A: Yes, you can still use contact paper on cabinets with curved grooves. Just make sure to take your time when applying the paper and use a smoothing tool to work out any wrinkles or bubbles. You may need to cut the paper into smaller pieces in order to fit around the curves.
Q: How Long Will Contact Paper Last on Cabinets?
A: The longevity of contact paper on cabinets can vary depending on the quality of the paper and how well it was applied. However, with proper care and cleaning, contact paper can last for several years. It’s also easy to replace if it starts to peel or wear out over time.
Q: Can I Remove Contact Paper Without Damaging My Cabinets?
A: Yes, you can remove contact paper from cabinets without causing any damage. Simply peel off the paper slowly and use a mild cleaner to remove any adhesive residue. You may need to gently scrape off any stubborn residue with a plastic scraper.
Q: Can I Put Contact Paper on Already Painted Cabinets?
A: Yes, you can still use contact paper on cabinets that have already been painted. Just make sure the paint is completely dry before applying the paper, and clean the surface thoroughly to ensure proper adhesion.
Overall, using contact paper on cabinets with grooves is a cost-effective, easy, and versatile way to update your kitchen. By following the tips and avoiding common mistakes, you can achieve a professional and stylish look that will last for years to come. So go ahead and give your cabinets a makeover with contact paper – you won’t regret it! Lastly, make sure to always read the instructions and follow them for the best results.
Conclusion
Once you have gathered your materials and measured your cabinets, it’s time to get started! Start by cutting the contact paper to size. Line up the paper with the cabinet grooves and press firmly in place.
Go slowly, especially near corners or edges, so that you don’t get any wrinkles or bubbles. Finally, use a squeegee or a smoothing tool to ensure even coverage. Thanks for reading our post about how to put contact paper on cabinets with grooves.
You Can Check It Out to Dry Peppers in Air Fryer
